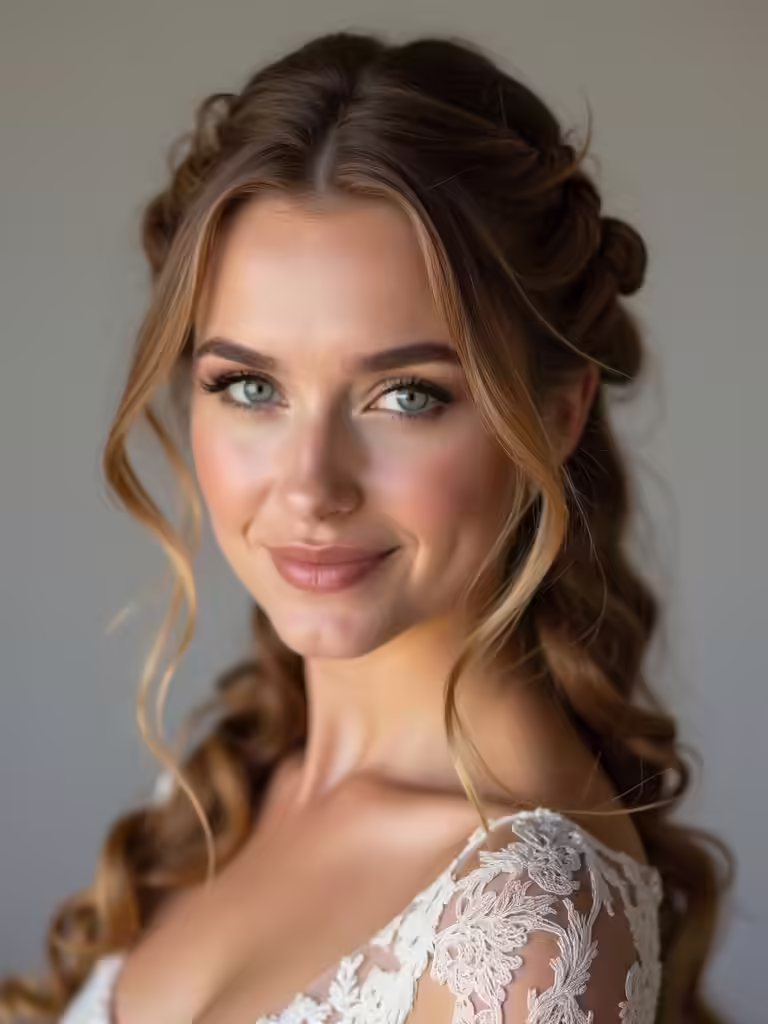
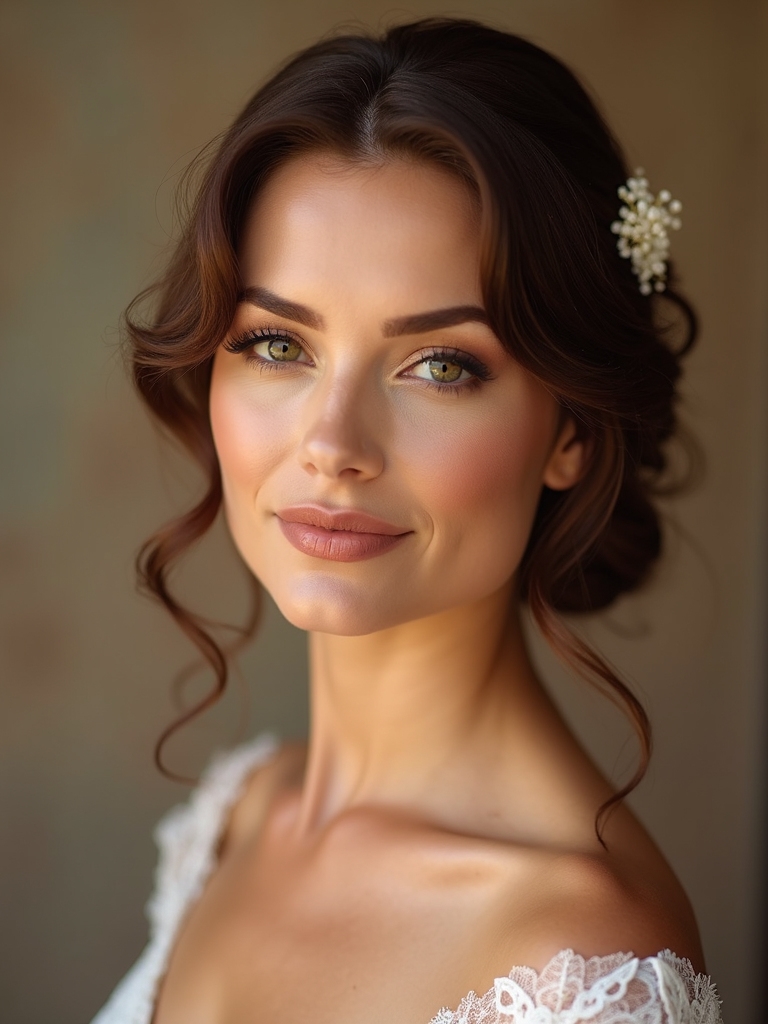
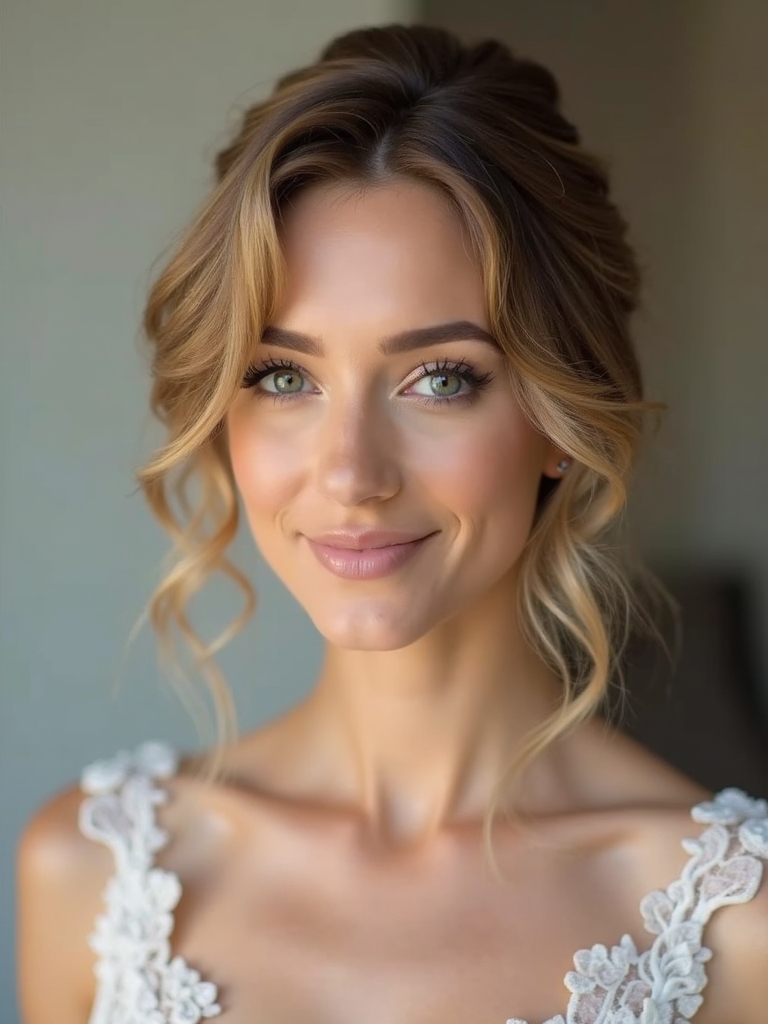
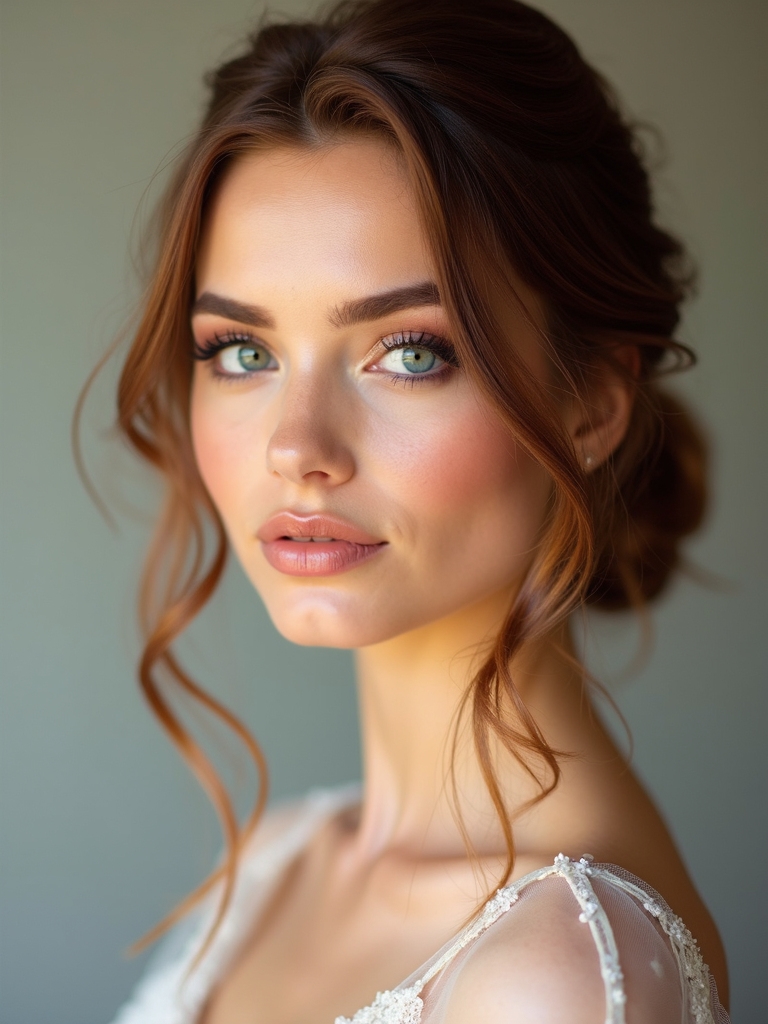
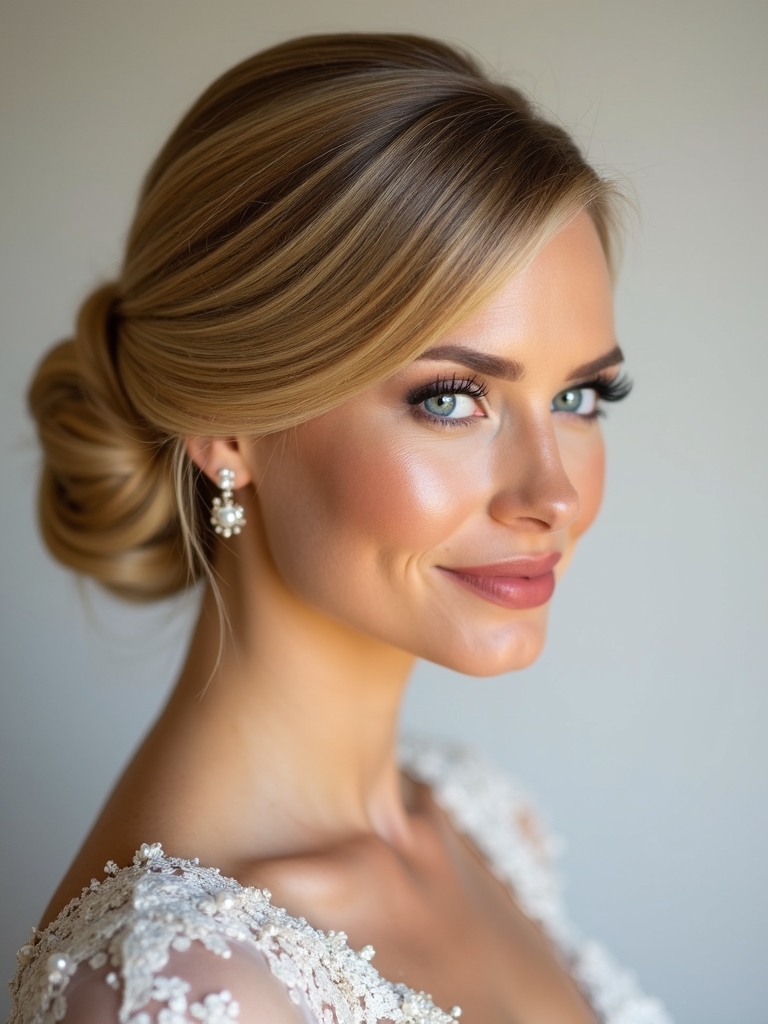
I’ve tested 19 wedding hairstyles for comfort, longevity, and camera-ready polish, so you don’t have to guess what lasts from vows to the first dance. You’ll find updos, half-ups, and sleek waves with clear pros, cons, and ideal occasions. I’ll also show how to pair your hair with your dress silhouette and veil, plus practical tips to secure pins and maintain shine. Stick with me, and you’ll be equipped to pick a style that truly feels like you.
Decide With Confidence: What Brides Look for in a Wedding Hairstyle
Wondering what makes a wedding hairstyle feel truly “you”?
I’m sharing what brides focus on to decide confidently: image, comfort, and longevity.
I listen for your daily vibe, hair texture, and wedding vibe, then map options you’ll still love after the photos fade.
Practical tips: prioritize secure pins, breathable products, and a style that travels with you all night. Additionally, consider effortless wedding hairstyles that can be easily achieved at home for a stress-free preparation.
Quick-start: 19 Tested Looks in One Glance
From a quick scan, you’ll see 19 looks laid out at a glance, each one tested for wearability and photos-ready polish.
I break them into quick categories—updos, half-ups, sleek waves—so you can spot favorites fast.
I’ll flag pros, cons, and best occasions, then share practical tips to try in minutes, ensuring your choice stays flawless from vows to first dance. To elevate your look, consider incorporating elegant updos that exude timeless beauty and sophistication.
How to Pick a Hairstyle for Your Dress Silhouette
Choosing a hairstyle that complements your dress silhouette starts with recognizing the dress’s shape and how it guides balance.
I look for proportional volume, neck exposure, and line harmony, then pick styles that echo those cues.
If the bodice is dramatic, go sleek updo; if it’s simple, a soft, textured wave adds romance without overpowering.
Incorporating enchanting wedding hairstyles can elevate your overall look while maintaining balance and elegance.
Practical, flattering guidance you can trust.
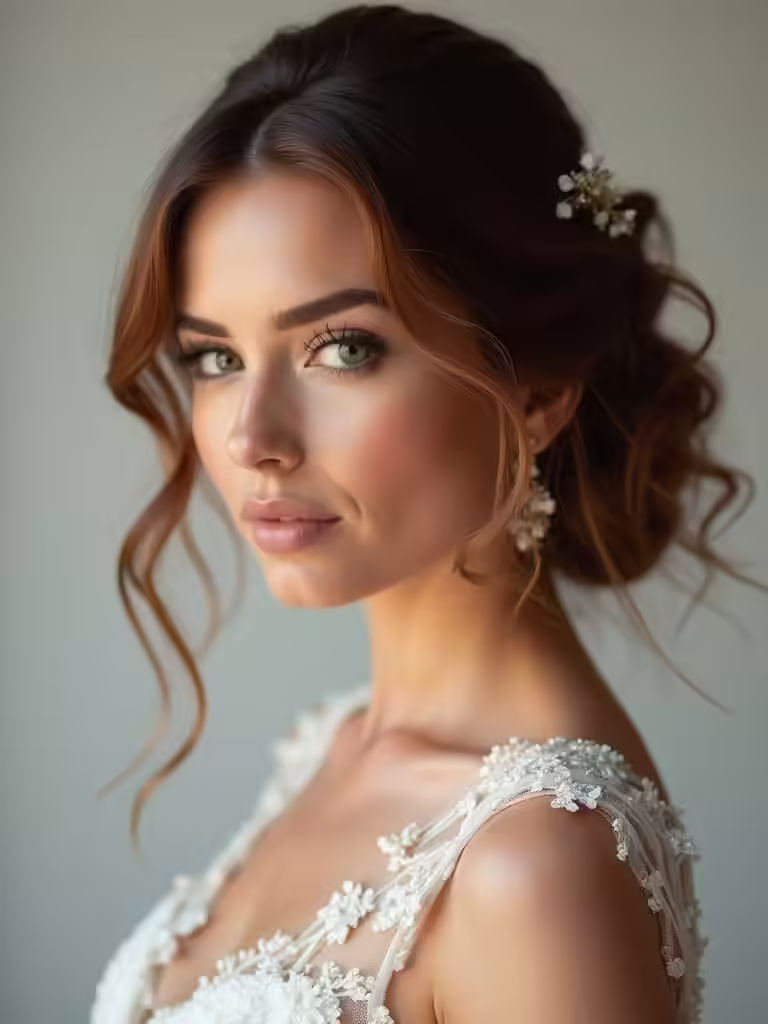
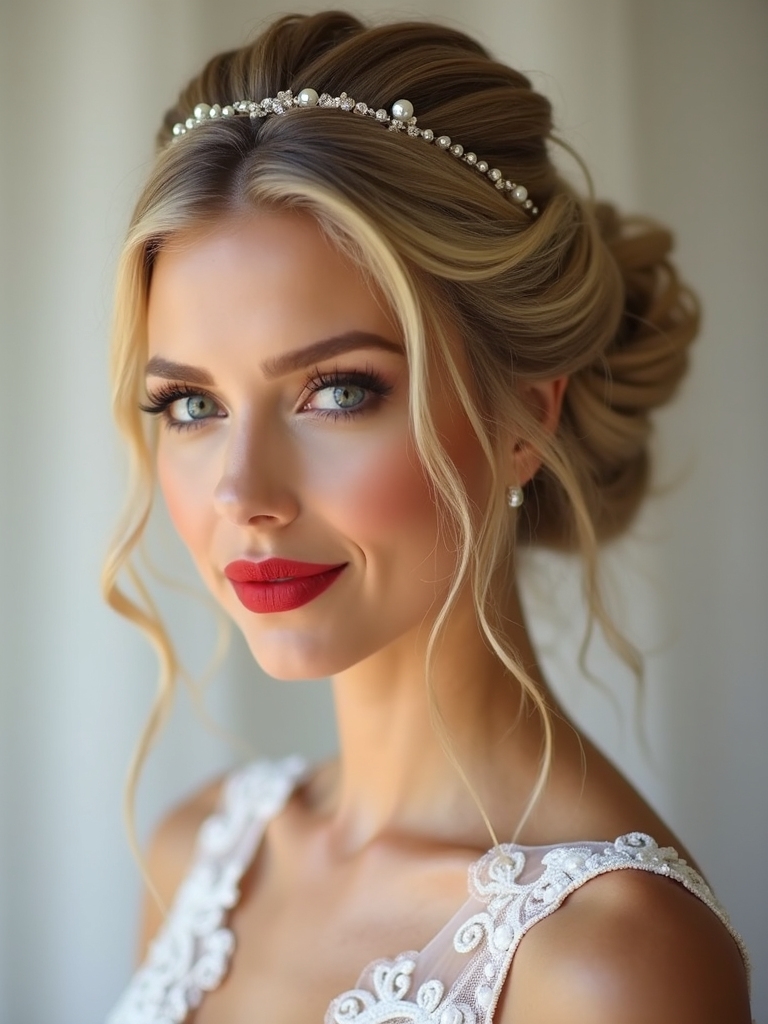
How to Choose a Veil or Accessory With Your Updo
I start with ensuring veil and updo feel like a single statement, so I look for harmony in length, texture, and line.
I’ll guide you on where to place an accessory for balance and how the veil should enhance, not overpower, your chosen updo.
Together, we’ll map simple rules for veil height, placement, and anchoring that keep your look polished from ceremony to reception. Additionally, consider incorporating elegant bun hairstyles that perfectly complement your overall bridal aesthetic.
Veil and Updo Harmony
When pairing a veil or accessory with your updo, the goal is harmony: the pieces should feel like they belong together rather than competing for attention. I favor simple, cohesive shapes—soft lace with a soft veil, sleek satin with a modern comb. Consider proportion and balance, not flash. Choose one statement piece to anchor the look. Additionally, some gorgeous updo hairstyles are perfect for wedding photography, enhancing the overall aesthetic of your bridal look.
Accessory Placement Guide
Ever wonder how to place a veil or accessory so it feels like part of your updo, not an afterthought?
I’m sharing practical tips I use with clients.
1) Anchor at the crown for balance
2) Match metal tones to jewelry
3) Position accessories just above the bun
4) Secure with discreet pins, check from all angles
Incorporating elegant crown accessories can elevate your bridal look and create a sense of royal elegance.
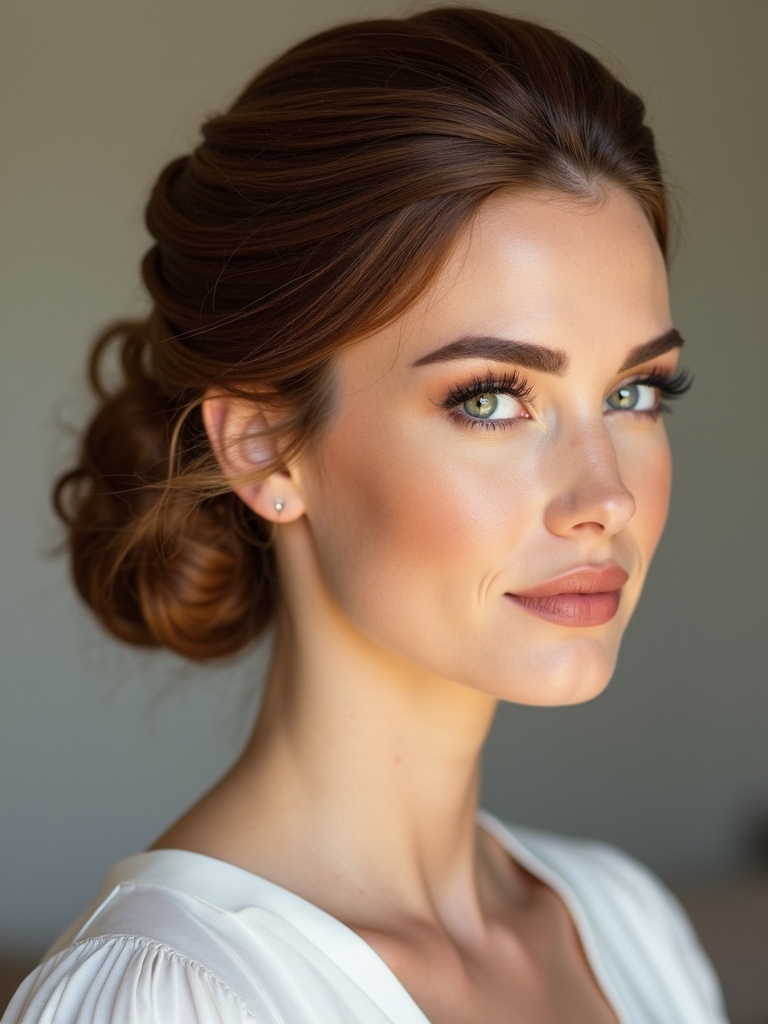
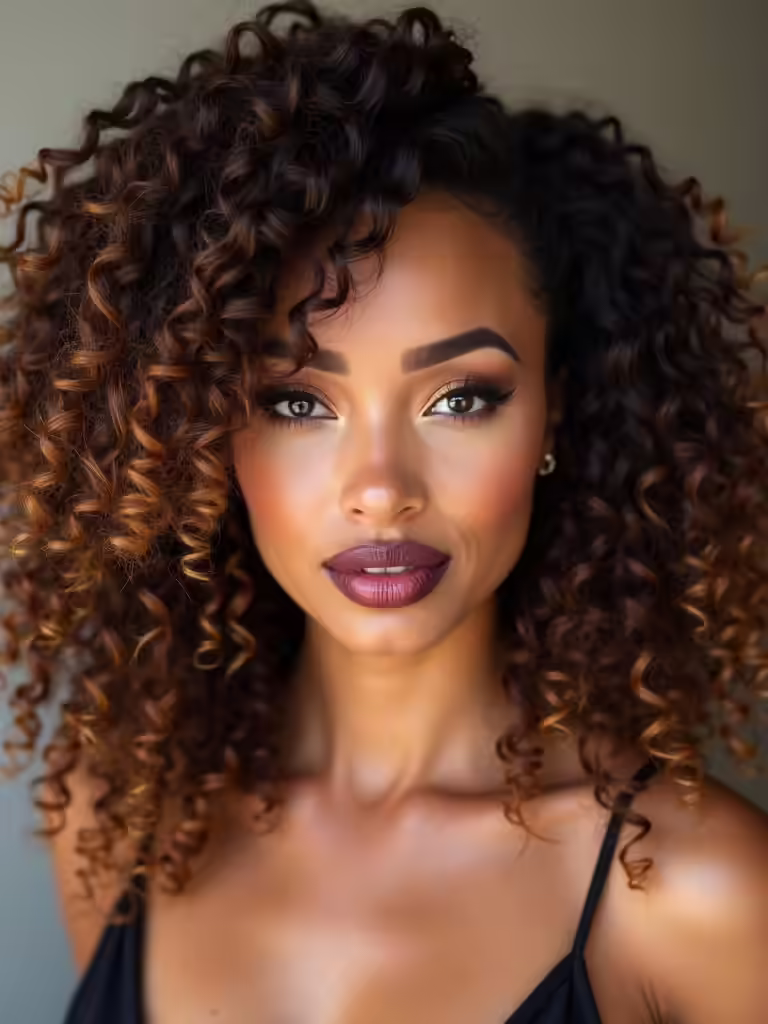
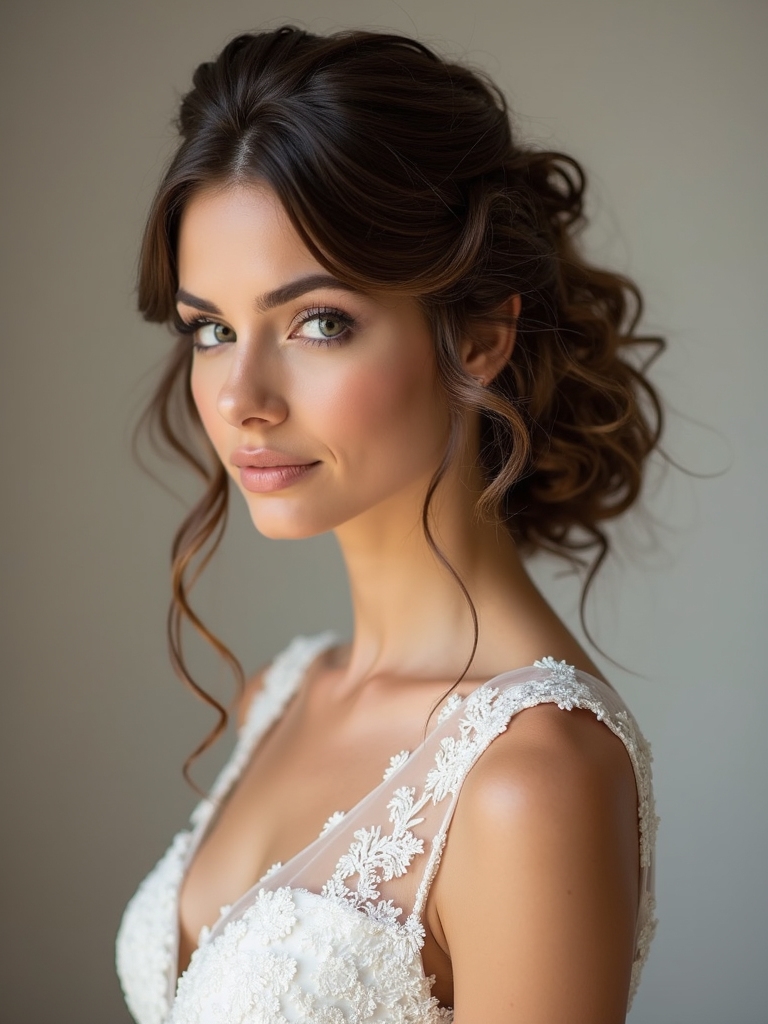
Real-World Pros and Cons: Braids, Buns, and Half-Ups
Braids, buns, and half-ups each bring distinct advantages and drawbacks in real wedding-day practice, so choosing often comes down to hair type, comfort, and longevity.
I weigh durability and texture against movement and touch-ups, sharing practical tips I’ve tested.
Braids stay secure but can feel heavy; buns amply secure yet occasionally flat.
Half-ups strike balance—versatile, comfortable, and easier to adapt on-site. Additionally, wedding braid hairstyles combine tradition with modern trends, making them a popular choice among brides.
Face Shape and Hairstyle Harmony You Can Use
Face shape often dictates what hairstyle reads best in photos and feels most comfortable all day, so I’ll map how different cuts and textures work with your unique silhouette.
- Round faces: add height to elongate.
- Oval: balance with soft waves.
- Square: soften jaw with curls.
- Heart: width at chin with updo texture.
For elegant hairstyles that complement round faces, consider styles that add volume on top to create an illusion of length.
Practical, editorial guidance for harmony.
How to Test a Hairstyle at Home Before the Big Day

Want to know if a style will work before the big day? I test at home first, using a simple routine.
I wash, dry, and pin sections, then mirror the look on a clean scalp, adjusting pins and products as needed.
I document results, take photos, and note comfort, time, and ease, so you can replicate confidently.
Practical, clear, quick.
Longevity and Hold: Which Styles Last From Ceremony to Send-Off
Sticking power matters, especially when you’re hopping from the ceremony to the send-off, so I focus on styles that hold up without constant fuss.
- Classic updo with secure pins
- Sleek low bun that stays flat
- Braids with anchored ends
- Half-up with strong spray
These opciones balance elegance and durability for a timeline-to-tinish moment.
Low-Maintenance Styling for a Busy Wedding Day
When the day is packed, simple styling is a lifesaver: low-maintenance looks that still feel polished can save you stress from ceremony to send-off.
I’ll guide you to quick, believable elegance—think soft waves, secure pins, and a light spray you can apply without fuss.
Choose versatile pieces, prep ahead, and trust your hair to carry you gracefully through every moment.
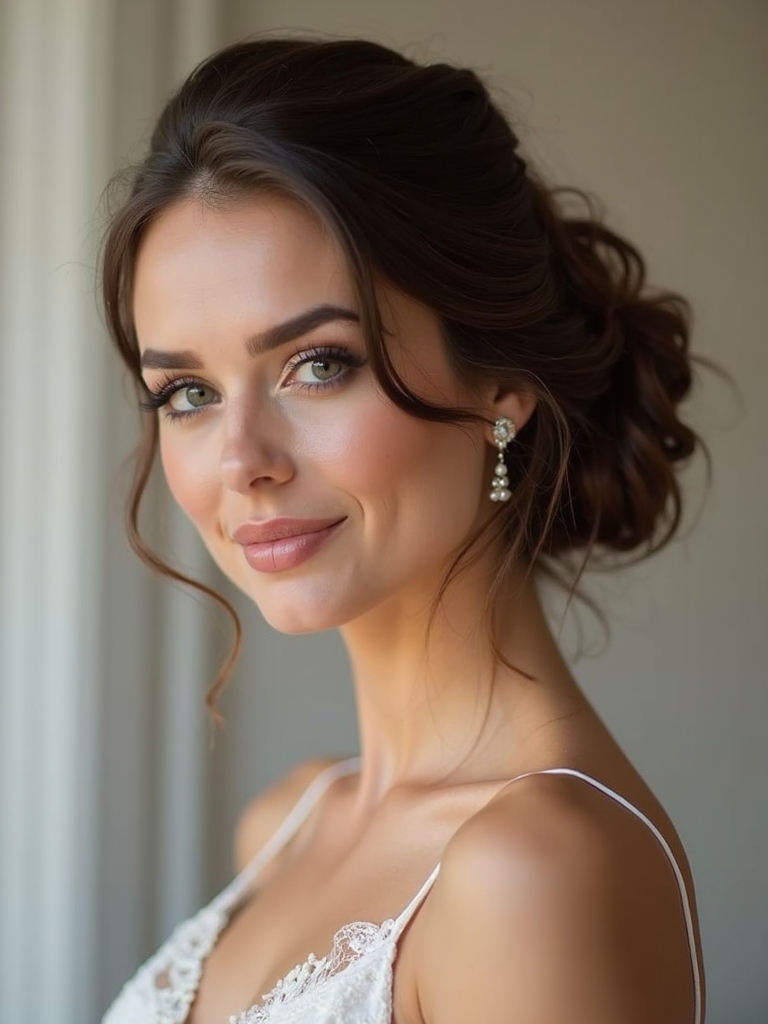
The Bride-Tested: Classic Chignon That Sings on Photos
I’ve found the classic chignon to be a reliable choice for lasting, camera-ready elegance, delivering timeless photo appeal you can count on.
It strikes a balance between low-adjust comfortability and secure hold, so you can move with ease from vows to dance floor moments.
Let’s explore how this style maintains duration-long hold while still looking effortless in every frame.
Timeless Photo Appeal
Chignon hairstyles are timeless for a reason: they photograph beautifully, stay sturdy through the day, and put the focus on you.
I’ve noticed photos bloom when this classic unit stays intact. Here are my quick tips:
- Relaxed curl shadow
- Low shine, natural finish
- Secure pins, confident hold
- Timely touch-ups, spotless frames
Low-Adjust Comfortability
Classic chignon comfort isn’t magic; it’s a blend of design and fit that I’ve refined through real brides.
I prioritize a secure base, lightweight pins, and breathable cushioning so you can move without micro-adjustments.
If you’re styling for photos, opt for a gentle tension and smooth scalp grip—the look stays polished, but stays comfortable from ceremony to applause.
You deserve confidence.
Duration-Long Hold
When it comes to a chignon that lasts from I-do to the after-party, durability isn’t magic—it’s a measured, bride-tested approach.
1) Prep with a strong hold primer
2) Work in crisp pins every few inches
3) Lock with a matte spray sealant
4) Carry a mini touch-up kit for hiccups
The Modern Twist: Braided Crown With Glam Accents
A braided crown with glam accents adds a modern, polished lift to any wedding day look.
I incorporate a sleek braid across the crown, pairing metallic pins and tiny crystals for subtle sparkle.
This style stays secure with discreet grip pins and light hairspray, so you stay photo-ready all day.
It’s chic, versatile, and surprisingly comfortable for dancing.
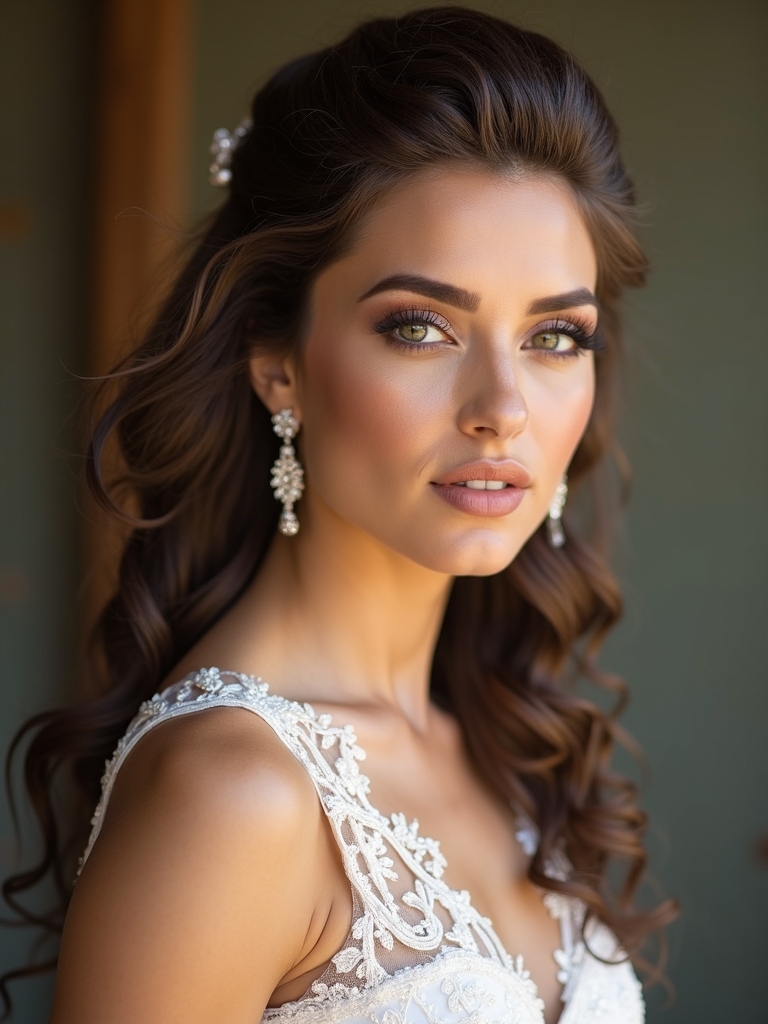
The Romantic Do: Soft Waves With a Delicate Pinset
Soft waves offer a timeless, romantic vibe that perfectly complements a wedding day.
I love this look because it’s easy, flattering, and lasts from ceremony to dance floor.
Here’s how I’d wear it:
1) Prep with a texturizing spray
2) Create loose waves with a curling wand
3) Pin back a delicate bloom or pins
4) Finish with light-hold spray for longevity
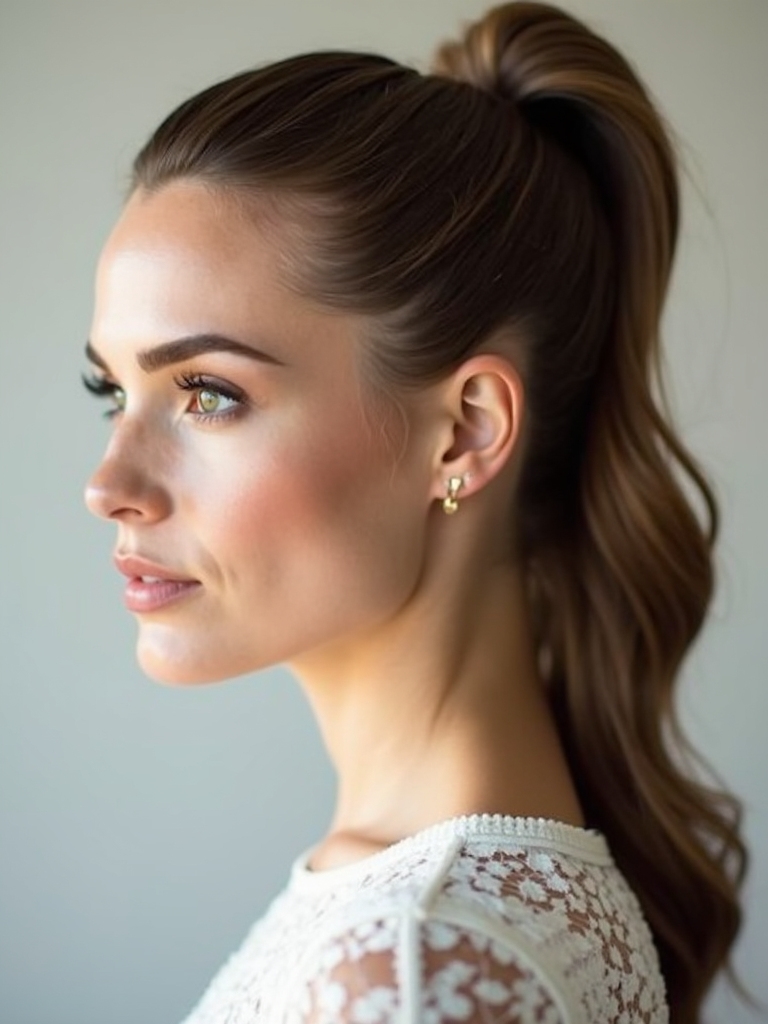
The Sleek Sweep: Tied-Back Ponytail for a Minimalist Look
I love a tied-back pony for a clean, modern wedding day vibe that’s not afraid to let your features shine.
My take: choose a mid or high pony, smooth the crown, and secure with a discreet knot or clear elastics.
Add subtle volume at the base, and keep extensions minimal.
This look stays crisp, wearable, and camera-ready all day.
The Vintage Echo: Gatsby-Inspired Finger Waves
I’ll show you how to nail the Vintage Wave Technique so your finger waves stay buttery smooth from ceremony to reception.
When I talk Gatsby inspired aesthetics, I’m highlighting the classic silhouette, shine, and secure setting you can trust.
I’ll also share practical finger wave maintenance tips to keep the look flawless all day long.
Vintage Wave Technique
If you’re aiming for a Gatsby-inspired look, the Vintage Wave Technique—often called finger waves—delivers unmistakable old-Hollywood glamour with modern ease.
- Prep damp hair and set with a light hold product.
- Create S-shaped waves using fingers and a comb.
- Secure waves with pins at the crown.
- Finish with a flexible-hold spray for lasting shine.
Gatsby Inspired Aesthetics
Gatsby-inspired aesthetics pick up right where the Vintage Wave Technique left off, using those sleek, finger-waved lines as the foundation for a timeless, red-carpet-ready look.
I guide you to pair bold texture with glossy shine, so your waves hold structure without stiffness. Aim for balanced volume, subtle height, and a confident, nostalgic finish that stays modern and wearable.
Finger Wave Maintenance
Finger wave maintenance is all about keeping those glossy, sculpted ridges crisp without losing their vintage bounce.
I share practical tips you can trust.
- Prep with lightweight serum to avoid grease
- Set waves with cool air before touching
- Sleep on a satin scarf to preserve texture
- Touch up stray ridges with a fine comb gently
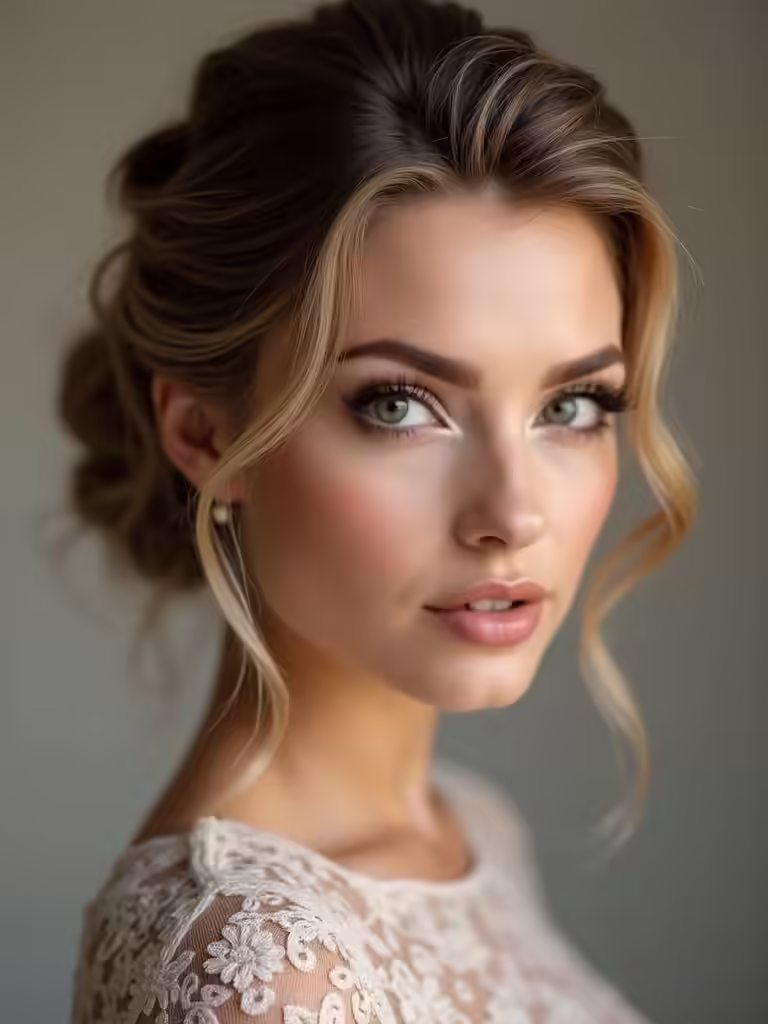
The Boho Whisper: Lived-In Texture With Floral Accents
The boho whisper isn’t about perfection; it’s about texture that looks effortless, so I lean into lived-in waves and add just a touch of floral nuance.
I guide you to embrace natural movement, secure with discreet pins, and choose small blossoms that frame your face without competing with your dress.
Practical, breathable, and undeniably romantic—calm, confident styling for your big day.
The Vintage Updo With Veil Compatibility Checklist
I’m sharing a practical starter on the Vintage Updo With Veil Compatibility, focusing on veil compatibility tips, updo durability, and coordinating accessories.
I’ll cover what works best with different veil styles, how to keep pins secure throughout the celebration, and how to align jewelry and other accents without clutter.
Let’s quickly map out what you should check first so your look stays flawless from ceremony to dancing.
Veil Compatibility Tips
If you’re pairing a vintage updo with a veil, start by checking where the veil sits and how it anchors to the hair.
Here are tips:
- Secure with a comb or pins that grip tightly
- Match veil clips to hair texture and shine
- Use a light hairspray to prevent slippage
- Practice removal upside-down to avoid snagging
Vintage Updo Durability
To keep a vintage updo looking flawless with a veil, durability comes down to how you anchor and support the style from the start.
I prioritize secure pins, a solid foundation, and discreet product that holds without stiffness.
I test movement, wind, and dancing needs, then reinforce with a protective veil comb.
Lasting structure equals confident, timeless elegance.
Accessory Coordination Guide
Whether you’re pairing a vintage updo with a veil or mixing in delicate accessories, coordination starts with a clear checklist.
I share a practical guide I use herself, ensuring comfort and cohesion.
- Identify veil length and placement
- Match metal tones and embellishments
- Test re-wearability with other pieces
- Confirm secure styling that lasts all day
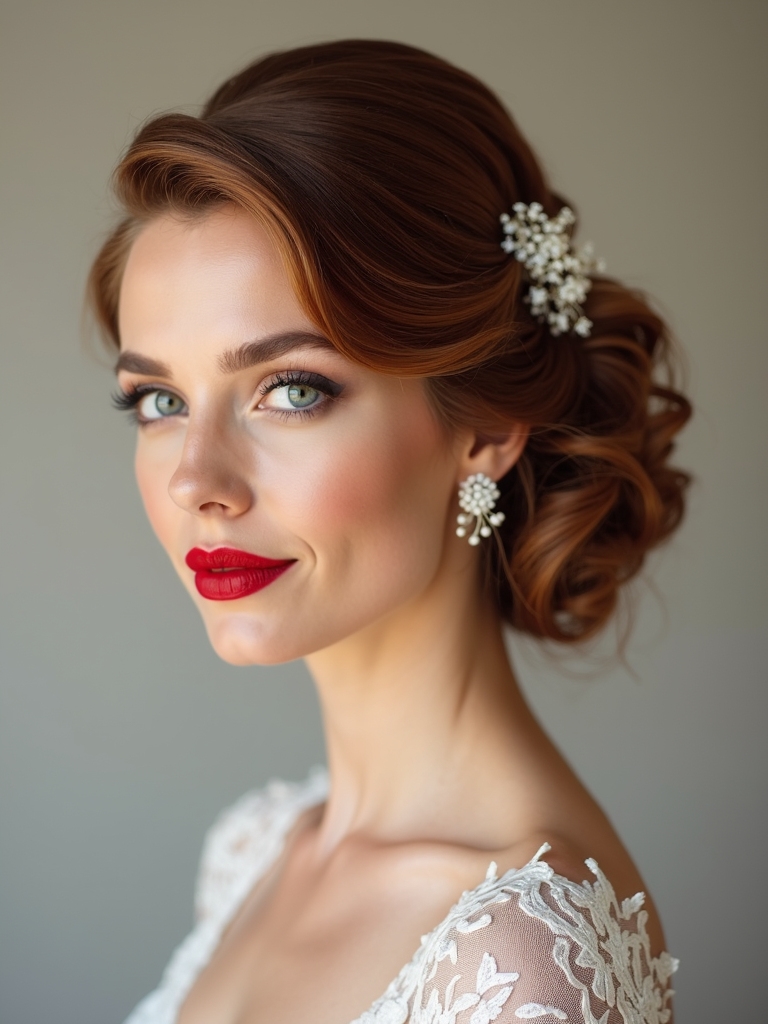
Accessorizing Tricks: Combs, Pins, and Sparkle Placement
A well-placed comb, a few delicate pins, and a sprinkle of sparkle can transform a simple hairstyle into a polished wedding look.
I’ll show you practical tricks: place pins on the side for security without bulk, nest small combs near the base of a bun for hold, and sprinkle subtle crystals to highlight your face without overpowering.
Sparkle strategically, not everywhere.
Color and Texture Considerations for Ultra-Dry or Frizzy Hair
If your hair runs ultra-dry or frizzy, I start with color choices that enhance shine without emphasizing texture.
I’ll share practical styling tricks and treat-and-fix routines that tame frizz while keeping color looking fresh.
Let’s explore simple, reliable techniques that balance moisture, control, and a polished wedding-day look.
Ultra-Dry Hair Solutions
Ultra-dry or frizzy hair presents unique challenges, but where others see texture, I see opportunity: with the right color and texture strategies, you can achieve a wedding-ready look that lasts all day.
- Pick a hydrating color base
- Use low-heat, moisture-friendly styling
- Seal with a satin finish spray
- Opt for structured, weight-balanced updos
Frizz Control Techniques
Frizz control starts with understanding how color and texture interact on ultra-dry hair, so I tailor techniques to tame flyaways without sacrificing shine.
I favor smoothing serums and lightweight oils that seal without weighting strands, then test heat styling on small sections.
Choose color-safe products, avoid sulfates, and hydrate weekly with masks.
Quick-touch tips keep your wedding day look polished.
Maintenance and Touch-Up Plan for the Aisle-to-Okay Moment
To keep the aisle-to-okay moment flawless, I’ve laid out a simple maintenance and touch-up plan you can actually follow.
Here’s what I do:
1) Carry compact hairspray and pins.
2) Revisit roots and flyaways with a focused brush.
3) Refresh shine with a light mist.
4) Quick reset at the reception, then retouch before portraits.
Conclusion
You’ve got this, and so does your hairstyle plan. If you trust the vibe you picked—braids, buns, or a half-up—you’ll walk the aisle with confidence. I’ve seen it all come together when you match the style to your dress, veil, and sparkle wisely. Remember: practice makes perfect, and “fortune favors the prepared.” So test a few looks, sketch a quick maintenance plan, and enjoy the moment—your dream updo is riding the magic train to Yes.