I’m all about a Subtle Glam MOTB look that lasts from ceremony to celebration. Start with glow-forward skin prep, then a buildable foundation that matches texture and undertone. Conceal just enough under the eyes without cake, and set lightly. Choose matte for longevity or satin for forgiving photos, and coordinate makeup to necklines for harmony. Pack on-the-go touch-ups and run a trial to calm nerves. Curious what else can elevate your glow? There’s more to discover right here.
Decide the Look: Subtle Glam for the MOTB
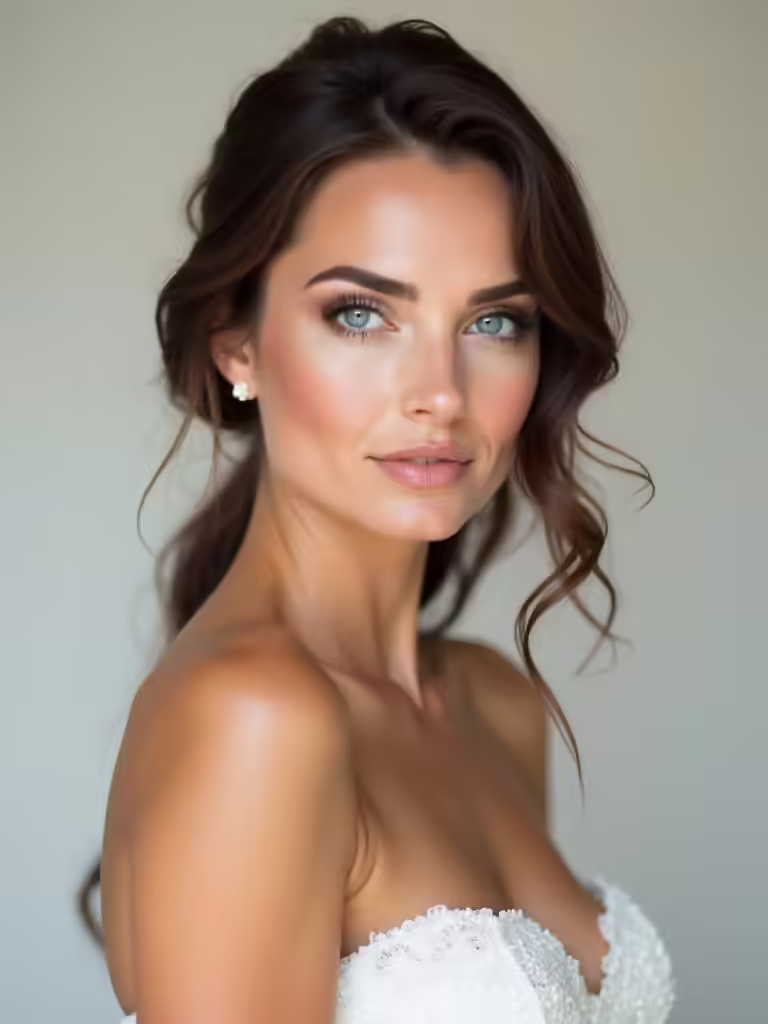
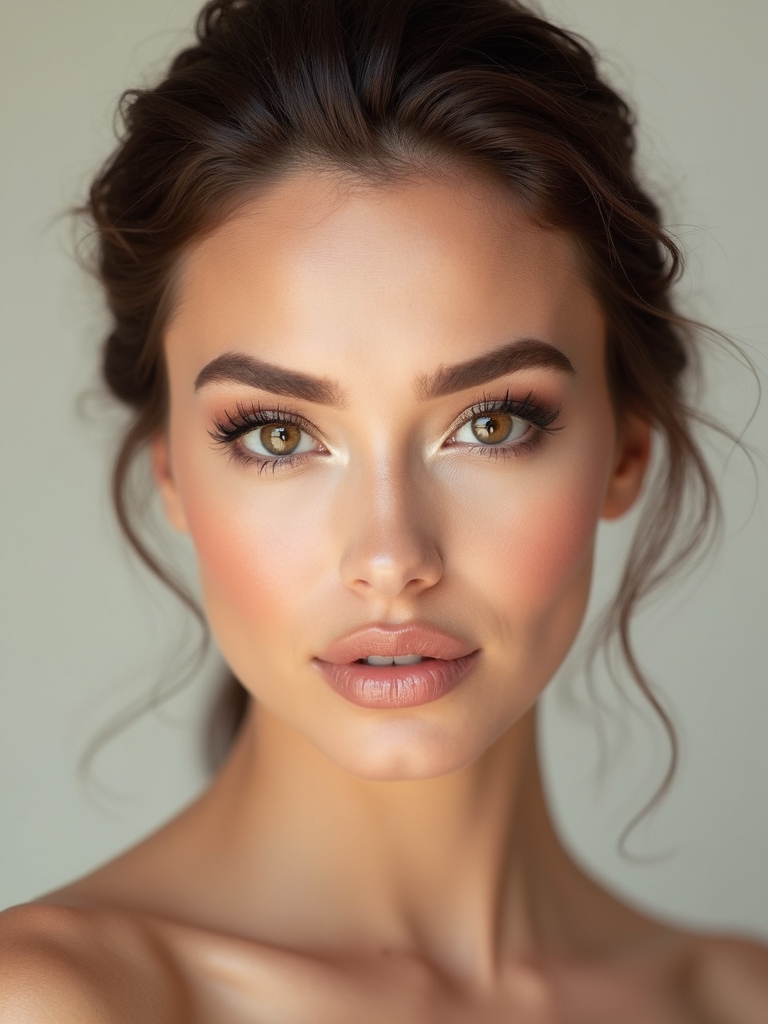
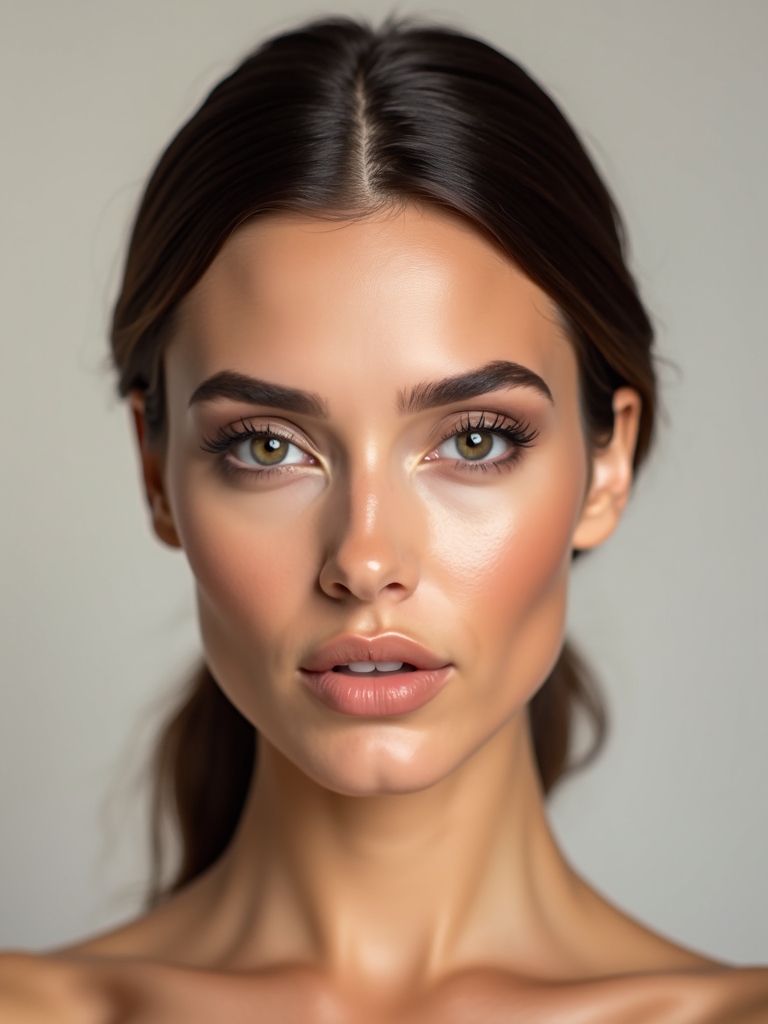
If you want to cap off a refined wedding day without stealing the spotlight, start with a look that’s soft, polished, and effortless.
I’m leaning toward subtle glam: define lashes, a whisper of rose on cheeks, a satin lip.
Avoid loud color blocks, keep skin luminous, and balance eyes with a gentle contour. Emphasizing effortless elegance in your makeup choices ensures you feel confident without overshadowing the bride.
Confidence, not drama, completes the moment.
Prep the Skin for Longevity
Let’s keep that subtle glam looking flawless from ceremony to send-off, so we start with skin that behaves.
I prep with a gentle cleanse, vitamin C for brightness, and a hydrating toner to balance. A pore-minimizing primer helps makeup cling.
I seal with SPF and a light moisturizer, allowing longevity without caking, flash-friendly and naturally radiant. Additionally, consider incorporating timeless makeup techniques to enhance your overall look and ensure you feel confident throughout the day.
Foundation That Flatters: Match, Texture, Coverage
When you’re aiming for a flawless, wedding‑day glow, start with a foundation that matches your undertone, texture, and desired coverage, then build from there.
I pick shade first, density second, finish third—and I’m not afraid to tweak until it disappears.
- Thoughtful swatches that glow in natural light
- Buildable layering for customizable coverage
- Texture that melts, not sits
In addition to selecting the right foundation, consider essential makeup kit items that will enhance your overall look and stay throughout the day.
Conceal Brightly Under the Eyes Without Caking
Bright under-eyes don’t deserve the spotlight, so I keep concealer light, bright, and believable.
I dab tiny dots where shadows linger, then blend with a damp sponge in gentle taps, not swirls.
Choose a creamy formula slightly lighter than your foundation to brighten without creasing.
Set minimal, minimal, with feather-light powder only if needed—no cake, ever.
For an added touch, consider using stunning makeup ideas that enhance your natural beauty while complementing your features.
Set It Up: Finishing Powders and Setting Sprays
Finishing powders and setting sprays aren’t afterthoughts—they’re the final polish that keeps your look locked in from ceremony to dance floor.
I keep it simple: three trusted moves, no drama, all day.
- Feather-light powder that blurs, not cakes
- Mist that feels like a whisper, sets without stiffness
- Travel-friendly spray for touch-ups on the go
To ensure a flawless complexion, opt for elegant makeup inspirations that highlight your natural beauty while providing lasting coverage.
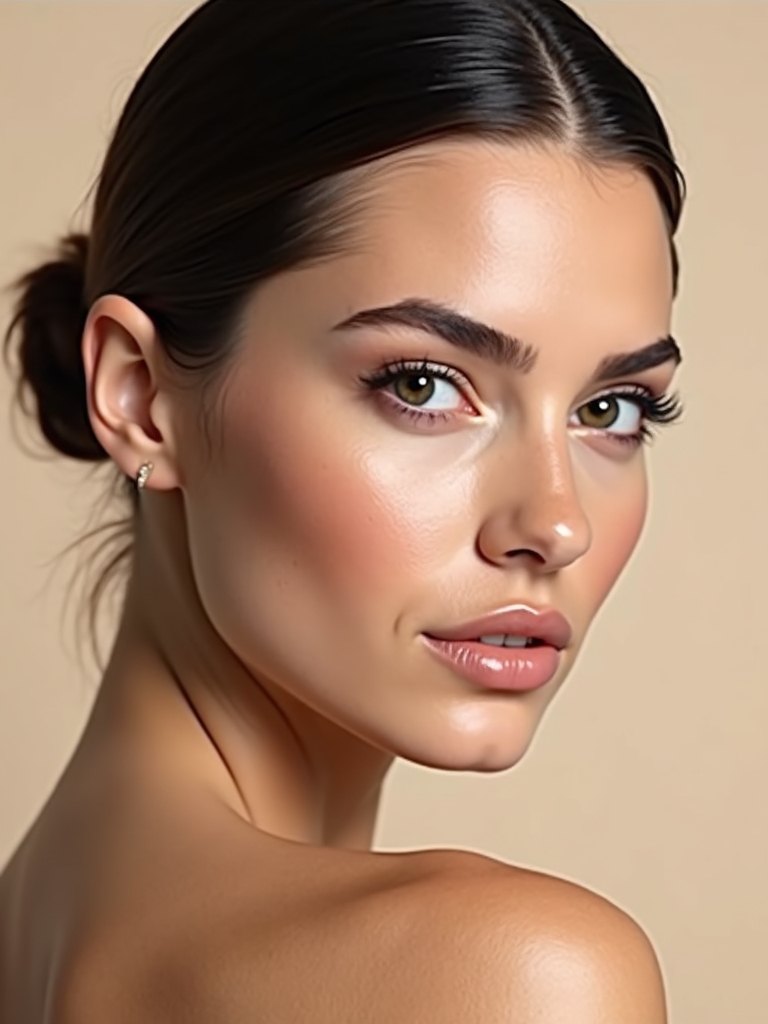
Eyes That Look Natural on Camera
Eyes that photograph softly aren’t an accident; they’re crafted with a few simple tweaks that keep your lashes and lids true to life on camera.
I blend neutral shades, tight-liner only at the lash line, and a touch of mascara that lengthens without clumps.
I skip glitter, set with a sheer spray, and relax, knowing subtle glow reads warmer on film. Incorporating bridal makeup techniques can elevate your look and ensure your eyes truly pop on your special day.
Brows That Frame Without Domination
Brows That Frame Without Domination
Brows that frame without domination deserve their own delicate balance: they should define your features without shouting for attention.
I keep brows polished, not punctuation marks—softly shaded, well-groomed, and naturally arched to echo your eyes.
- Feathery strokes for texture
- Gentle, even color matching hair
- Subtle arch that lifts without lifting eyebrows away
To achieve this, consider the principles of minimal simple wedding makeup, which emphasize a natural look that enhances rather than overwhelms.
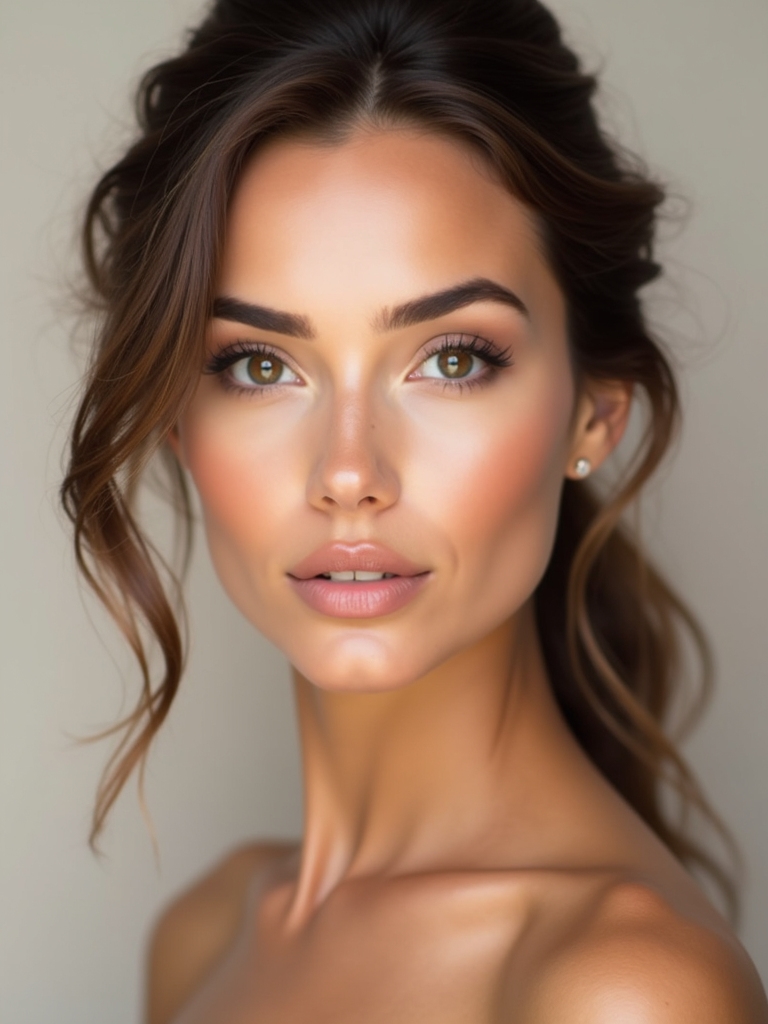
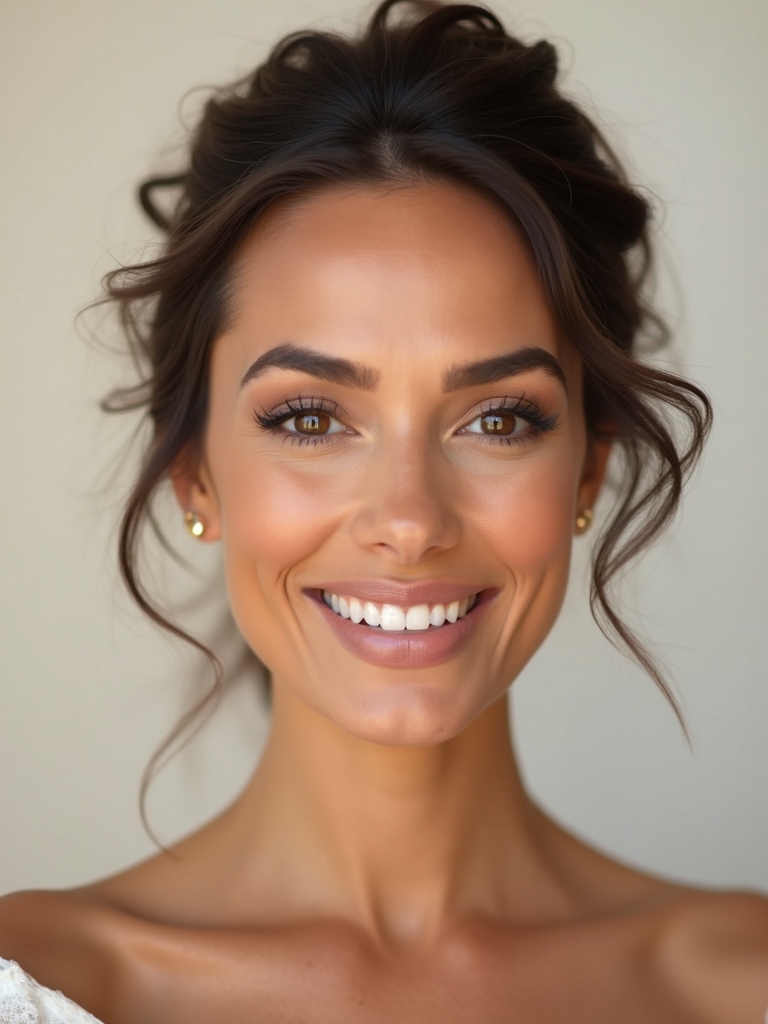
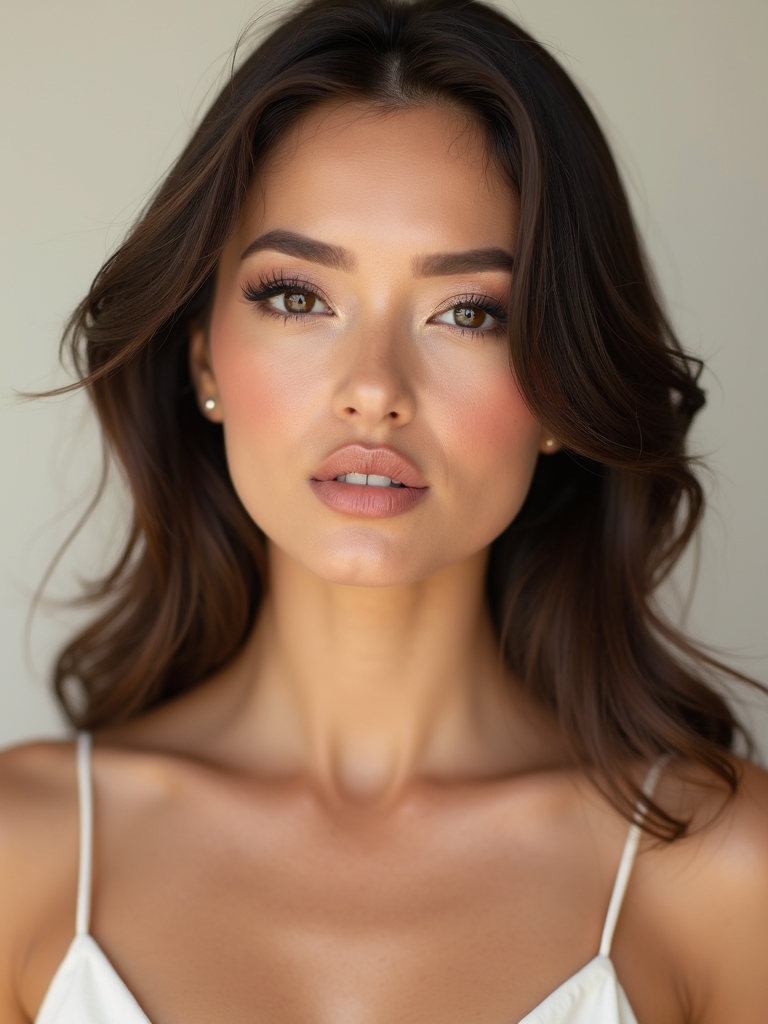
Peachy-Pink Cheeks for a Soft Glow
Peachy-pink is my go-to for a soft, lit-from-within glow that looks timeless on the big day. I’ll show you how to layer a sheer blush for that natural flush and where to place it so it lifts your cheeks without shouting. Let’s nail the Peachy-Pink Glow with a quick, precise guide to soft blush application.
Incorporating timeless makeup ideas can elevate your look and ensure you feel beautiful while celebrating this special occasion.
Peachy-Pink Glow Tips
Peachy-Pink Glow Tips (Peachy-Pink Cheeks for a Soft Glow)
A peachy-pink glow is my go-to for a soft, wedding-day-ready flush, and I love how it sun-kisses the skin without looking obvious.
- Dab with fingertips for a natural bloom
- Build in sheer layers, never one heavy sweep
- Set with a translucent powder to keep glow all day
- For an added touch, consider using bridal shower makeup to achieve that perfect pre-wedding glow.
Soft Blush Application Guide
Soft peachy-pink cheeks are the soft-spoken glue of a wedding-day look, so I’ll show you how to apply them with precision and ease.
Start with a light hand, using a fluffy brush to sweep along the apples and blend toward the temples. Build gradually, tap-tap rather than swipe, and set with a spritz for lasting, natural warmth.
Lip Colors That Complement the Bride
Lip Colors That Complement the Bride
Lip colors that complement the bride aren’t about matching exactly; they’re about harmony with her vibe and your skin tone.
I’ll pick shades that glow without stealing her spotlight, leaning into warmth, soft plum, and rosy nudes.
- Feather-light pinks that kiss the lip line
- Neutral peaches that bloom with her bouquet
- Rich rosés that melt into evening smiles
Additionally, consider winter wedding makeup options that enhance your look while embracing the season’s charm.
Lip Liner and Treatment for Lasting Color
I’ll show you how a precise lip liner can lock in color all day, while I walk you through quick longevity tricks that actually work.
I’ll share nourishing lip treatments to keep lines soft and comfortable between photos, not afterthoughts.
We’ll seal the deal with color-lock techniques that make your chosen shade stay put from ceremony to dancing.
Lip Liner Longevity Tips
Kiss-proofing your lip liner starts with the right prep, because flawless color sticks around when your lips are smooth and primed.
I share quick tricks that keep edges crisp and color even all day.
- Smooth balm prep to minimize bleed without dulling pigment
- Matte lip liner for longevity, not stiffness
- Gentle blot and reline for flawless, lasting definition
Nourishing Lip Treatments
Now that we’ve talked edge longevity, it’s time to nourish those lips for color that lasts as long as the celebration.
I keep lip care simple: smooth a hydrating balm, then apply a creamy lip liner to define without feathering.
Choose nourishing ingredients, like shea and ceramides, plus a tint that fades gracefully with meal breaks.
Practical, pampering, and perfectly polished.
Color Sealing Techniques
Color sealing isn’t about magical tricks as much as smart layering—lip liner first, then a nourishing treatment, and a final application that locks both in.
I guide you through it with precision and wit, keeping your lips photo-ready all day.
- Precise lip liner along your natural border, no bleed
- Nourishing treatment to hydrate before color
- Final seal coat that locks shade and moisture
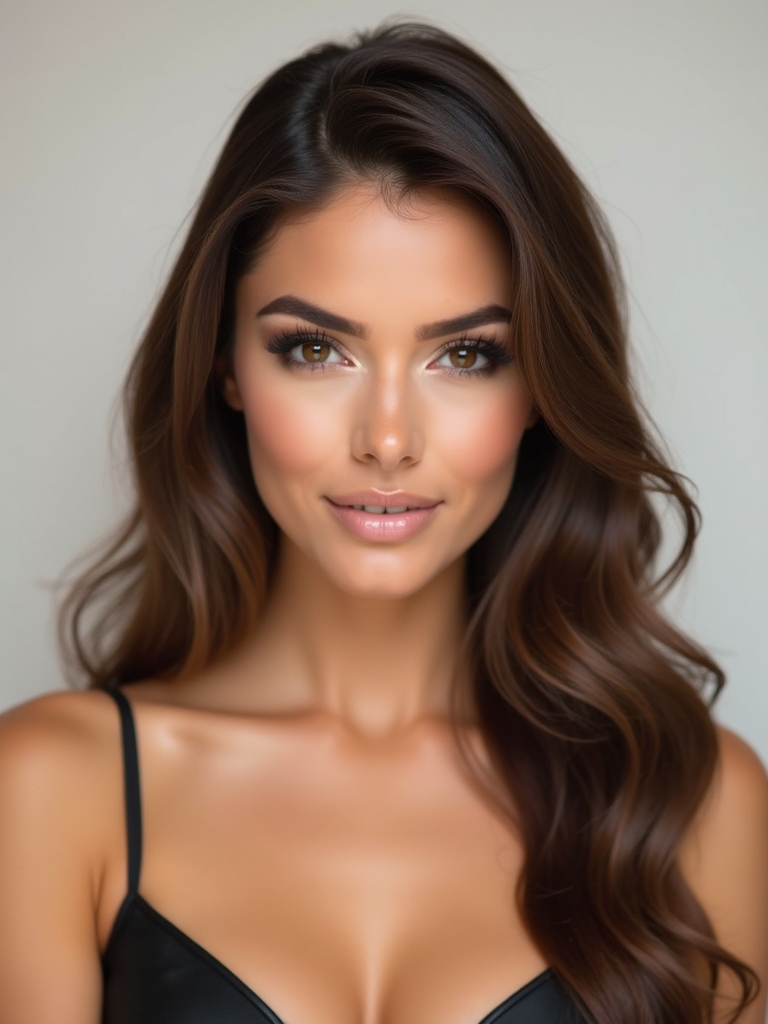
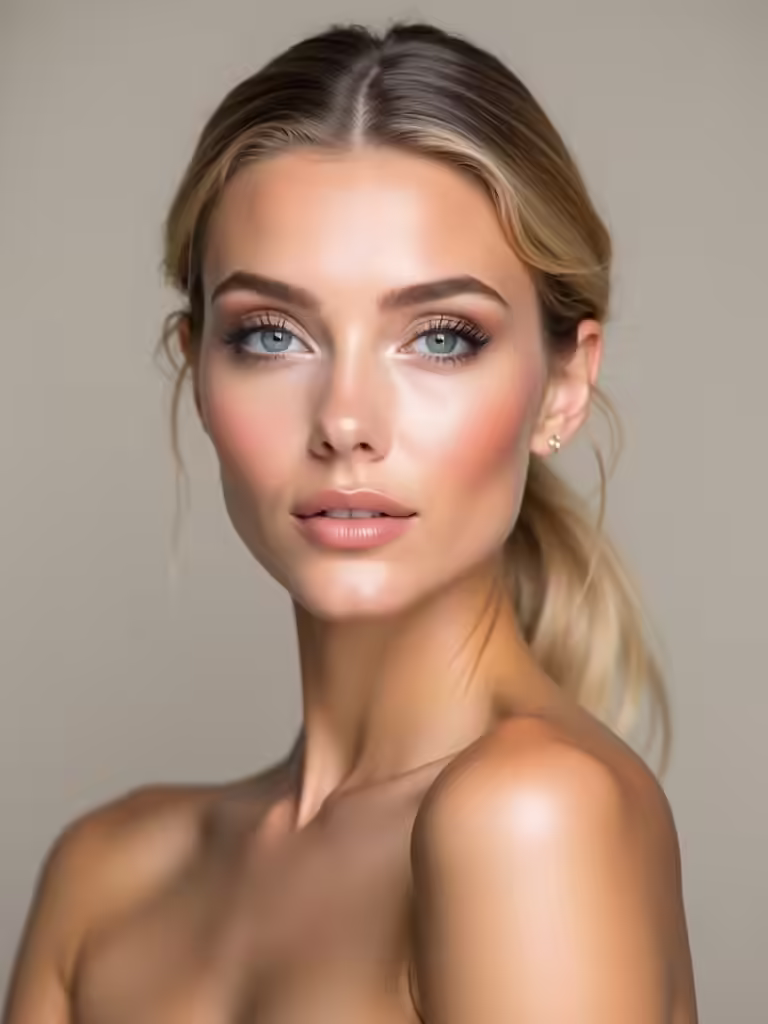
Subtle Glow and Contour: Highlighter and Bronzer
A soft glow and subtle sculpting can do wonders for photos without shouting, and that’s exactly what highlighter and bronzer are for.
I blend bronzer along the hollows for warmth, then sweep highlighter on cheekbones, cupid’s bow, and brow arches with a light hand.
Less is more—build gradually, capture radiance, avoid sparkle overkill, and let natural contours breathe.
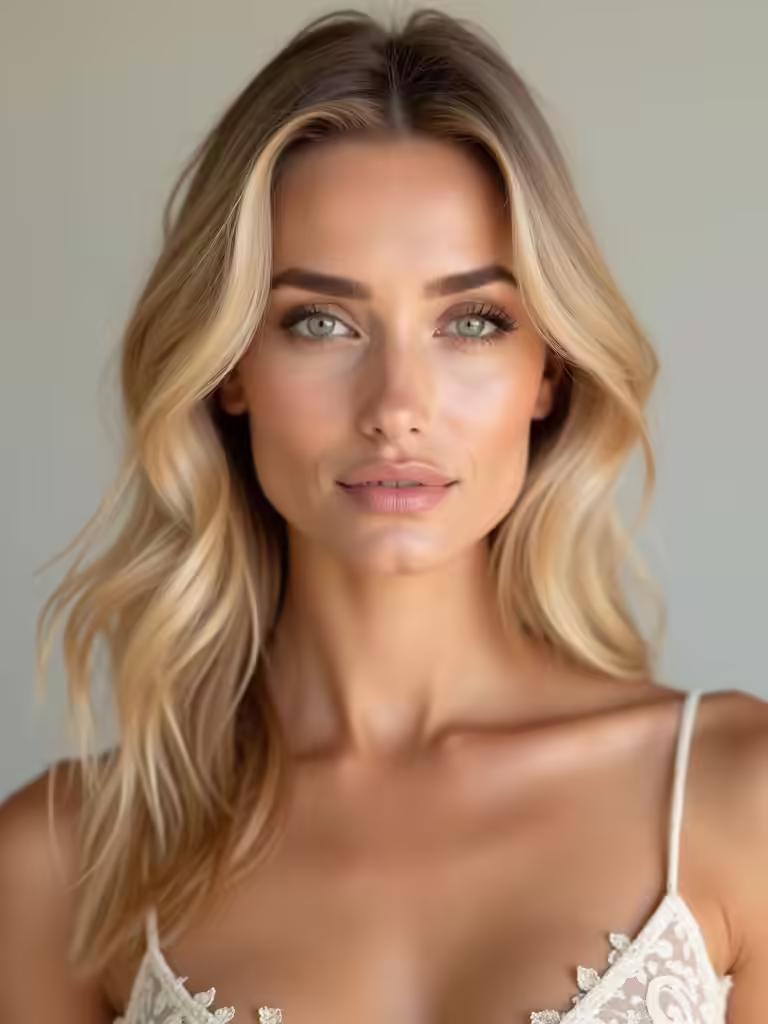
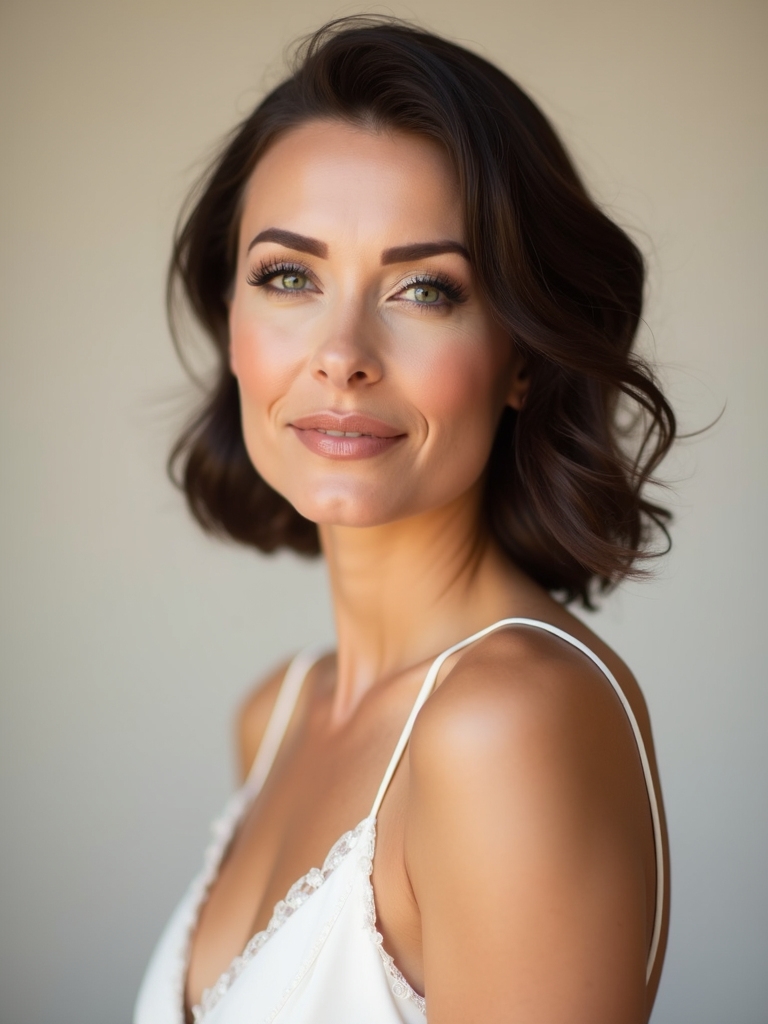
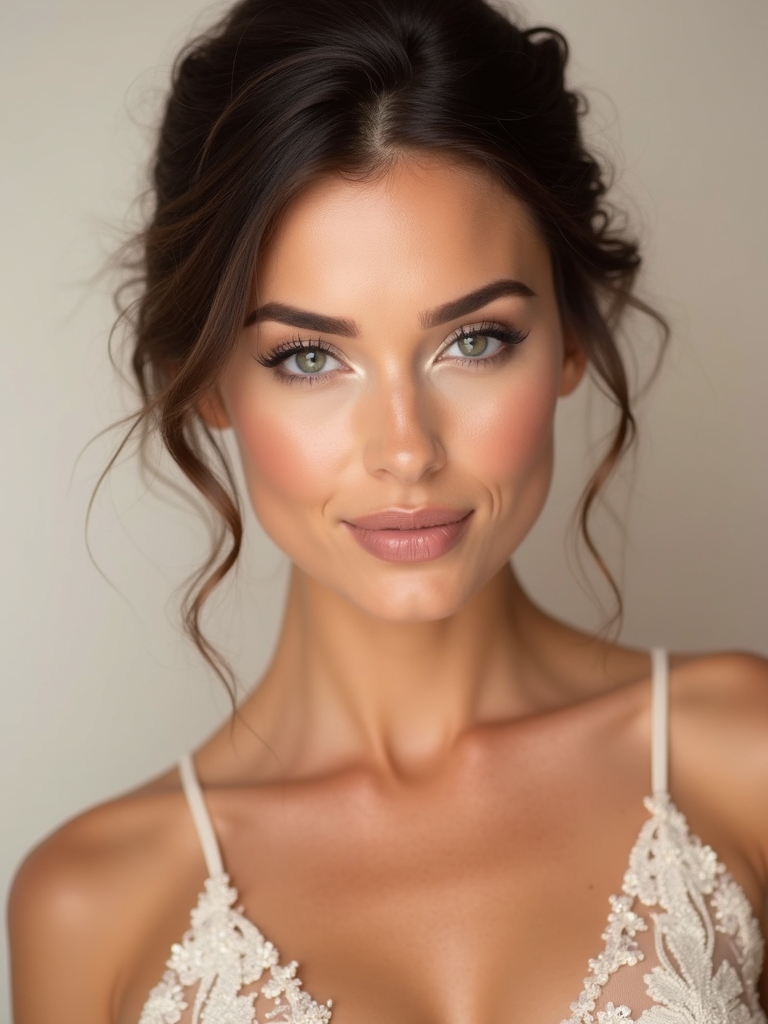
Matte vs. Satin: Finishes for Wedding Photos
Let’s chat about matte versus satin finishes for photos at the ceremony.
I love a matte finish for polish and longevity, but satin can catch light beautifully without looking flat.
I’ll share when matte’s your sure-cut and when satin’s the better glow, so our photos stay flattering now and in years to come.
Matte Finish Advantages
Matte finishes can be a quiet superpower in wedding makeup, especially on camera: they minimize shine and keep skin looking smooth without the heaviness of dewy formulas.
- Velvet-smooth skin that reads flawless, not greasy
- Subtle texture that catches light just right
- Longwear confidence when photos linger through laughter and tears
Satin Finish Considerations
Satin finishes offer a kinder glow than matte, trading a feather-light texture for a soft, reflective sheen that still reads polished on camera.
I prefer satin when photos demand warmth without shine overload. It forgives fine lines, preserves color depth, and resists powdercake.
My tip: pair satin with a satin-finish setting spray to keep that natural, camera-friendly radiance all day.
Coordinate With Neckline: Wardrobe Glam Harmony
Necklines aren’t just a fashion detail; they’re the roadmap to a cohesive look that makes you glow in photos, ever.
I pair makeup with necklines to keep harmony, not competition.
- V-neck elongates lines with soft, balanced blush
- Boat neck flatters collarbones, so I keep brows bold
- Sweetheart flatters curves, I soften lips for balance
Travel-Proof Touch-Ups: On-the-Go Essentials
Travel days don’t have to wreck your look; I keep a mini arsenal that fits in a clutch or a TSA-friendly pouch, so you can touch up without a full routine.
I pack a creamy concealer, translucent powder, a tiny brush, rosy balm, and a matte lipstick.
Quick blot, dab, blend—polished, portable, and ready for any photo-op or hallway selfie.
Trial Run Rituals: Rehearsing the Look Before the Big Day
I start with a trial run ritual that keeps the look from feeling mysterious—we test color, coverage, and longevity until it behaves like you expect.
I’ll share simple prep steps and practical tips for a Look Rehearsal that actually fits the day’s schedule, lighting, and photos.
Let’s discuss how to translate Trial Run Prep into a confident, polished result you can trust on the big day.
Trial Run Prep
What’s the best way to nail the look before the big day? I build the rhythm: prep, practice, polish, then reveal.
A trial run isn’t vanity; it’s confidence in disguise. It calms nerves, checks shade accuracy, and matches textures to photos and lighting.
- calm room, clear mirror, soft music
- sample shades on skin, not wrist swatches
- timeline with touch-ups and exit strategy
Look Rehearsal Tips
Look, the trial run wasn’t just about swatching eyeshadow on a forearm and praying for perfect lighting; it’s the rehearsal where you lock in the vibes.
I walk through lighting, hair, and lashes, noting how textures interact on skin. I test longevity, primer grip, and transfer—adjusting colors as needed.
Confidence blooms when the look survives the day, flawlessly.
Conclusion
Ever notice how the makeup mood—subtle, not shouty—happens to sync with life’s little coincidences? I did: the day I finally mastered a skin-loving base, my best friend wore a nearly identical shade under her eyes, and we both looked the same age for the first time in years. Coincidence? Maybe. Or just good prep. Your MOTB plan—prep, finish, fix, and a trial—will glide you into the reception with calm and a camera-ready glow.