I’ve scouted 16 Halloween bride looks that strut the line between spooky and chic, so you can win with confidence. Think bold themes, cohesive color stories, and dramatic textures that photograph beautifully. I’ll show you pale-expression bases, sculpted edges, and blood-red accents without overdoing it, plus vein hints for realism and dreamlike moonlit glitter. We’ll secure it all in with durable, camera-ready sets and comfy skin care. Keep going and you’ll reveal even more killer tips.
How to Win Halloween Contests: Core Criteria and Strategy
Winning Halloween contests isn’t magic—you win it by nailing a strong concept, flawless execution, and a show-stopping finish that sticks with the judges.
I translate vibes into a tight plan: a bold theme, cohesive color story, and texture drama.
Practice timing, lighting, and last-minute tweaks. Confidence sells, precision wins.
Stay clever, stay fearless, and let your look whisper, “I designed this.”
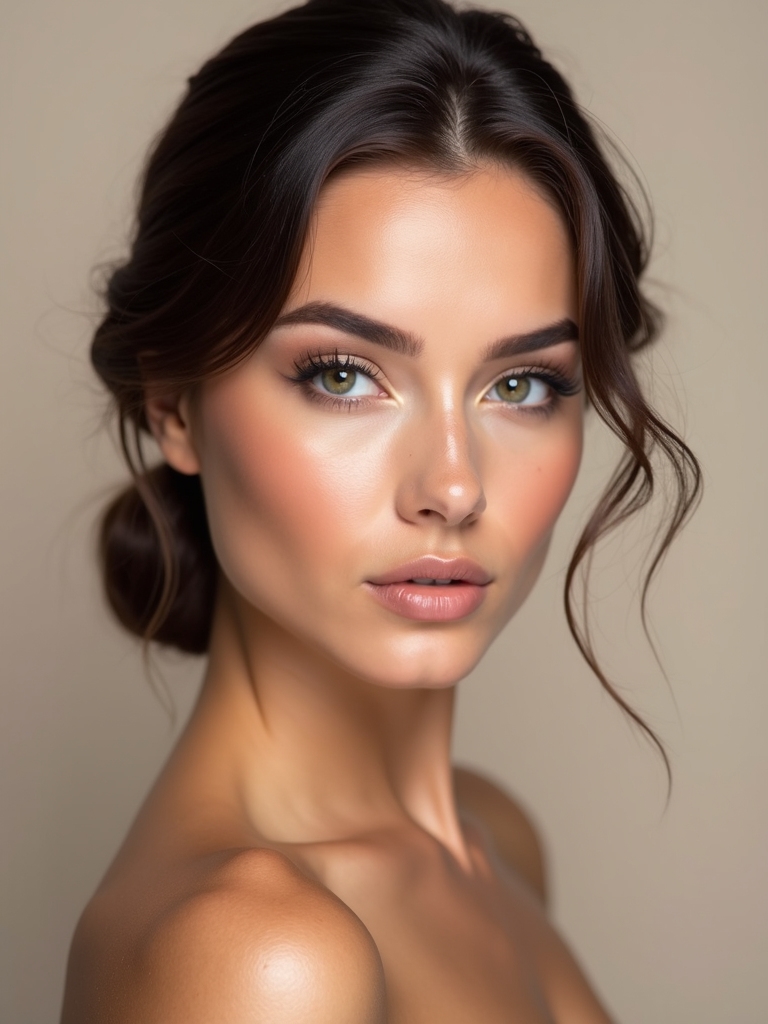
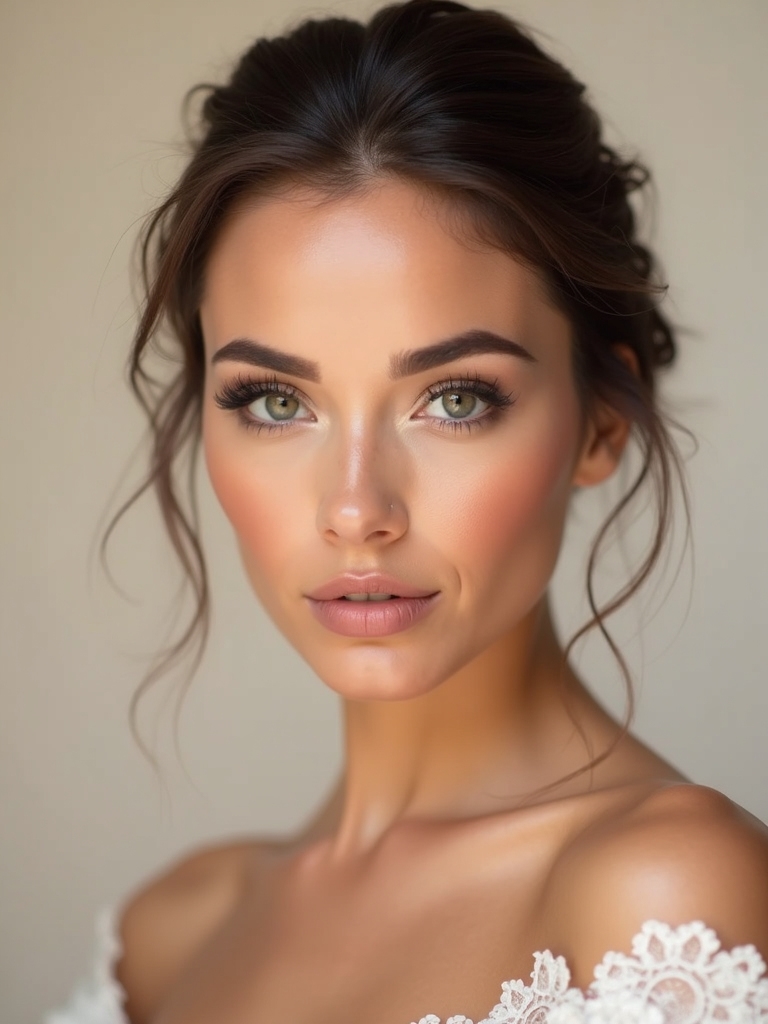
Pale-Expression Masterclass: Creepy, Elegant Base
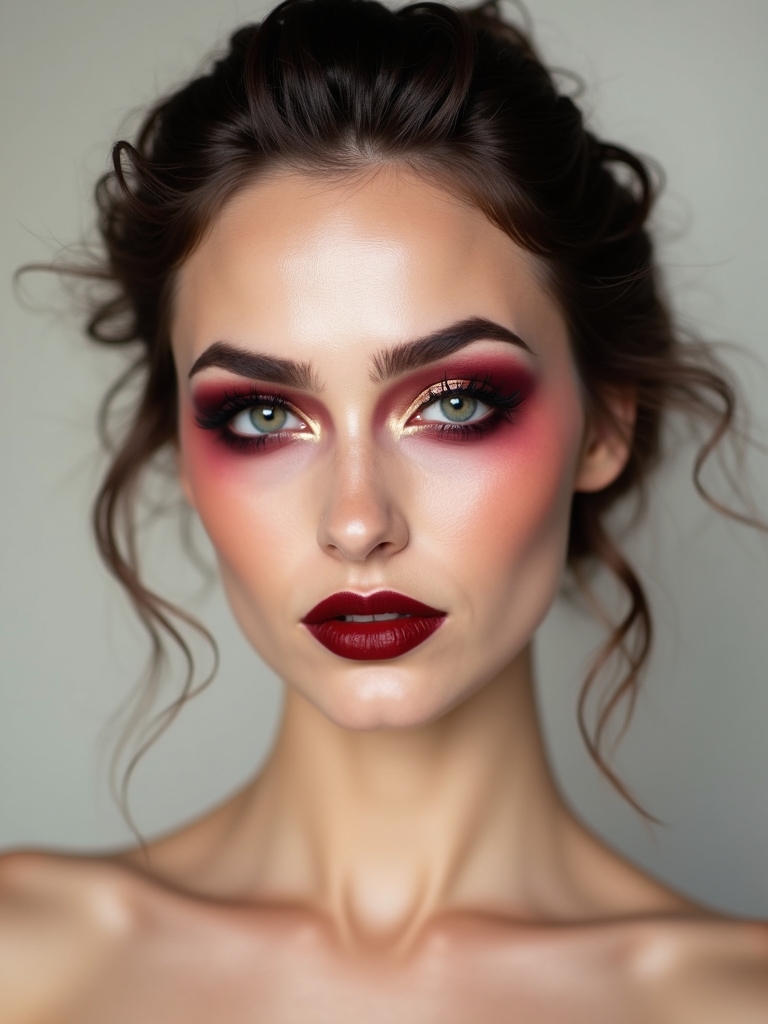
Pale is the moodboard you didn’t know you needed—an elegant, almost porcelain canvas that makes every creepy detail pop.
I start with a whisper-thin base, veiling redness and glow into alabaster, then gently set with translucent powder.
I keep contrast clean, sipping shadow where it matters, so expressions linger eerie-yet-chic.
You’ll notice haunting clarity without looking heavy or masky.
Sculpted Edges for Hollowed-Feature Drama
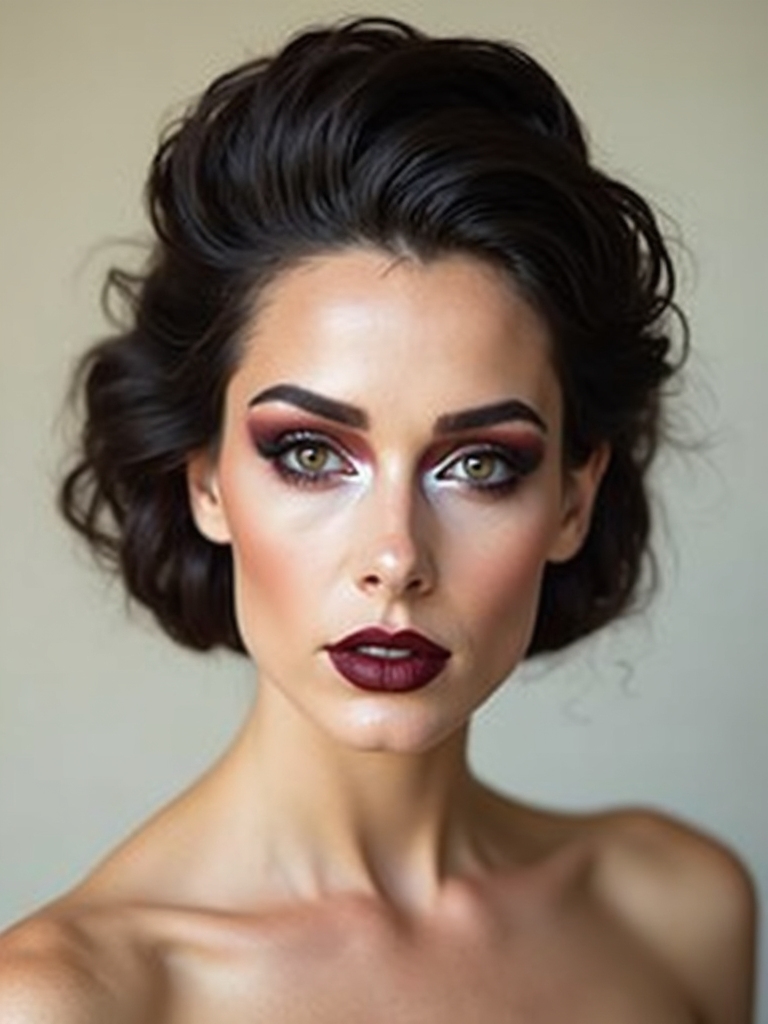
Sculpted edges are my secret to hollowed-feature drama, framing the face with shadow as if chiseling a moonlit sculpture.
I map cheek hollows, jawlines, and temples with cool contour, then blend softly for a drama that reads chic, not grim.
You’ll see dimension pop under candlelight, yet remain wearable—modern, bold, and perfectly spooky for a bridal-night moment.
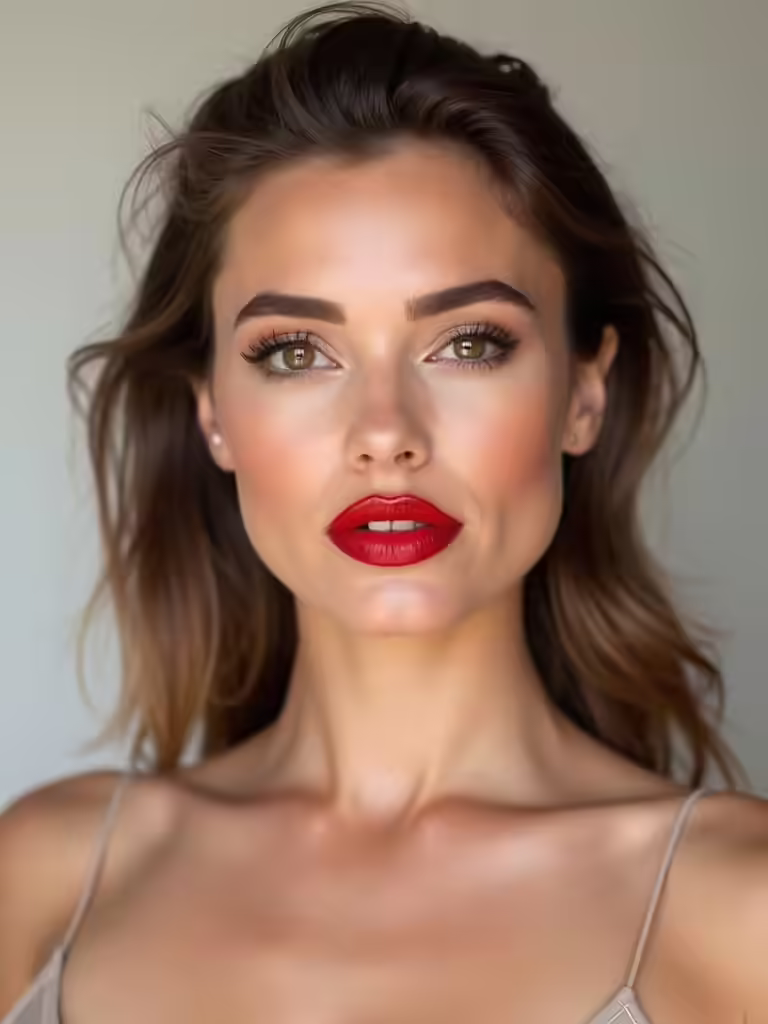
Blood-Red Accents Without Overdoing It
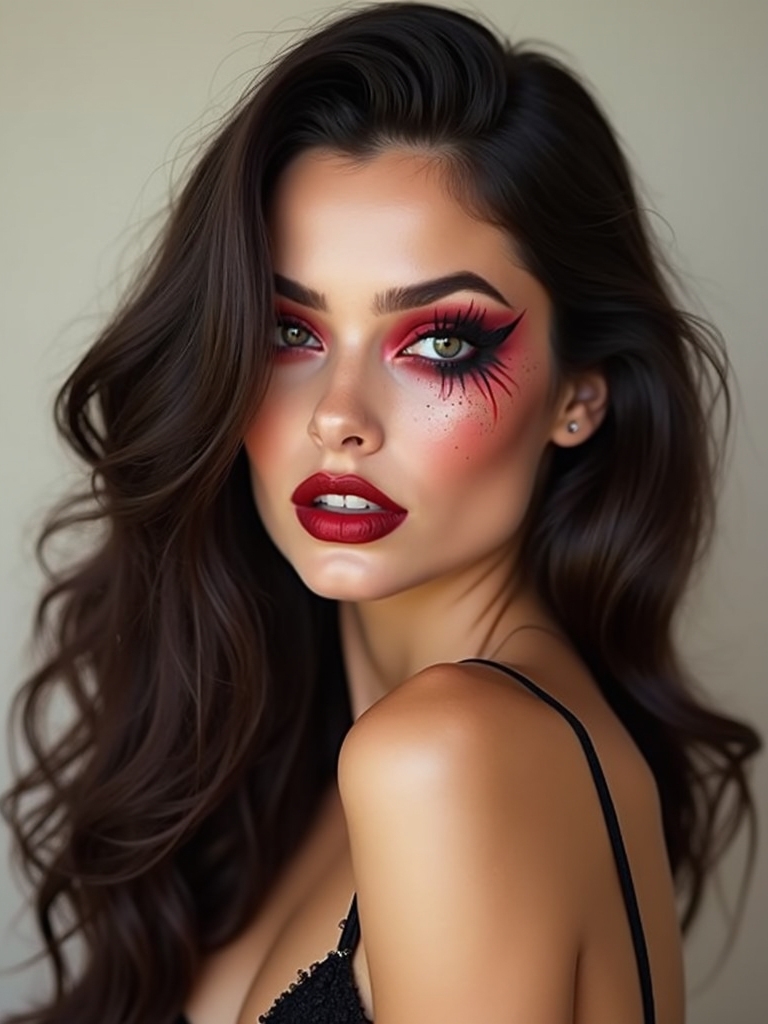
Blood-red accents punch up the bridal look without tipping into carnival vibes.
I keep it chic: a minimalist kiss of crimson liner, a sharpened ruby gloss, and a single statement jewel-toned lash for contrast.
Subtlety wins, so I pair the color with soft neutrals and a matte base. Incorporating bold makeup ideas can elevate your bridal look to an unforgettable level.
You’ll glow, not glare, on Halloween night.
Vein Veiling for Realistic Halloween Skin
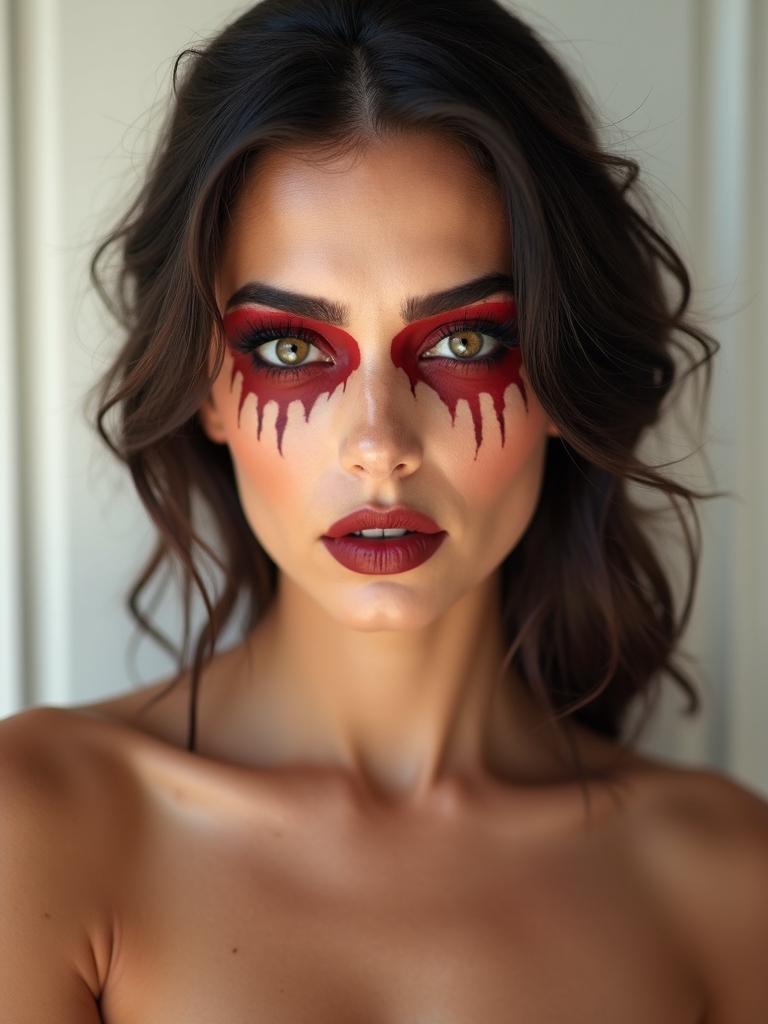
I’m curious how you’ll layer Veins For Realism with skin texture effects to keep everything looking alive, not flat.
We’ll play with subtle vein depths and color shifts to hint at shimmer under light, while still reading as real skin.
Let’s chat about how to stage those veins just right, so the overall vibe stays haunting yet chic.
Veins For Realism
Veins don’t have to scream “fake skin” to sell the look; with a few smart veiling tricks, you can add realism without overdoing it.
I blend subtle navy, red, and violet tones under sheer layers, letting faint lines glow beneath.
I keep placement strategic, so texture whispers, not shouts, keeping the bride’s glow eerie yet believable.
Skin Texture Effects
Texture matters as much as color when you want skin that reads as haunted but not crusty.
I tap into subtle skin texture tricks, layering fine powders and translucent gloss to create a veiny, veiled surface.
You’ll notice tension at the edges, a lived-in glow, and a celebrity-skin-from-a-movie realism.
Playful yet precise, texture sells the spooky story.
Staging Vein Depths
Staging vein depths isn’t about painting cartoonish lines; it’s about veiling and revealing just enough to read as haunted in motion.
I guide you through subtle blue-tint veins and shadowed hollows, blending with foundation so they breathe naturally.
You’ll see depth without drama, a chic, eerie realism that anchors the Halloween bride look while remaining wearable and modern.
Haunted Eyebrows: Sharp, Defined, Monstrously Pretty
Haunted eyebrows aren’t just a detail—they’re the spine-tingling signature of a Halloween look, sharp enough to slice through fog and soft enough to stay flawless all night.
I define them with clean, bold strokes, precision arches, and a touch of menace. I keep color true, spacing deliberate, and texture matte, so expressions stay fierce, eerie, and curiously chic from dusk till dawn.
Smoke and Mirror Lids: Smoke-Stacked Eye Drama
I’m obsessed with Smoke-Streaked Lids that bring instant drama, like a velvet curtain at curtain call.
I’ll show you how Smoke-Stacked Eye Drama can lift a Halloween bride’s gaze with moody, blended shadows that flirt with light.
Ready to play with smoky edges, bold contrasts, and a look that’s all about statement lashes and magnetic mystique?
Smoke-Streaked Lids
Smoke-streaked lids aren’t just a look; they’re a mood. I’m chasing that smoky, seductive edge, like candlelight flickering on a haunted mirror.
I blend matte charcoal with silvery sheen, tight-lining the upper lash line for definition, then sweep a soft blur outward. It reads bold, wearable, and editorial—perfect for a Halloween bride who wants drama without shouting.
Subtle yet statement-making.
Drama-Driven Shadows
When it comes to drama-driven shadows, I’m all about smoke and mirrors—literally.
I whisper secrets with smoldering gradients, blending charcoal into velvet dusk, then midnight into ember edges.
You’ll love how I stack depth, curl my lashes, and let glare flicker like candlelight.
This isn’t shy; it’s a bold, runway-ready twist that drags Halloween into a glamorous, spellbinding moment.
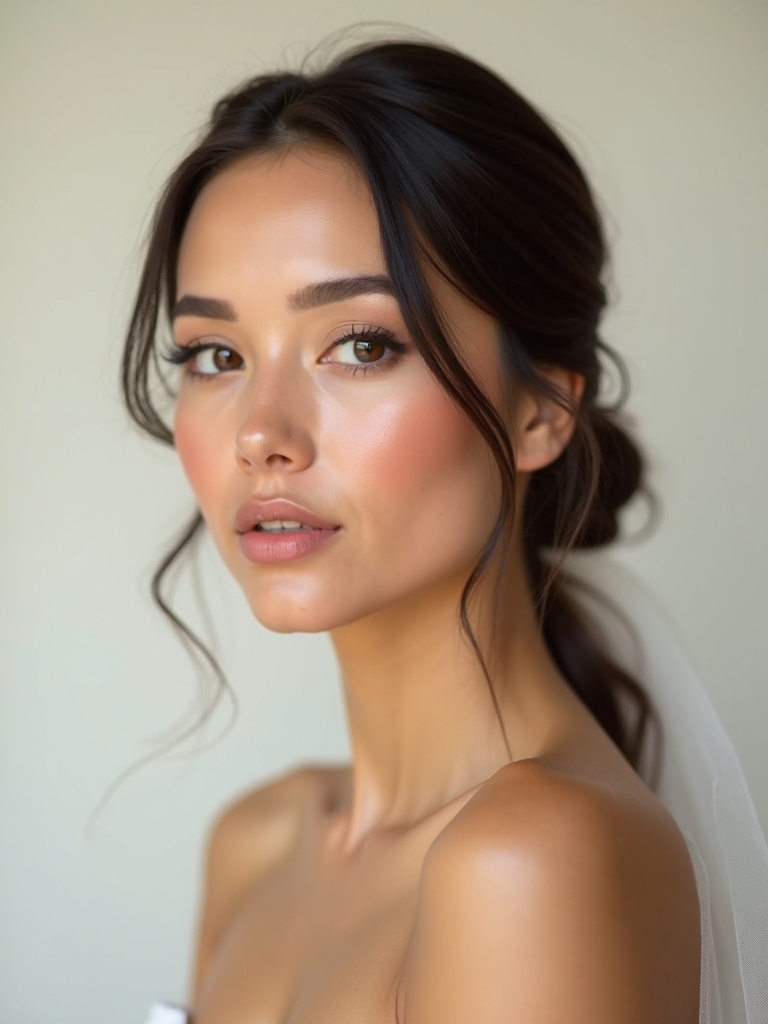
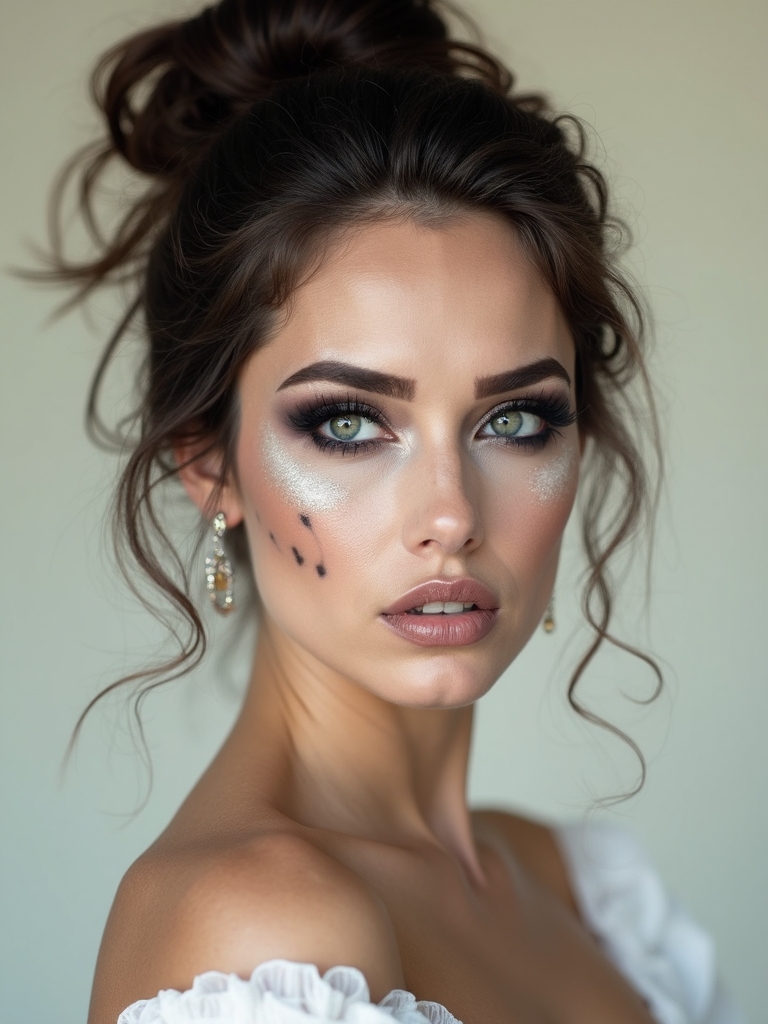
Moonlit Glitter: Subtle Yet Scare
Moonlit glitter isn’t about flashy disco balls—it’s about a whisper of sparkle that glows under Halloween night.
I guide you to a subtle glow that reads as magical not loud, perfect for a bridal scare with class.
- Tap a moonbeam highlighter for a soft halo
- Dot fine glitter along lash line, barely there
- Set with a mist to keep it dreamy, durable
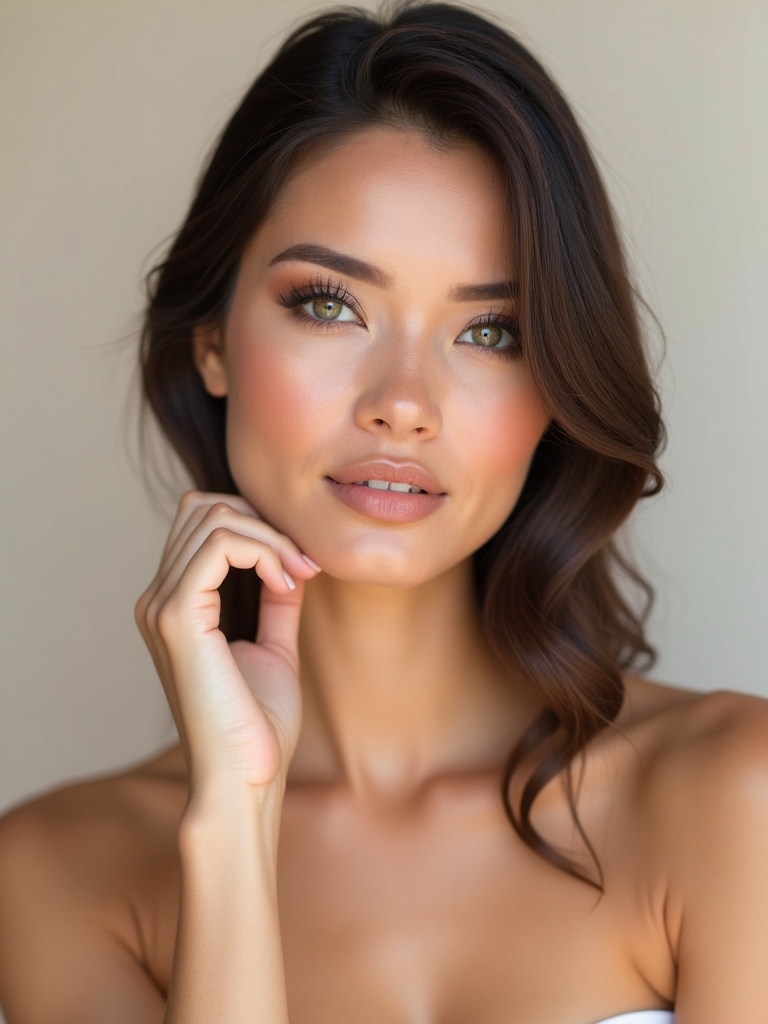
Contouring for Ghostly Dimensions
I’m shaping ghostly dimension with ghostly shade techniques that sculpt light and chill shadows just right.
I’ll share dimensioned contour secrets that give you eerie depth without tipping into theatrical.
Stay with me as we contour for a hauntingly radiant.
Ghostly Shade Techniques
Even when the lights go low, I love sculpting ghostly dimension with contour, because the right shade trick makes your cheekbones look like they’re lit from within.
Ghostly shade techniques keep it fresh, chic, and wearable, so you glow without looking muddy.
- Tap cool-toned shadows under cheek hollows for haunting separation
- Sweep translucent highlight along the brow bone and cupid’s bow
- Blend, then blur harsh edges for a spectral, seamless finish
Dimensioned Contour Secrets
Curious how to sculpt a ghostly dimension that practically glows on cue?
I reveal Dimensioned Contour Secrets, a precise recipe for ethereal depth. I blend cool-toned sculpting with warm highlights, carving cheek hollows and jawline shadows for spectral lift.
I keep edges feathered, enhance with subtle shimmer, and test under moonlight-hued lighting.
You’ll master dimension that reads otherworldly, flawlessly cinematic.
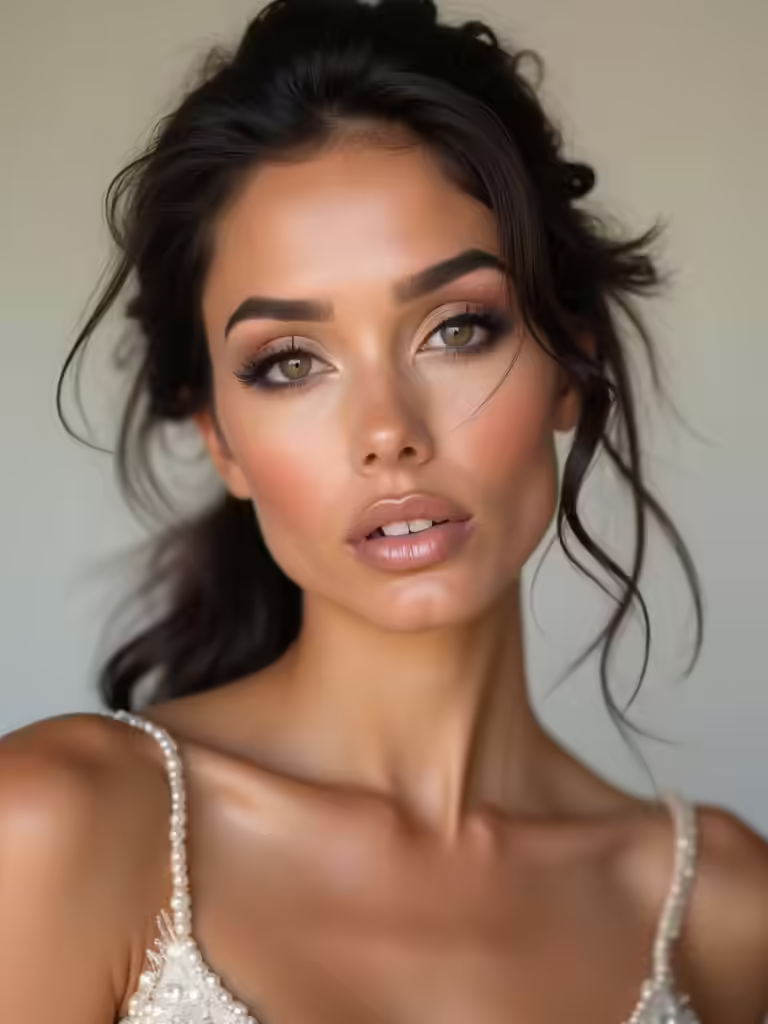
Finishes That Read on Camera: Matte, Satin, Wet-Gloss
Finishes that read on camera can make or break a Halloween bride’s look, and understanding matte, satin, and wet-gloss helps you pick the right vibe for the moment.
I’m guiding you through texture choices that photograph flawlessly, without overdoing the drama.
- Matte: control shine, modern edge
- Satin: balanced glow, camera-friendly
- Wet-gloss: high-drama, glossy finale
Prosthetic Tips: Seamless Spooky Transformations
I’m sharing my go-to moves for seamless prosthetics that read as one with the skin.
From precise edge work to skin-safe adhesives, I’m chasing realism without the fuss.
Stick with me for tips that keep prosthetics looking gorgeously spooky, not bulky.
Seamless Prosthetic Techniques
Seamless prosthetics can look almost magical when you blend edges right into the skin, so you’ll want to plan a tiny, invisible seam before you start.
I’ll guide you with quick, chic tricks that read flawless on camera and stage.
- Buff edges with a sponge and translucent adhesive for nude diffusion.
- Match pigments to skin undertone, not surface tone.
- Set with a gentle veil of setting powder for longevity.
Realistic Application Tips
Realistic application hinges on noticing every tiny edge and making it vanish.
I approach each prosthetic with a detective’s eye, blending edges into skin like coffee into milk. I dab, press, and stipple—never hurry—so textures mimic real skin.
Color tones melt, shadows whisper, and seamless seams disappear. Trust the process, and your hauntingly flawless transformation will captivate every judge.
Durable, Camera-Ready Settings
When you’re chasing a Halloween bride look that sticks through selfies, dance floors, and candlelit moments, you’ll want durable, camera-ready settings that actually perform.
I’ll guide you to sweat-proof, bite-proof, glow-proof choices that stay put.
- Lock in with a long-wear foundation and setting spray.
- Tap translucent powder in a light, breathable layer.
- Bring a mini touch-up kit for on-the-go fixes.
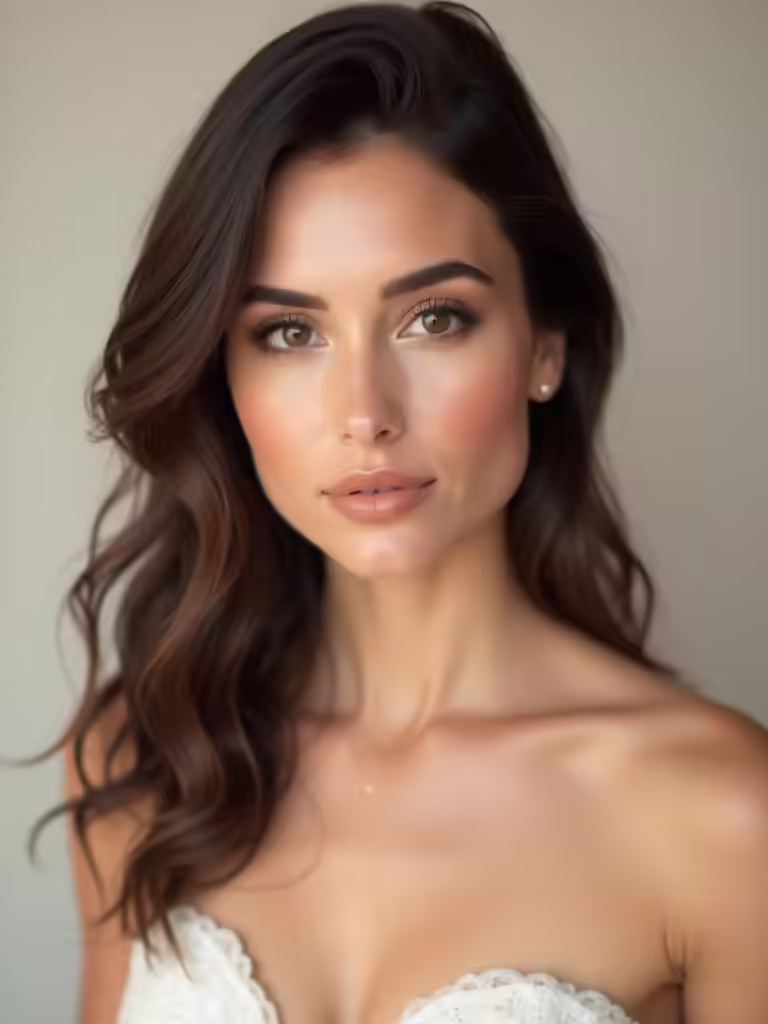
Costume-Makeup Synergy: Bridal Gown-Themed Concepts
From durable, camera-ready results, we pivot to how to fuse bridal gown vibes with makeup that reads as a cohesive costume—so your entire look feels like a single, story-ready moment.
I suggest satin-skin bases, pearlized lids, and lace-ish liner to echo textures, while bold lip noir nods to gothic romance. Incorporating enchanting goth bride makeup can elevate your entire aesthetic, ensuring a captivating presence on your special day.
Keep silhouettes soft, accessories minimal, drama focused, and mood unified.
Skin Safety and Comfort for All-Night Photos
A handful of simple habits keeps your skin comfy and camera-ready through all-night shoots. I promise, you’ll glow without slipping.
Stay hydrated, set makeup with a lightweight primer, and blot gently to control shine.
1) Hydration,
2) Primer,
3) Strategic blotting—repeat as needed for all-night drama without cakiness or irritation.
Quick-Apply Variations: Day-to-Night Contest Prep
If you’ve nailed the all-night glow, you’re ready for a quick-switch challenge: Day-to-Night contest prep that stays flawless with minimal fuss.
I mix a whisper of cream blush with a matte lip, then lock it in with a translucent set.
Switch lighting with a dab of highlighter, stroke of liner, and bold, confident drama for seconds.
Done, dramatic, delivered.
Troubleshooting Common Bride-Makeup Mischiefs
When the big day hits, makeup gremlins love to show up—melting foundation, creasing liner, and lipstick that refuses to stay put.
I’ve got quick fixes that keep you radiant all ceremony long.
1) Blot and set with translucent powder, then reapply only where needed.
2) Tightline with waterproof liner to prevent transfer.
3) Set spray, light pat, no rubbing—stays fresh, feels weightless.
Additionally, consider incorporating flawless wedding day makeup techniques to enhance your overall look.
Conclusion
Love, I know contests can feel like a velvet-decked maze, but you’ve already got the map. Think of your bridal-blooded look as a couture whisper—bold enough to stun, gentle enough to linger. If a detail wobbles, don’t panic; nudges and tweaks are your backstage magic. Playful yet poised, you’ll glide from dawn photos to midnight reverie, keeping skin comfy, hues fresh, and eyes sparkling with just the right secret. You’ve got this—drag the spotlight softly, darling.