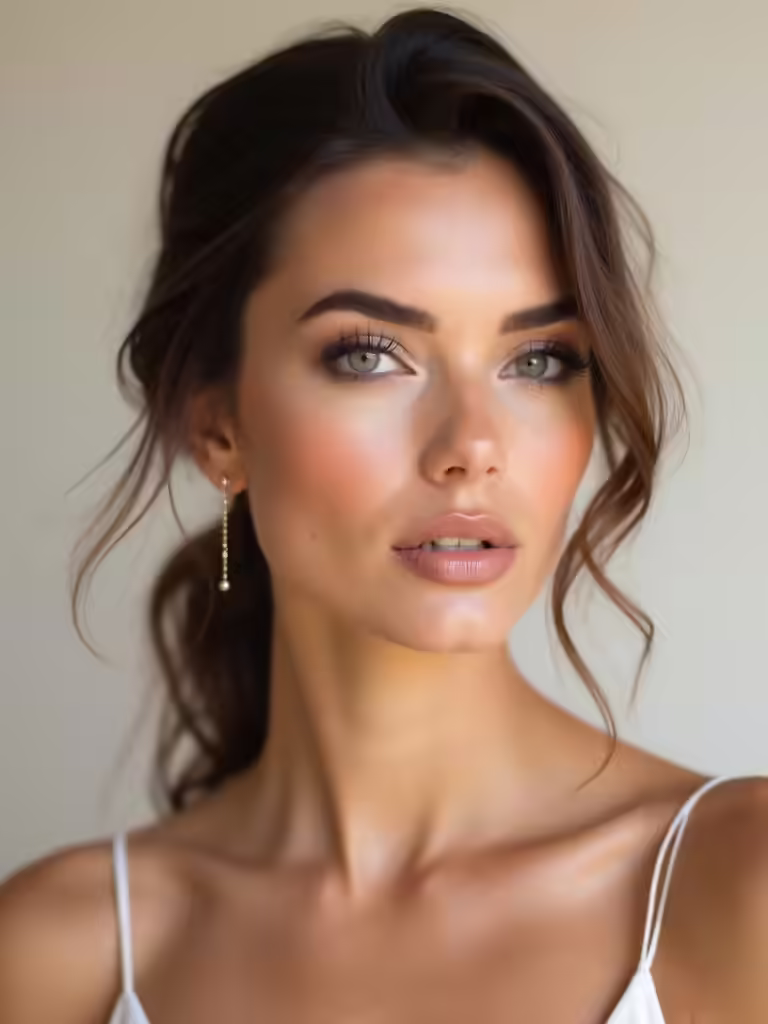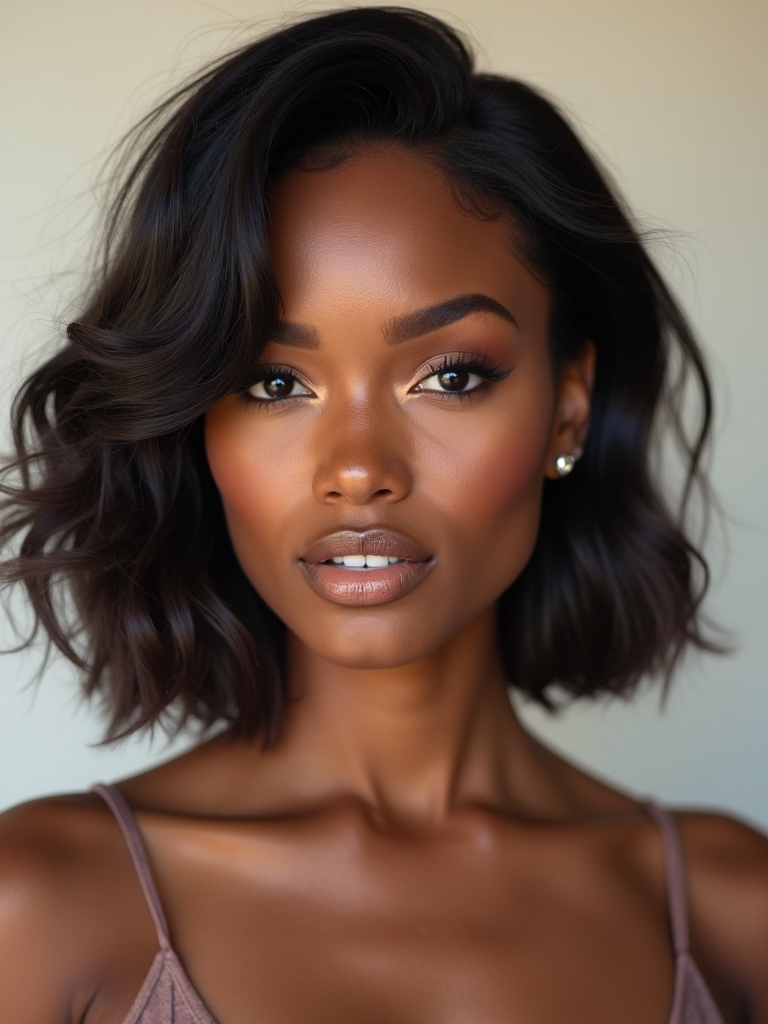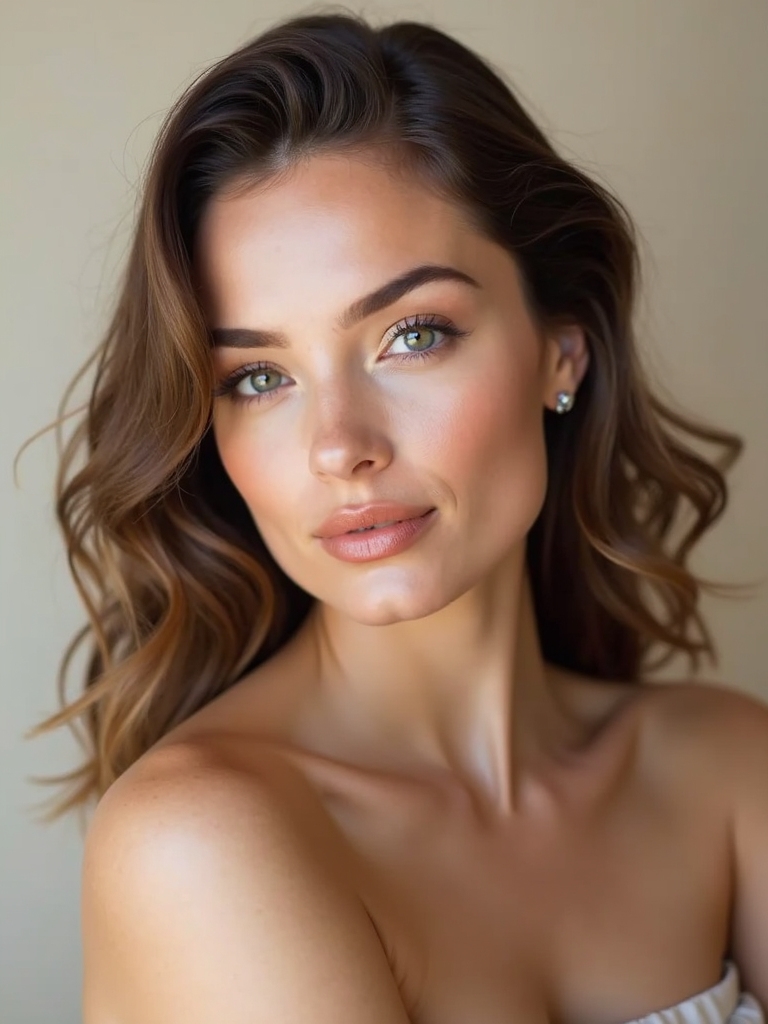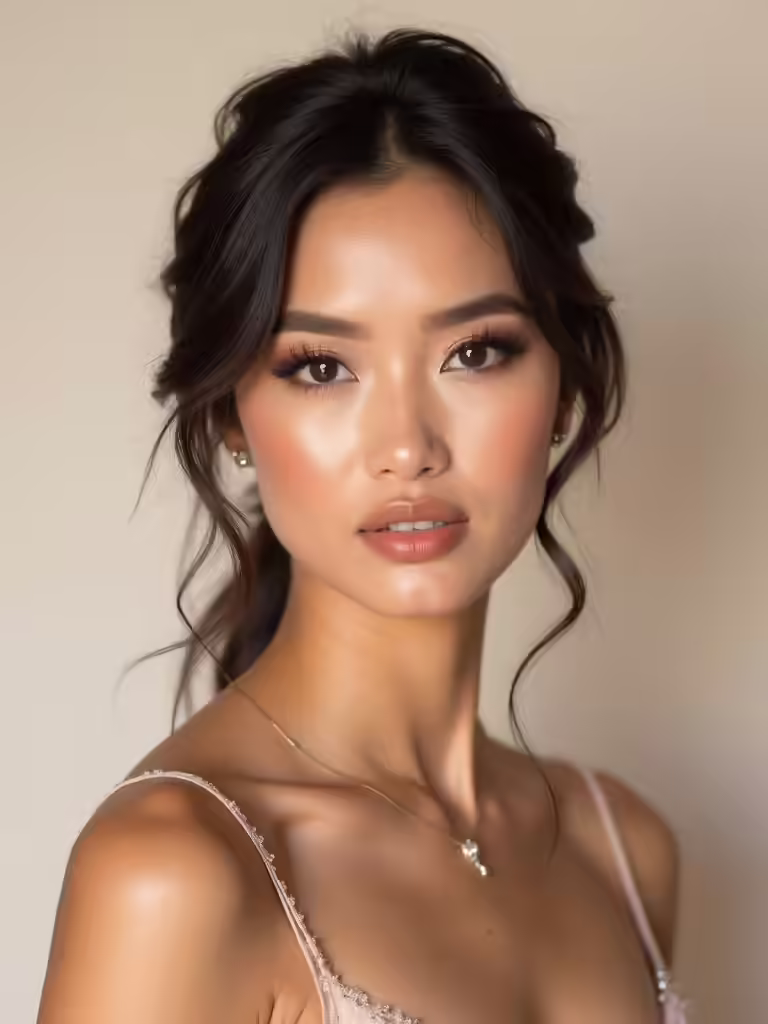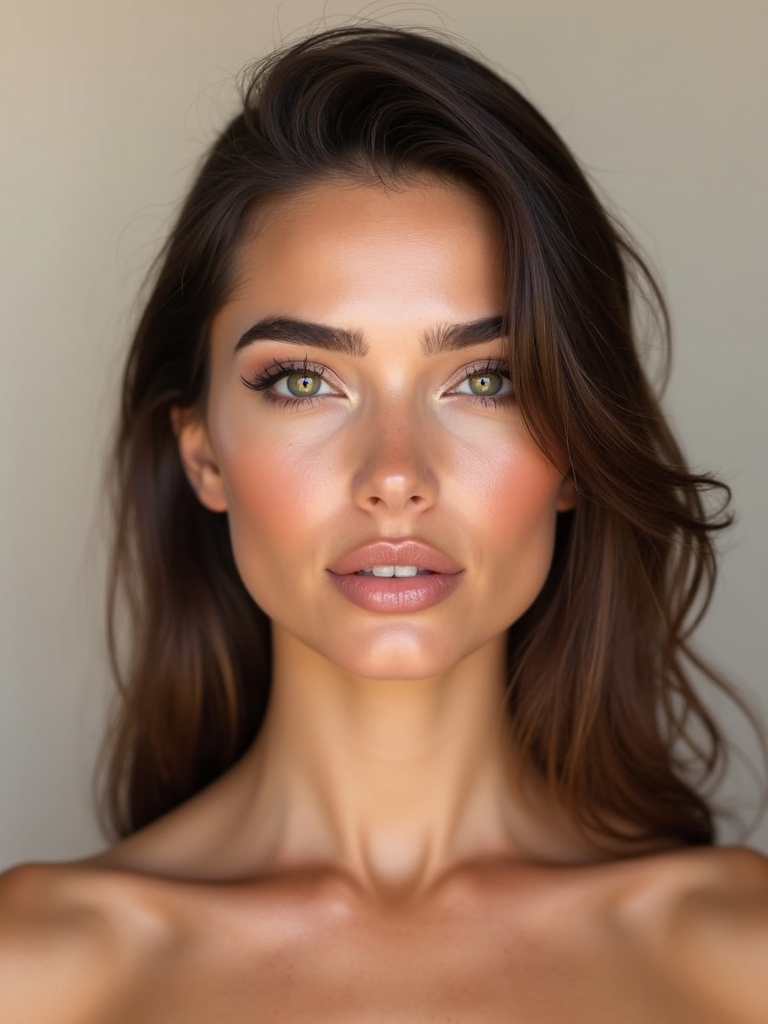
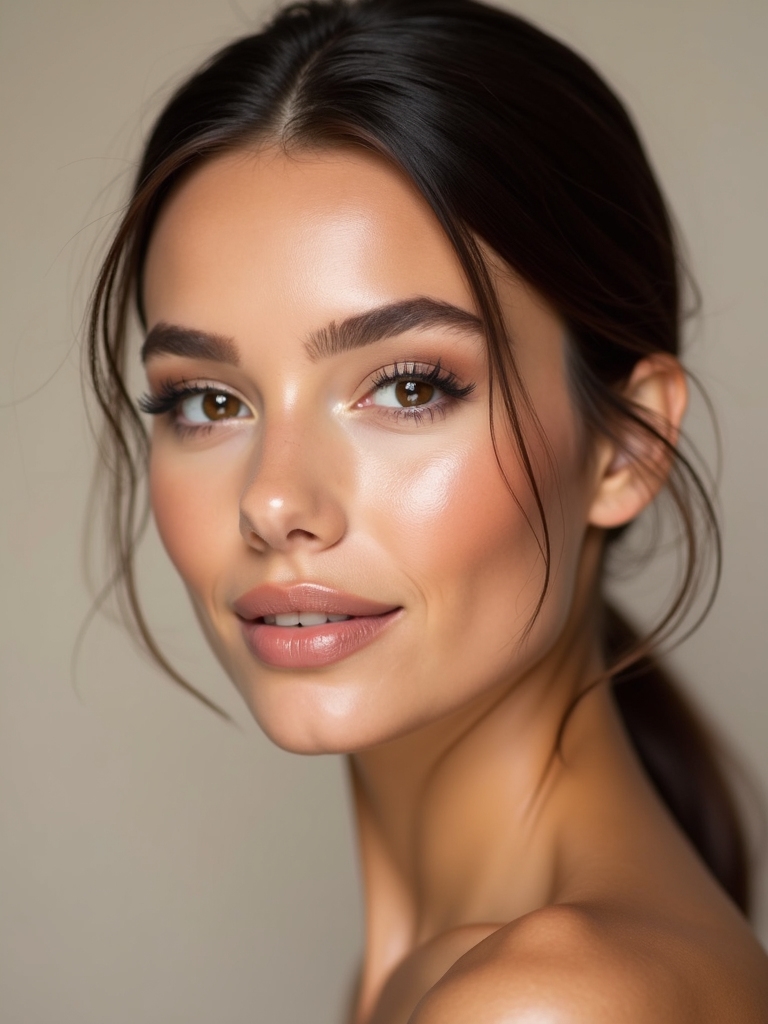
I’ve got you covered with camera-ready makeup that flatters every skin tone and keeps you glowing from the ceremony to the last kiss. My approach starts with skin prep for a smooth canvas, then lightweight foundations that feel invisible yet photo-ready. I favor subtle contour, natural blush, and sheer highlighters to avoid shiny moments. I tailor looks to indoor, outdoor, and dusk lighting, ensuring cohesion across the shoot. Curious what else you’ll discover next?
What Engagement-Photo Makeup Solves for You
This kind of makeup isn’t about chasing perfection; it’s about presenting your best, most confident self in the most flattering light.
I tailor it to erase photo-day jitters, balance skin texture, and prevent shine under bright lights.
Subtle contour sculpts, defined lashes, and a kiss of color boost your features without looking dated.
You’ll glow confidently, camera-ready, from ceremony to sunset portraits.
Incorporating stunning makeup ideas can elevate your look and ensure you feel radiant throughout your engagement shoot.
Foundations for a Camera-Ready Glow
I’ll start with skin prep that primes glow, because a smooth canvas makes every shade of glow feel effortless.
I’ll share light-ready foundation tips and the right powder techniques to keep shine in check without looking heavy.
Let’s talk textural harmony, so your engagement photos read fresh, not cake-y, from shot to shot. Additionally, using lightweight formulas can enhance your natural beauty while ensuring your makeup lasts all day.
Skin Preparations For Glow
A camera-friendly glow hinges on skin that looks hydrated and smooth from the first frame, so I start with prep that loves your face, not masks it.
I prioritize gentle exfoliation, hydration serums, and a light balancing mist, then prime where needed. This groundwork keeps makeup seamless, prevents powdery texture, and preserves the skin’s natural radiance for a believable, effortless glow. Additionally, using flawless natural makeup can enhance your overall look without overwhelming your features.
Light-Ready Foundation Tips
From a hydrated, smooth base, the right foundation should feel nearly invisible on camera, so I pick formulas that blur lines without settling into texture.
I favor lightweight, medium-build covers that melt into skin, not mask it. Blend with a damp sponge, set sparingly, and allow skin’s natural sheen to show.
Avoid cake, patchiness, or heavy undertones; keep luminosity steady. Additionally, selecting foundations that shine under various lighting can enhance your overall look in those special moments.
Camera-Ready Powder Techniques
When it comes to a camera-ready glow, a light dusting of powder does the heavy lifting without dulling skin.
I choose a translucent shade, tapping off excess, and apply with a fluffy brush in sheer, feather-light strokes.
Set lightly, blend edges, and let texture remain visible.
Finish with a subtle sweep on T-zone for longevity, not flattening luminosity. For optimal results, consider incorporating a radiant makeup look that enhances your natural beauty.
Match Foundations to Skin Tone and Undertone
I start by matching undertone variations, because a perfect base should feel invisible yet true to you.
Then I’ll share straightforward foundation shade guidelines that fit your skin tone without guessing, so the camera never betrays you.
Finally, we’ll talk through skin tone compatibility to keep your glow cohesive from ceremony to celebration. Additionally, consider effortless chic makeup styles that enhance your natural beauty without overwhelming your features.
Matching Undertone Variations
Finding your perfect match starts with understanding undertone, not just shade depth.
I tweak foundations to honor cool, warm, or neutral hues, noticing how underlight affects photos. I test small patches, gaze in natural light, and label matches confidently.
Undertone consistency matters more than depth alone—it prevents gray cast and pink halos on brighter frames, delivering seamless, photogenic unity. Additionally, using bridal makeup tips can enhance the overall look, ensuring your blue eyes truly stand out in photographs.
Foundation Shade Guidelines
Sure! Here’s the revised content following your directions:
—
Foundations aren’t one-size-fits-all; they’re a precise map for matching skin tone and undertone.
I test shade by mid-face swatches, not the jawline alone, ensuring balance under natural light. I note whether yellow, pink, or neutral undertones dominate, then select formulas with adjustable coverage.
In photos, subtle matching prevents gray cast and avoids masking your true hue. Confidence follows flawless, harmonious canvas. Additionally, gorgeous wedding makeup can enhance the overall look for your engagement pictures, making them unforgettable.
—
Let me know if you need any further adjustments!
Skin Tone Compatibility
Matching foundations to skin tone and undertone isn’t a guesswork game—it’s a precise, skin-crafting step.
I guide you to test in natural light, compare two near matches, then pick the one that vanishes into your neck.
Note undertone clues: warm, cool, or neutral.
Blend well, avoid ashy or muddy look, and keep your glow balanced for photos. Additionally, consider using waterproof makeup to ensure your look stays flawless throughout your engagement shoot.
Subtle Contouring for Definition, Not Drama
Subtle contouring isn’t about drama; it’s about definition that looks effortless. I guide you to shape light shadows, not shouty lines, so photos stay timeless. Let’s keep it clean, natural, camera-ready.
- Map the hollows softly with a cool-toned shade
- Blend upward, avoiding harsh edges
- Tap powder for longevity, not heaviness
- Focus contour near cheekbones, jawline, temples
Incorporating professional makeup tips can elevate your look further, ensuring you shine in every shot.
Blush That Looks Natural on Every Complexion

I’ll share natural-flush tips that work across tones, so your blush looks like a healthy glow, not paint.
We’ll cover universal picks that flatter many complexions and the best application techniques to keep color vibrant yet effortless.
If you try these moves, tell me which shade and method fits you best, and we’ll refine together.
Natural Flush Tips
When you’re aiming for a natural-looking flush, the key is choosing the right product and applying it with intent, not layers.
I’ll share quick, practical tips that work across complexions.
- Start sheer; build gradually
- Blend upward toward temples
- Choose warm pinks for universal glow
- Set with a light powder to prevent fade
Universal Blush Picks
Finding blushes that read universal on every complexion is all about shade range, texture, and how easy they’re to sheer up or build.
I’m drawn to soft pinks, peachy-nudes, and neutral berry tones that melt into skin. These picks balance warmth and depth, photograph beautifully, and stay natural without chalkiness, fading, or oversaturation.
Try one that harmonizes your undertone.
Application Techniques Across Complexions
Achieving a blush that reads natural across complexions boils down to technique, not just shade.
I guide you through trust-tested moves that stay flattering in photos, not fads. You’ll apply with a light hand, build color gradually, and blend along the cheekbone for lift, warmth, and realism.
- Sweep from apples to temples in a C-curve
- Build with sheer layers, not one bold swipe
- Use a fluffy brush for seamless diffusion
- Set with a touch of translucent powder for longevity
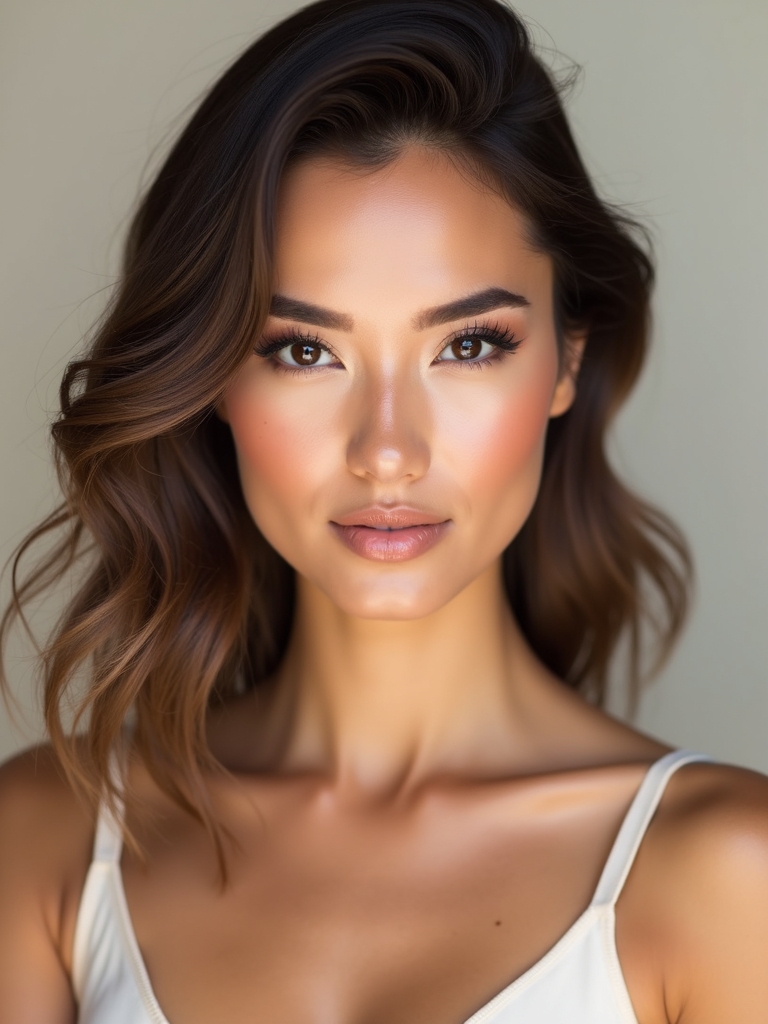
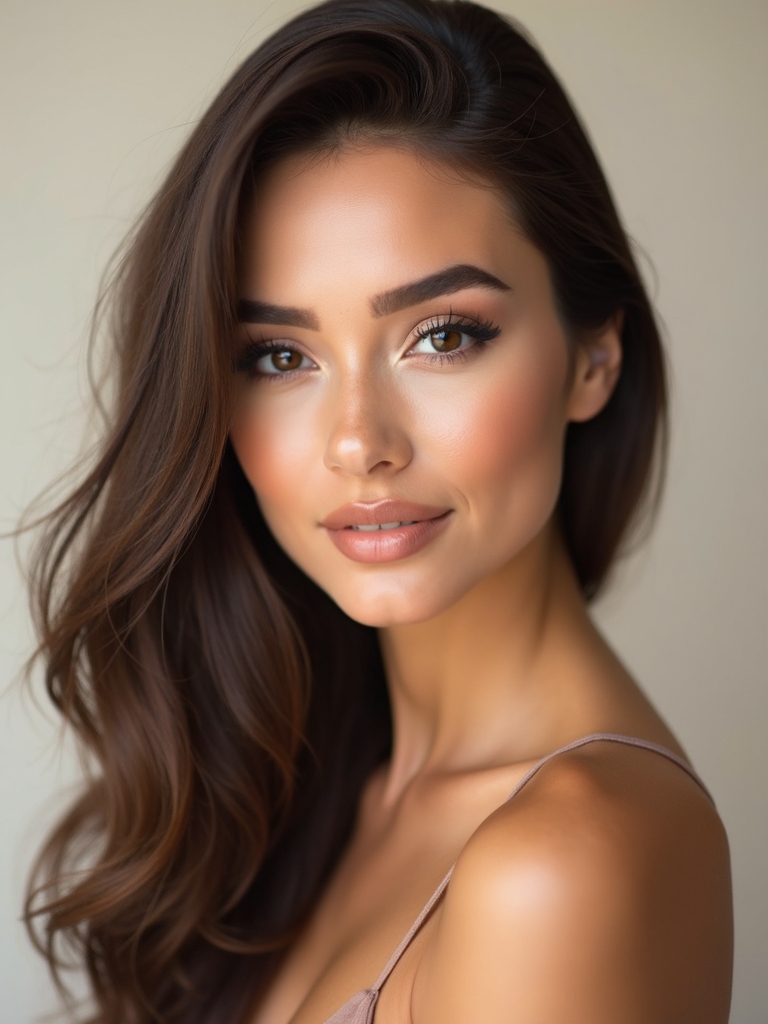
Soft Highlights for a Dewy, Camera-Ready Look
Soft highlights instantly lift your look, catching light just enough to glow without flashing shine.
I keep coverage light, layering sheer luminizers and a hint of pearl powder on high planes—cheekbones, brow bridges, cupid’s bow—so skin reads fresh, not oily.
I guide the camera with a subtle glow that feels natural, soft, and irresistibly photogenic.
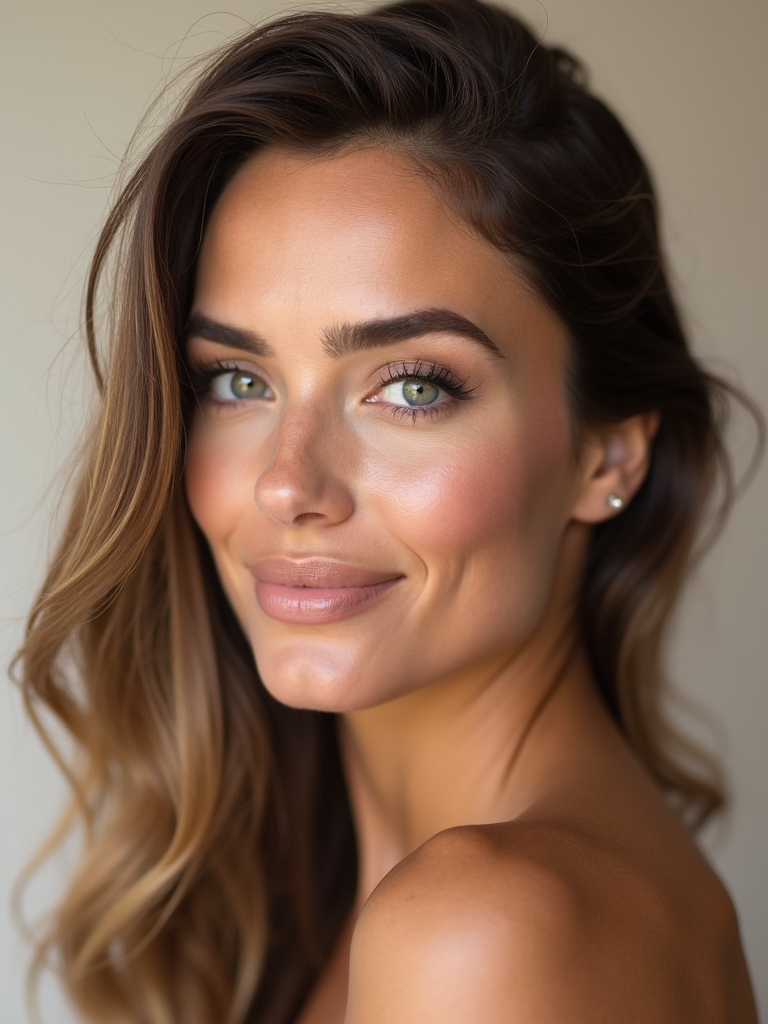
Eye Makeup That Opens the Eyes on Camera
Eye makeup that opens the eyes on camera is all about brightening the whites, lifting the lash line, and making your gaze read wide and awake.
I guide you through simple, camera-friendly moves you can trust.
1) Brighten the inner corner for instant luminosity
2) Sweep a light highlight along the lid to lift
3) Keep lashes clean and clear of heavy buildup
4) Balance with a soft brow feather for openness
Liner and Mascara to Define the Gaze
Liner and mascara can transform a gaze in minutes, giving it definition without heaviness.
I’ll keep the line clean—thin to medium, close to the lash line—to lift the eyes without overdoing it. A tight, precise wing reads polished on camera, while mascara adds separation.
Now you’re framed for focus, expressive and effortless, ready for those candid, radiant moments.
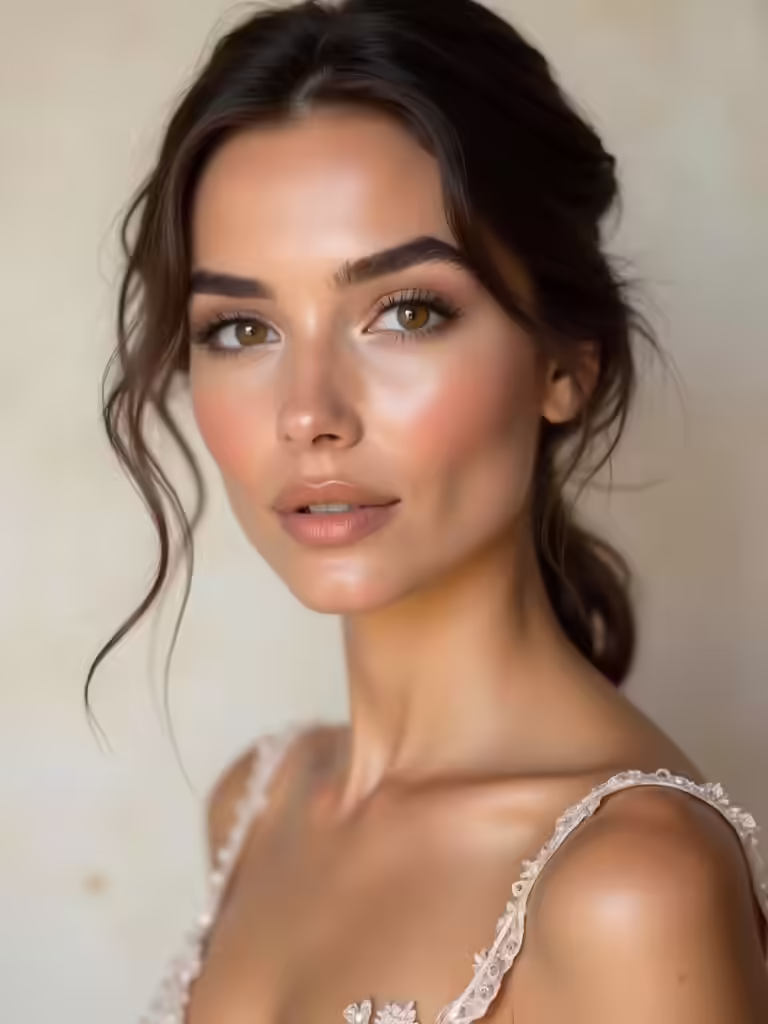
Lip Shades That Photograph Timelessly
When a shade photographs timelessly, it does more than color lips—it anchors the whole portrait.
I keep lip tones honest and versatile, so textures read soft yet refined, never flat.
- Nude cream for natural, enduring definition
- Rose mauve with satin finish for everyday polish
- Classic red with rich pigment for drama
- Dusty berry for romantic, timeless cool
Color Accents That Enhance, Not Distract
Color accents should elevate the portrait without stealing the show, so I lean toward small, purposeful pops that play off the lips and skin.
I favor subtle contrasts—soft blush, a whisper of taupe liner, a cool-toned highlight—that guide attention without shouting.
These accents unify makeup with outfits, photographs, and mood, keeping the focus on emotion rather than flash.
Clean, intentional, memorable.
Setting Techniques to Stay Fresh in Mixed Lighting
Mixed lighting can sneak in and shift skin tones, so I start by picking a base that reads true under both sunny and shaded angles, then adjust on the fly with quick, practical tweaks.
- Balance white under mixed temps
- Use a detachable reflector for fill
- Tap color correction sparingly
- Lock tones with a light seal
Venue-Based Makeup Adjustments: Indoors, Outdoors, Dusk
Venue choices shape how makeup reads on camera, and the trick is to tailor it to indoor, outdoor, and dusk environments without redoing the base every time.
I guide you to adjust brightness and contour for each setting, keep textures soft indoors, harness natural contrast outdoors, and warm tones at dusk.
Your look stays cohesive, glow-forward, and ready for any lighting moment.
Quick Fixes for Flash and Mixed Lighting Moments
When flash hits or lighting shifts, I grab fast fixes that keep the makeup looking authentic, not chalky or muddy.
I’ll share practical tweaks that save portraits without slowing the moment.
- Blot excess shine, then set with a light veil of translucent powder.
- Equalize color with a tiny dab of concealer on problem tones.
- Tap highlighter sparingly to avoid glare.
- Use a cool-curved mirror to check balance.
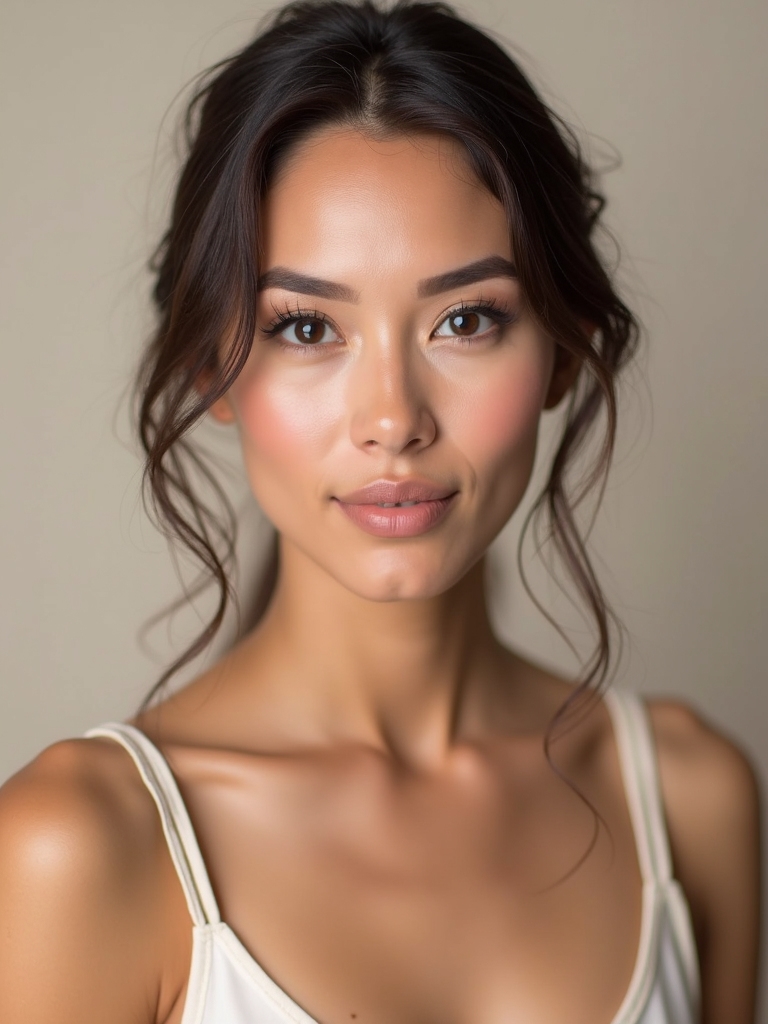
Maintaining a Cohesive Look Across the Shoot
Keeping the makeup looking unified across the whole shoot is about consistency, not perfection in every frame.
I’ll align foundations, lips, and blush with a shared palette, then tweak only for lighting shifts, not drastic changes.
I guide you to test looks beforehand, tag wardrobe notes, and shoot in sequence.
This cohesion reads as intentional, not staged, enhancing your story without distraction.
Conclusion
I’m thrilled you stuck with me through these glow-up tips. Here’s a fun stat to spark your bridal prep: photos with balanced, camera-ready makeup increase perceived warmth by up to 40% in engagement shots. So yes, the right foundation shade, a hint of contour, and a natural blush can transform not just the skin, but the whole mood of your photos. Trust the process, test a little, and you’ll love the results from start to finish.