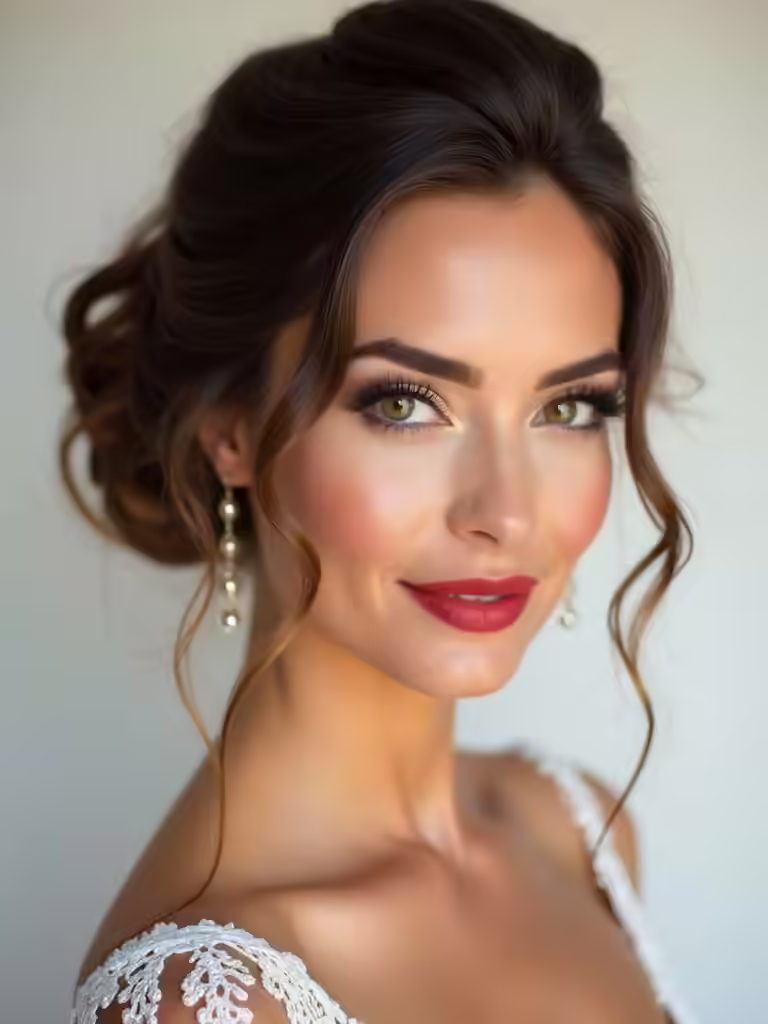
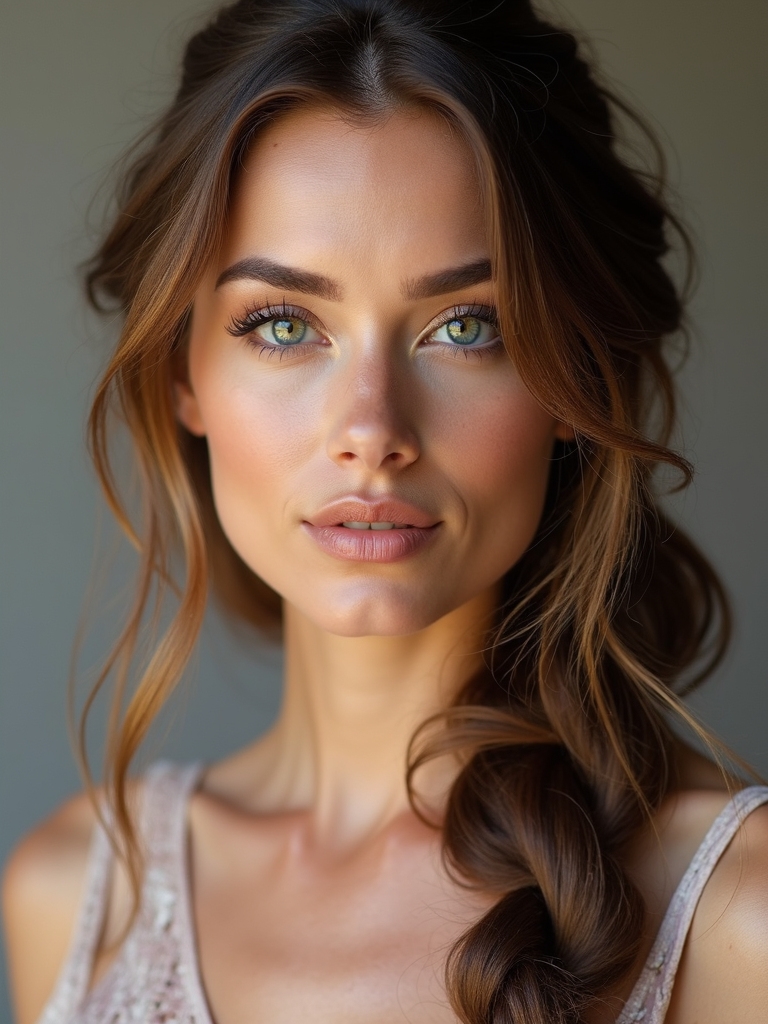
I’ve rounded up 16 easy, at-home wedding hairstyles that are comfy to wear all day and still look polished with minimal fuss. From a simple crown bun and classic low ponytail to a half-up twist and a braided headband, these looks work with beginner skills and common tools. I’ll share quick steps, pro tips, and budget-friendly tweaks so you can tailor them to your vibe and venue. If you keep going, you’ll pick your perfect plan and start practicing.
How to Pick an At-Home Bridal Look: Criteria, Timeline, and Quick-Start Plan
Choosing your at-home bridal look starts with a simple plan: set clear criteria, map a realistic timeline, and grab a quick-start checklist you can actually follow.
I’ll help you define non-negotiables, prefer comfort, and prioritize longevity. Additionally, consider incorporating chic DIY wedding hairstyles that can enhance your overall bridal aesthetic.
Then, I’ll outline a practical 4-week plan, with check-ins, so you feel confident choosing a look that fits skills, products, and venue vibes.
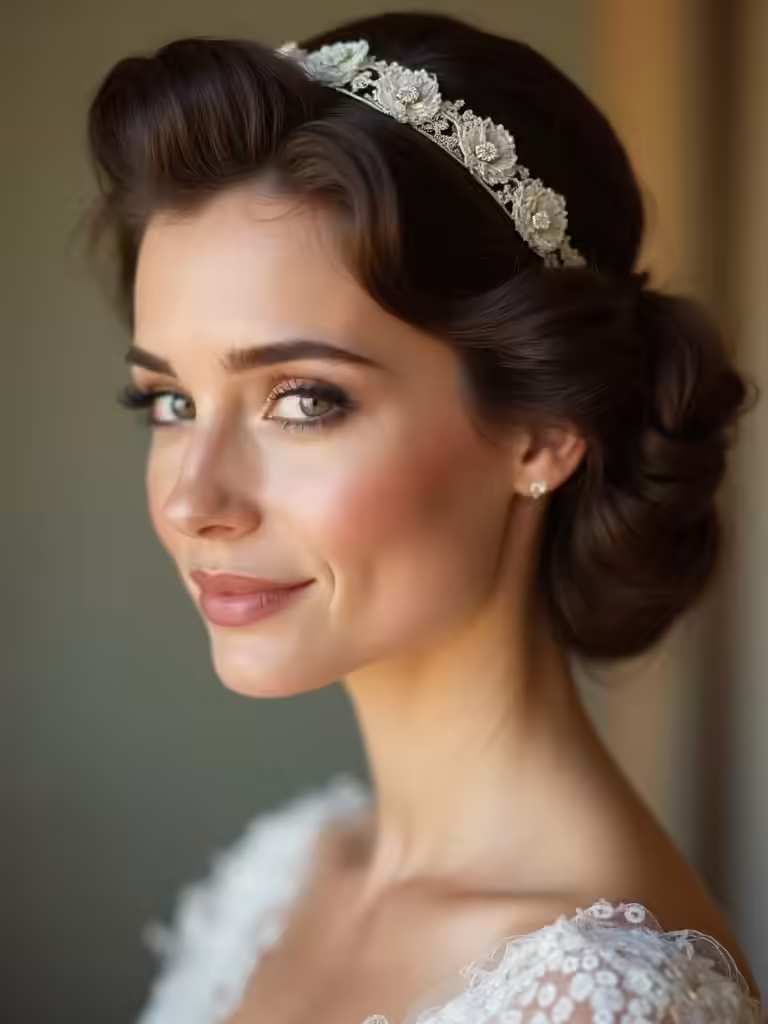
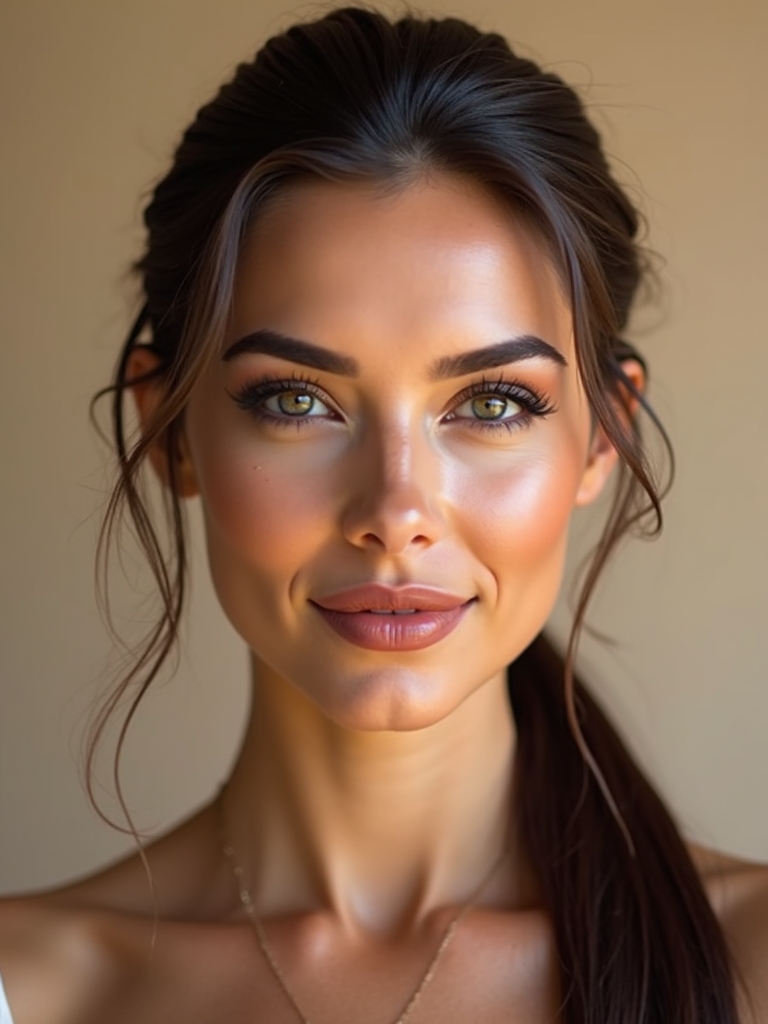
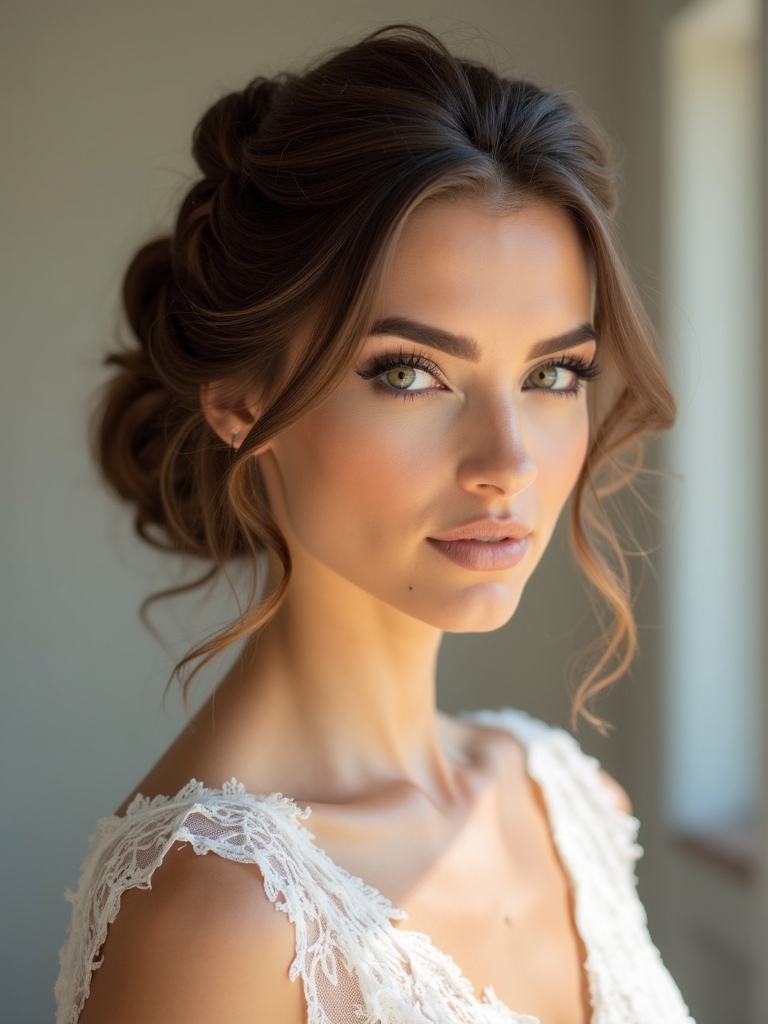
Easy Crown Bun for Beginners: Simple Steps and Tool List
After locking in your at-home bridal plan, a crown bun is a perfect, beginner-friendly option that’s stylish without being fussy.
Here’s my simple, do-it-now approach: I start with clean, dry hair, tease lightly at the crown, and secure a looped bun along the front halo.
I keep tools minimal: bobby pins, clear elastics, and a strong hold spray. Additionally, incorporating elegant short hair wedding hairstyles can enhance your overall bridal look.
Simple, secure, shareable.
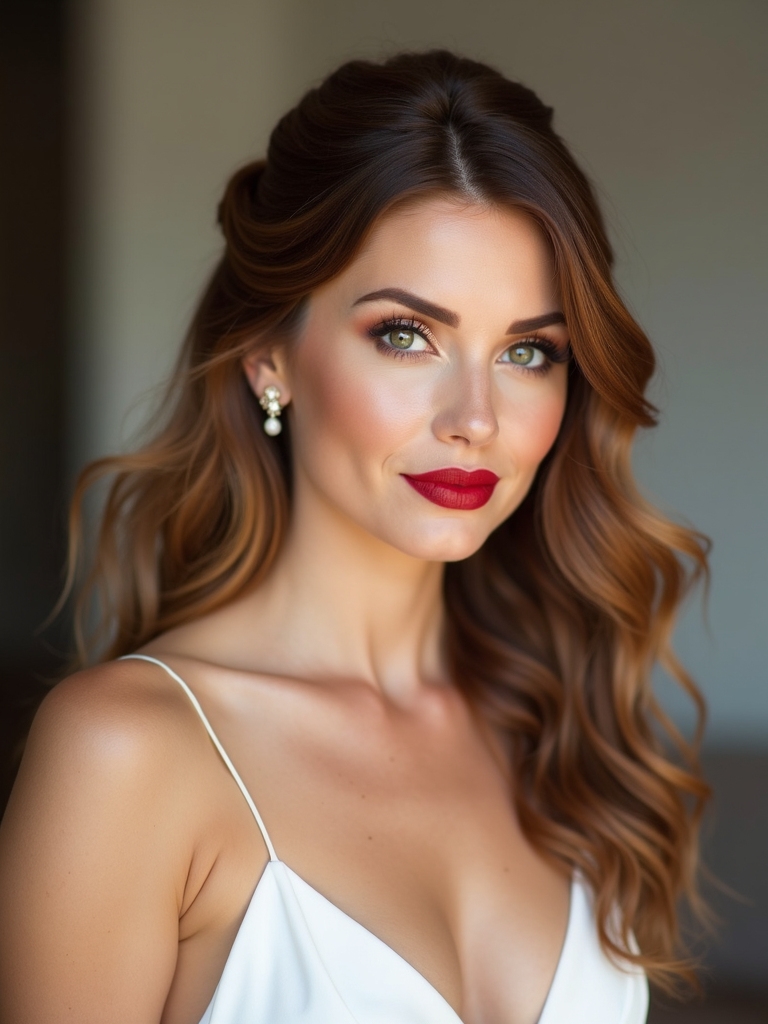
Classic Low Ponytail With a Polished Finish: Technique and Tips
A classic low ponytail with a polished finish is a timeless, wedding-day-ready look you can master in minutes.
I start by brushing smooth, securing with a velvety elastic at the nape. For polish, I wrap a small strand around the base and set with a light spray.
Tip: tame flyaways with a touch of serum and a boar brush. Additionally, this style pairs beautifully with elegant ponytail ideas for a minimalist aesthetic.
Simple, elegant, lasting.
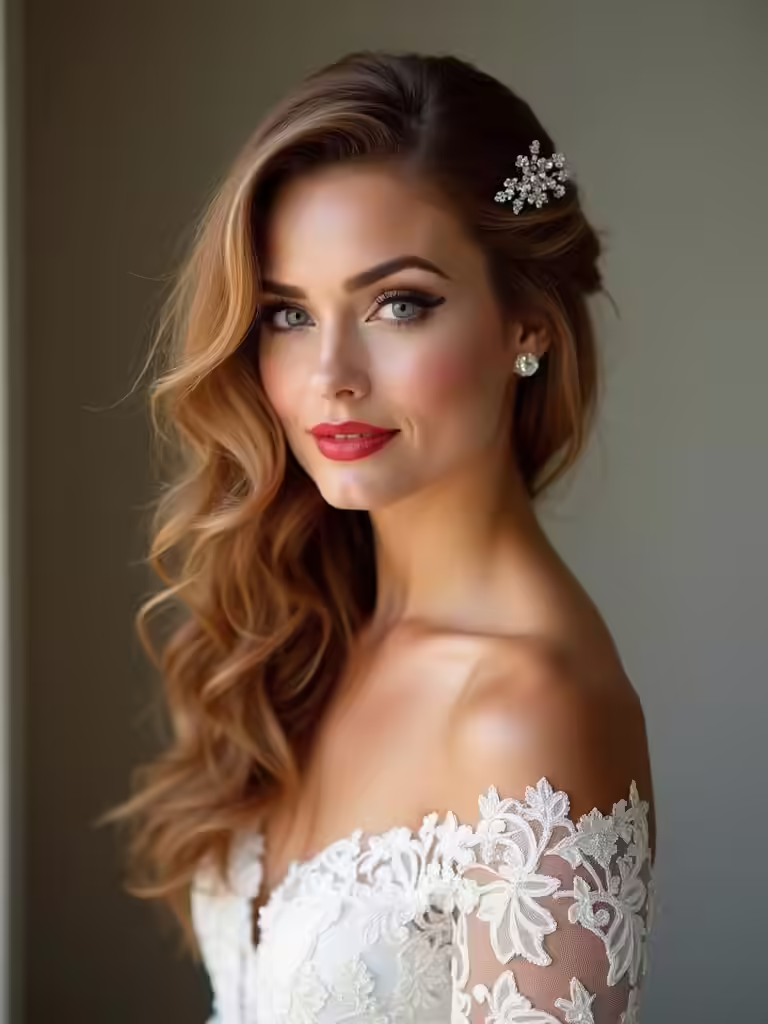
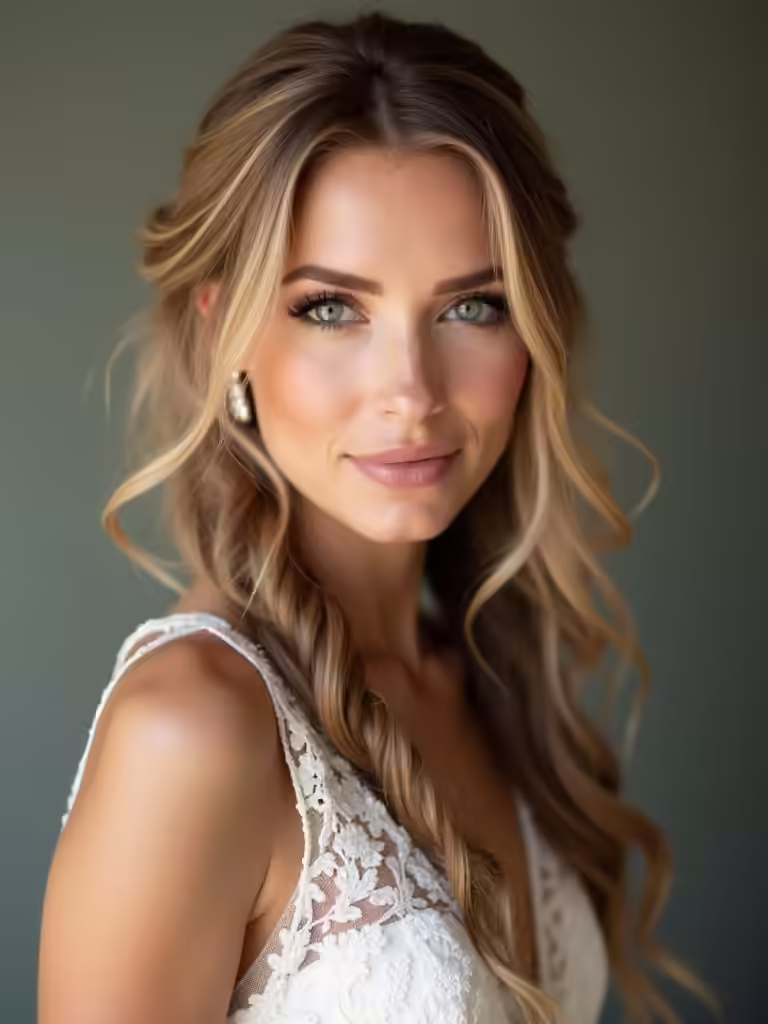
Half-Up Twist With Loose Waves for a Timeless Vibe
I love how half-up twists pair a soft, relaxed vibe with a polished finish, so this look feels timeless without trying too hard.
I keep waves loose and imperfect for movement, securing with a small clear pin. Leave a few face-framing strands out, brush softly, and set with a light spray.
It’s versatile, easy to touch up, and camera-ready all day. Many brides are opting for half-up half down styles as they combine elegance with ease, making them perfect for any wedding theme.
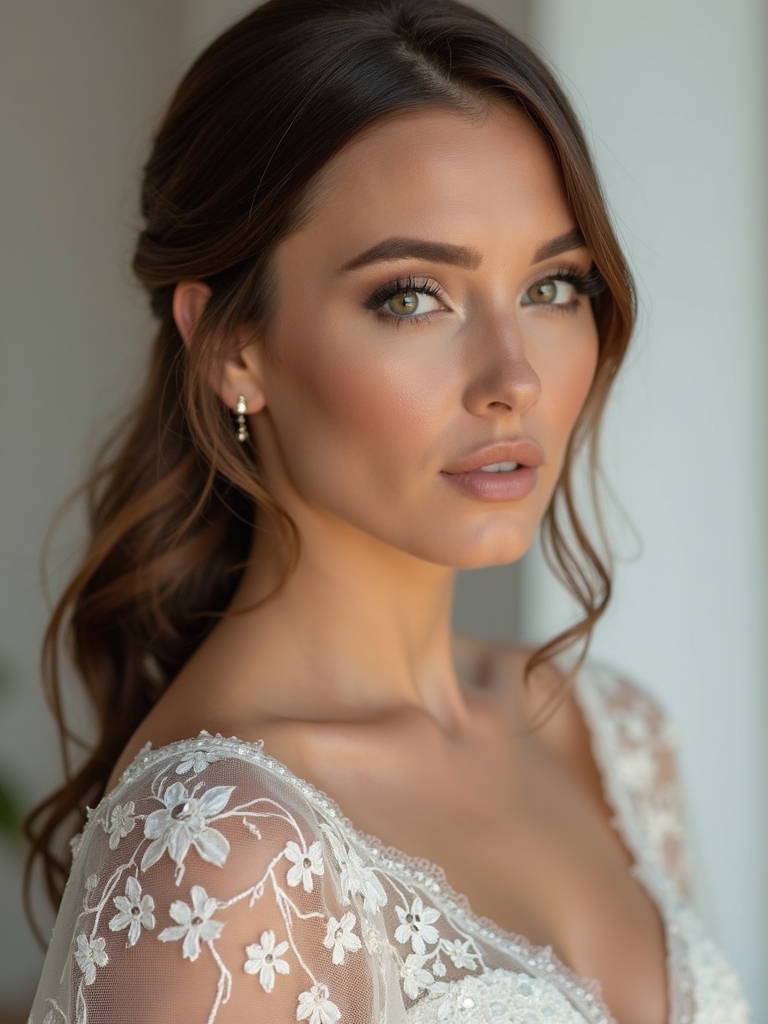
Braided Headband for a Chic, Low-Effort Detail
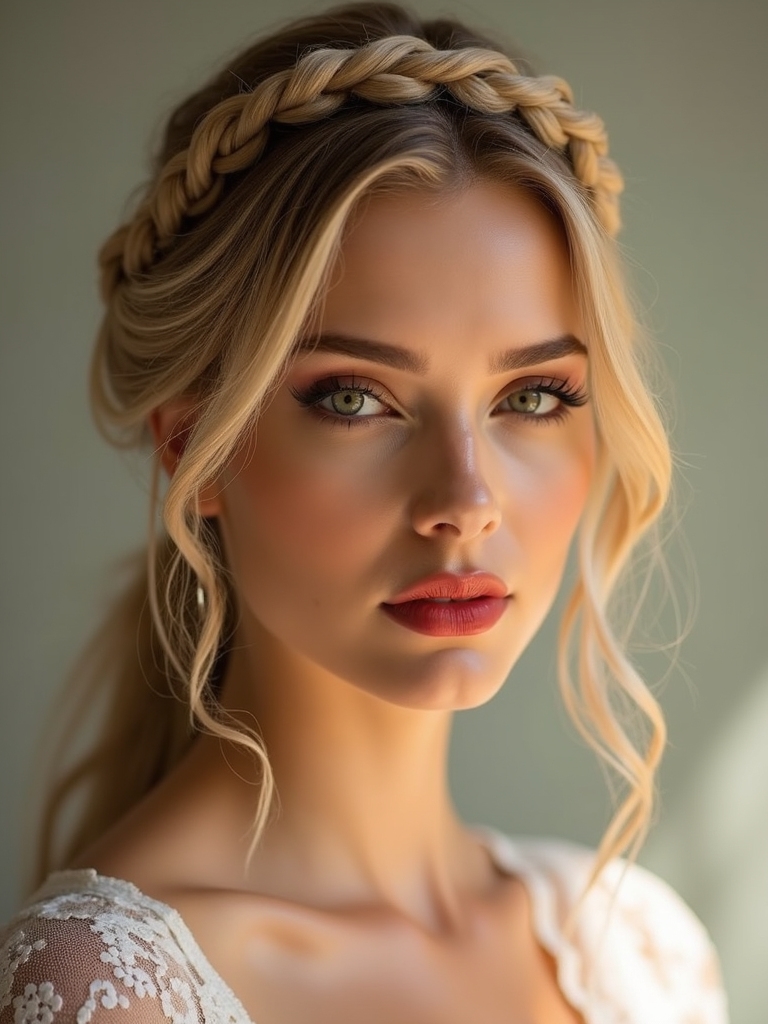
A chic braided headband adds a polished touch without overpowering your look. I’ll share low-effort details and versatile tips to style it with different hair textures and wedding-day outfits. Additionally, bridal hair braid styles can enhance the elegance of your overall appearance. Let’s keep it simple, secure, and ready for a graceful, move-friendly finish.
Chic Braided Accent
If you’re after a chic, low-effort detail, a braided headband is your go-to. I’ll show a simple pull-through technique: section hair at temples, braid loosely, secure behind the ear with a small clear elastic, and tuck the ends. Adjust for volume by gently loosening strands. Finish with light hairspray for hold without stiffness, and you’re done. This style is perfect for brides looking to achieve a stunning bridal braided hairstyle that adds elegance without much fuss.
Low-Effort Hairband Details
A braided headband is a quick, chic way to add polish without fuss, so let’s make it even easier with low-effort details you can pull off in minutes. I keep the braid loose, tuck ends neatly, and secure with a tiny clear pin. Use a thin elastics at the crown for hold, not visibility—modern, barely-there, totally wearable. This style is perfect for easy bridal hairstyles that can elevate your look without requiring professional help.
Versatile Styling Tips
Braided headbands’re a go-to for everyday wedding-ready looks, and there are tons of quick tweaks to keep them chic. I’d suggest a loose braid with a slight fishtail twist for texture, pinning tails beneath for a seamless arc. Use a lightweight spray to tame flyaways, and add a tiny pearl for elegance. Additionally, consider incorporating intricate bridal braids to elevate the overall look. Practice two variations, then pick your simplest, prettiest version.
Messy Bun With Soft Face-Framing Strands
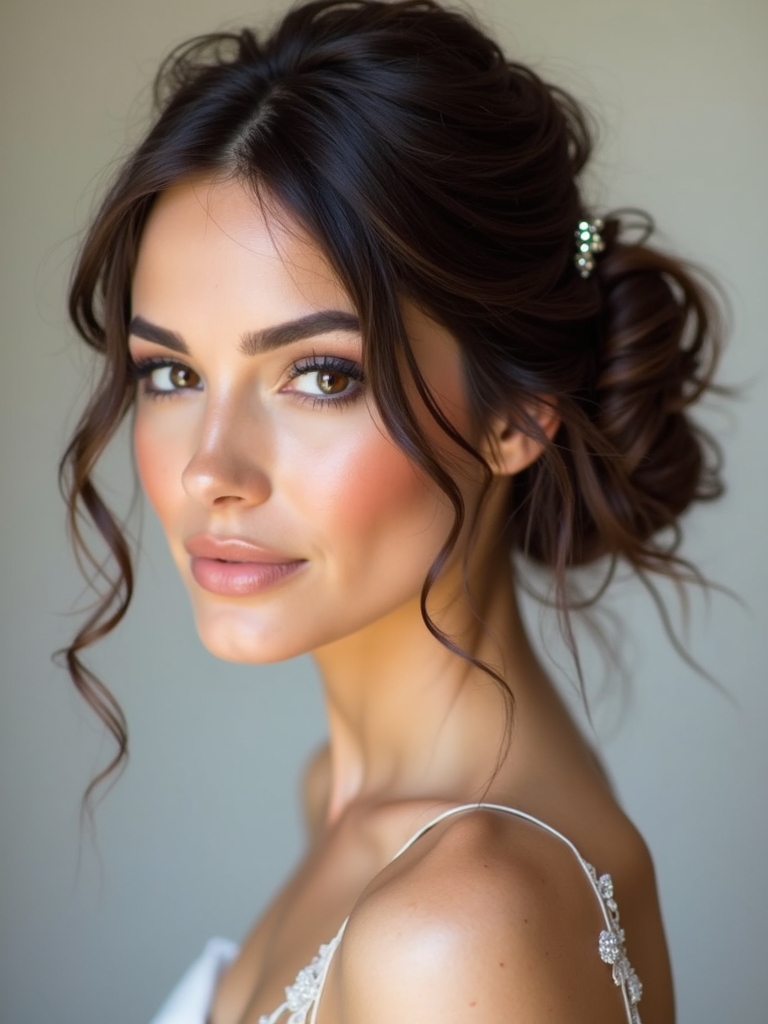
I’ll start by defining soft face-framing strands as gentle wisps left loose along your temples and jawline to soften a messy bun.
For a curl-friendly texture, I point backpack-friendly tips like using a mousse or sea salt spray and rough-dry for natural bounce.
I’ll show you how to secure everything with invisible pins, keeping the look effortless and secure.
Define Soft Face-Framing Strands
Soft face-framing strands are small sections of hair left loose around the face to soften a messy bun and add a gentle, flattering outline.
I keep them minimal, pinning back stray pieces as needed. If you want a softer look, separate two or three tendrils at the temples, then lightly tousle.
Secure with a discreet pin for lasting charm.
Curl-Friendly Texture Tips
Curl-friendly texture tips for a messy bun with soft face-framing strands are all about embracing natural waves and adding subtle grip.
I hydrate tips and keep ends loose, so waves stay defined. I diffuse lightly, then scrunch with a light mousse for touchable hold.
I pin strategically, avoiding stiffness, while leaving face-framing pieces softly framing your features.
Secure With Invisible Pins
Invisible pins are my go-to for securing a messy bun with soft face-framing strands without adding stiffness.
I tease the bun loose, gather baby hairs, and pin in place from different angles for lift. If a pin slips, recheck tension and shift laterals.
Finish with a light spray, then gently tug edges to maintain natural, effortless volume.
Waterfall Braid That Looks Advanced but Is Doable
Waterfall braids can look intricate, but with a few simple steps you can nail the look at home.
I’ll guide you through a doable version that reads as elegant, not fussy.
1) Section hair gently, then weave strands to create floating “water.”
2) Secure with discreet pins as you go, keeping tension even.
3) Finish with a light spray for lasting hold and soft shine.
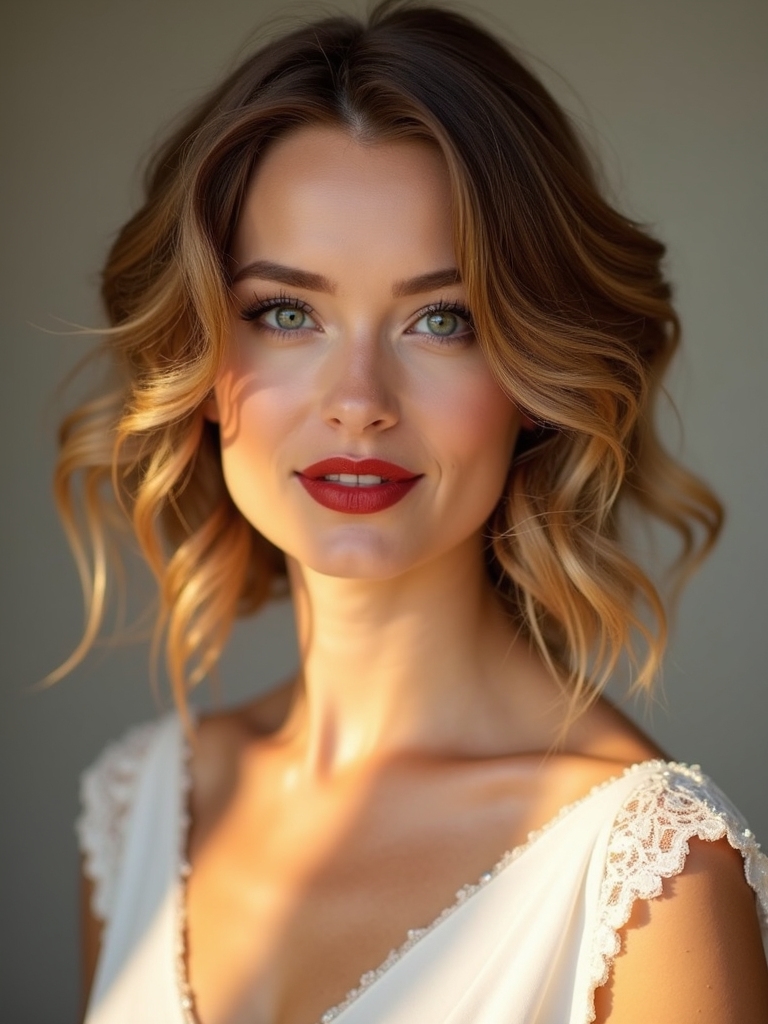
Sleek Straight Strands With a Subtle Side Part
Sleek straight strands with a subtle side part give you a polished, modern look that works for both day-to-day and special occasions.
I keep it simple: wash, blow-dry smooth, and use a lightweight serum to tame frizz.
Part to your preferred side, film with a shine spray, and pin back any stray pieces.
Confidence comes from clean, controlled texture.
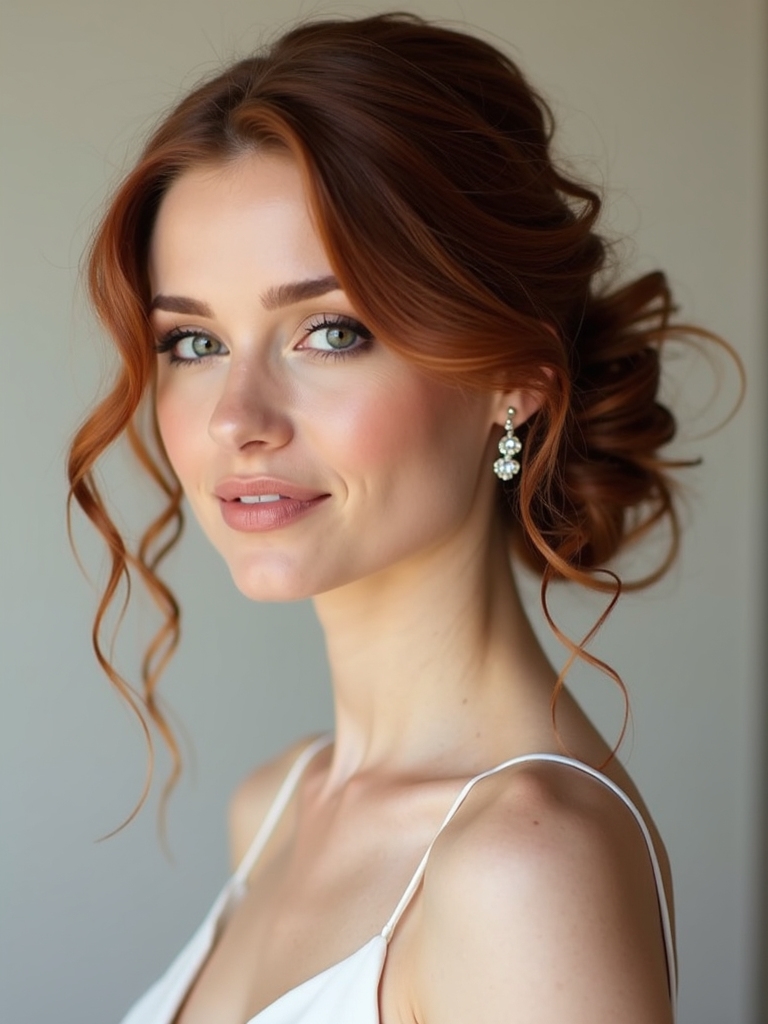
Romantic Side Roll With Pinned Curls
I love how a soft side roll paired with pinned curls feels both timeless and effortless.
Here’s how to pull it off:
- Set roots with lightweight spray for gentle lift.
- Roll a inch-wide section toward the crown, securing with a pin.
- Pin curls along the side, tucking flyaways, then finish with shine spray.
Dutch Braid Into a Bun for a Modern Bridal Look
I’m going to show you how to start with a neat Dutch braid setup that feeds into a sleek bun.
Then I’ll guide you through the bun creation steps, aiming for a polished, modern bridal look.
If you want a quick, camera-ready finish, I’ll share practical tips for securing and adjusting as you go.
Dutch Braid Setup
Dutch Braid Setup: to create a modern bridal look, I’ll show you how to turn a neat Dutch braid into a chic bun that stays put all day.
- Gather clean, dry hair for grip
- Braid tightly, secure with a subtle elastic
- Wrap into a low bun, pin in place
This setup stays polished and easy to adjust.
Bun Creation Steps
We’ll transform that neat Dutch braid into a sleek bun by releasing just enough tension to gather the braid into a low, seamless circle, then pin securely while keeping a soft, bridal look.
I’ll guide you to tuck ends under the circle, use a clear elastics to anchor, and place pins in a crisscross pattern for hold.
Finish with light mist for shine.
Modern Bridal Look
This Modern Bridal Look starts by keeping that Dutch braid intact, then loosening just enough to pull it into a low, seamless bun with a polished, contemporary edge.
- Braid stays refined yet relaxed
- Bun sits flat and smooth at nape
- Finish with a light spray for lasting, modern shine
Flower Crown Styling With Fresh Blooms That Stay in Place
Fresh blooms can crown your look, and with a few simple steps, they’ll stay put from ceremony to reception.
I start by selecting sturdy stems and tying a lightweight frame, then anchor blooms with thin floral wire.
I pinch petals gently, mist sparingly, and avoid heavy bows.
Secure knots, test movement, and carry a small spray of water for touch-ups.
Ribbon-Tied Low Bun for a Whimsical Finish
Here’s a quick take on Ribbon-Tied Low Bun: I’ll show you exactly where to place the ribbon for a whimsical look and how to secure each strand so it stays neat.
Start with the ribbon at the nape, weave it through as you twist, and keep the strands tidy with lightweight product if needed.
I’ll also share simple tips to set the loose ends and keep everything in place from ceremony to dance floor.
Ribbon Placement Tips
A simple ribbon-tied low bun adds a whimsical finish, and I’ll show you how to place the ribbon so it feels effortless.
- Thread ribbon along the base, not just on top, for secure drama.
- Cross ends beneath the bun to hide knots and soften lines.
- Pinch to adjust tension, keeping it flat and polished for photos.
Secure and Set Strands
To secure and set the strands for a ribbon-tied low bun, start by smoothing the crown and gathering hair as you go.
Then twist lightly to keep flyaways in check. I smooth, secure with a subtle bobby-pin grid, then wind the ribbon over and under the bun.
Set with light mist, adjust until the finish feels polished and effortless.
Vintage-Inspired Victory Rolls: Easy at-Home Version
If you want a vintage vibe without the fuss, this easy at-home version of victory rolls delivers.
I’ll show you quick steps that stay simple and chic:
- Prep smooth hair and tease lightly for grip.
- Roll sections toward the crown, secure with pins.
- Set with a light mist for lasting shape.
Quick, approachable, and gallery-worthy.
Twist-And-Pin Boho Half-Up With Texture
I love keeping things effortless, so let’s glide from vintage vibes into a carefree twist: the Twist-And-Pin Boho Half-Up With Texture.
I start by loosening waves, then pin a small section above each ear for lift. Add texture spray, scrunch lightly, and secure with two discreet pins.
Finish with a touch of shine, staying flexible for comfort all day.
Accessorized Ponytail: Crystals and Pins for Sparkle
Let’s elevate a simple ponytail with a touch of sparkle: I’ll add crystals and discreet pins along the base and tail for subtle catch-the-light shine that stays comfy all day.
1) Crystals along the base
2) Tiny pins at the crown shift
3) Finishing spray for lasting hold
Quick Prep Plan: Tools, Timing, and a Step-by-Step Workflow
Here’s a quick prep plan you can follow: choose a handful of essential tools, set aside a clean, well-lit workspace, and map out a simple step-by-step workflow so you can tackle the hairstyle without second-guessing.
I keep it simple: gather brushes, pins, a mirror, hairspray, and elastics; time your steps; pace yourself; and practice a dry run to nail the look confidently.
Conclusion
Planning your look at home should feel doable, not intimidating. With these easy hairstyles, you can mix and match until you find your perfect bridal vibe. Ready to start? I’ve kept tips practical, steps simple, and timelines realistic so you can actually pull it off. Think a favorite mirror selfie test, a little practice, and you’ll nail that flawless finish. So, which style will you try first—classic polish or boho texture? Let’s make your day feel wonderfully yours.