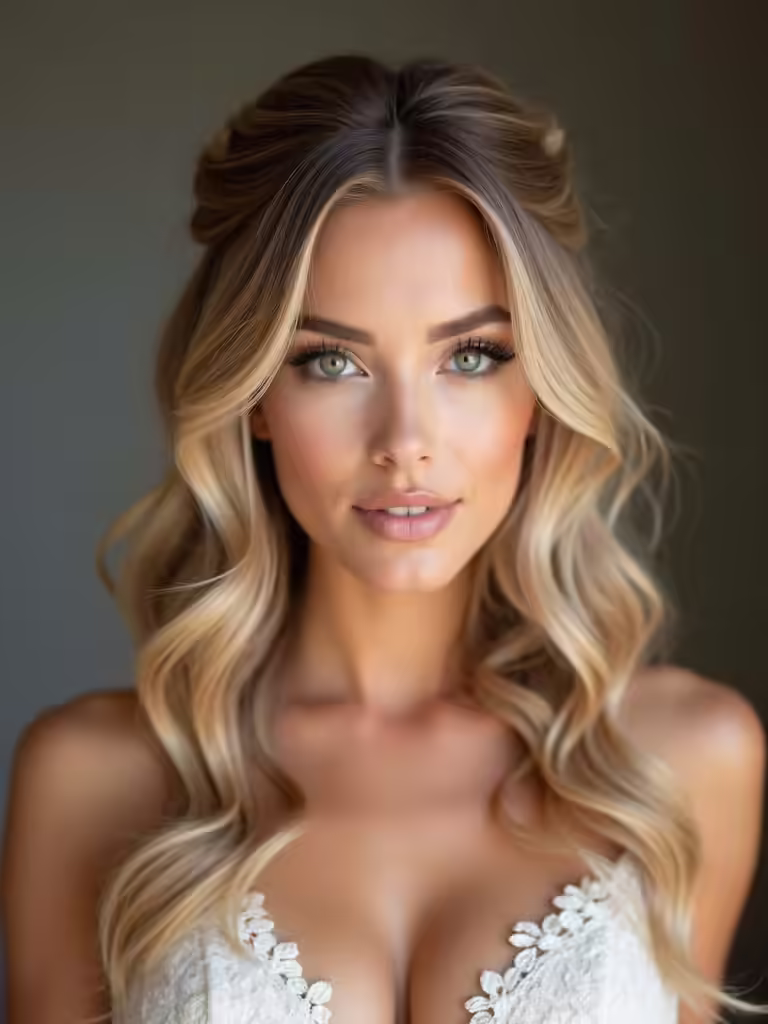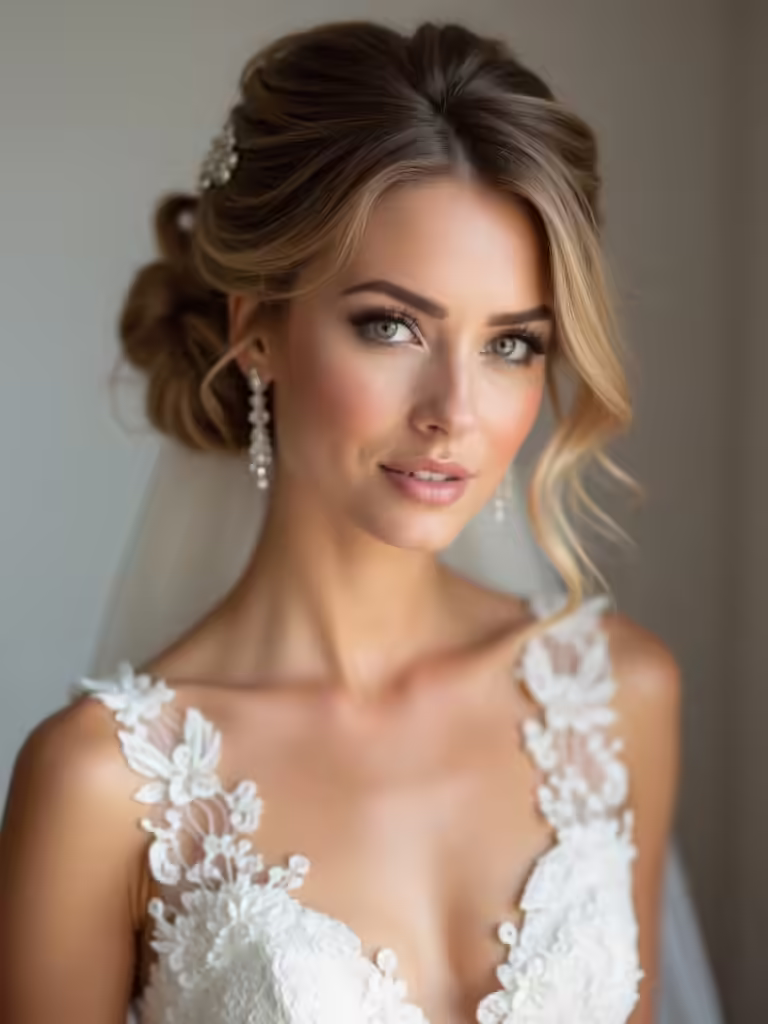
I’m here to guide you through 19 stunning DIY bridal looks you can master at home, no stylist needed. We’ll cover velvet-soft prep, texture tricks, and easy finishing touches that keep hair looking flawless all day. You’ll learn practical steps for curls, braids, and sleek updos, plus a low chignon and a romantic waterfall half-up. With a simple practice plan and quick-change tips, you’ll feel confident handling hiccups—and there’s more to uncover as you keep going.
What You’ll Need for DIY Bridal Hair Success
Getting ready to style your own bridal hair doesn’t have to be overwhelming.
I’ll share exactly what I use: a reliable set of brushes, good pins, and light hold products.
Gather a stylist’s mirror, a spraying bottle, bobby pins, clear elastics, and a small comb.
Keep tools clean, organized, and within reach, so you can craft timeless looks confidently. Incorporating elegant bridal hair accessories can elevate your DIY hairstyle and add a stunning finishing touch.
Velvet-Soft Prep: Cleansing, Drying, and Heat Protection
I start with a clean slate by cleansing for a fresh base, so my strands feel light, ready, and ready to hold shape.
Then I dry properly for style, guiding humidity away and locking in smoothness without weight.
I shield hair with heat, choosing a guard or setting that protects while letting my texture shine. Incorporating easy wedding hairstyles into your routine can elevate your bridal look effortlessly.
Cleanse For Fresh Base
To set the stage for a velvet-soft base, I start with a gentle cleanse that clears oils and product buildup without stripping the scalp.
I apply a lightweight, sulfate-free shampoo, massaging circles to lift residue.
Rinse thoroughly, revealing a refreshed canvas.
This prepares grip and longevity for braids or waves, while keeping roots calm and balanced.
Ready for the next step.
Dry Properly For Style
After cleansing, I’m ready to lock in the velvet-soft base with careful drying and heat protection.
I start with microfiber towels, blot gently, then air-dry or diffuse on low.
Apply a heat-protectant mist, distribute evenly, and comb through.
Section by section, dry roots to ends, keeping tension light.
Pause to monitor heat, then proceed with styling confidence.
Additionally, using a heat-protectant mist is crucial for preventing damage during the styling process.
Shield Hair With Heat
Shielding hair with heat starts with smart prep: I start by applying a lightweight heat protectant, then comb it through from root to tip to guarantee even coverage.
- I feel confident knowing damage is mitigated.
- I notice smoother strands and faster styling.
- I trust the glide of tools without tugging.
- I finish with a velvet-soft shine and lasting hold. Additionally, using the right products can enhance natural wedding hairstyles that embrace your authentic look.
Texture Essentials: Curling, Braiding, and Smoothing Techniques

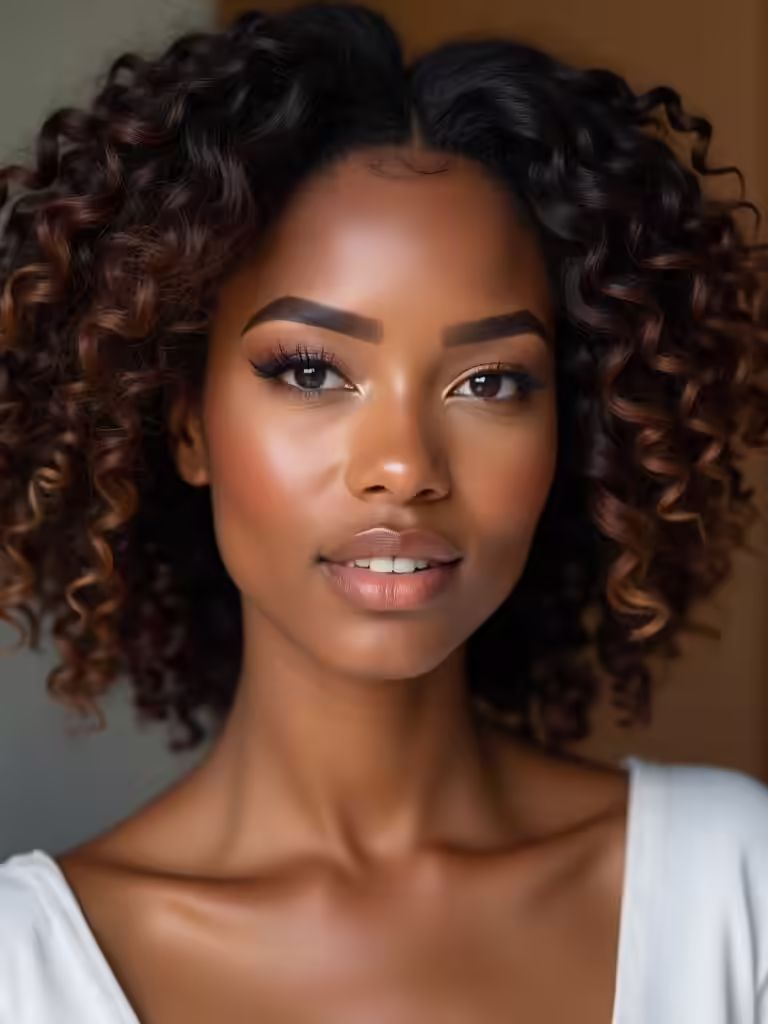
Texture isn’t just about how hair looks—it’s how it feels to wear a look all day. I break down curling, braiding, and smoothing into practical steps you can do at home. Curl loosely for softness, braid for texture, smooth with a finish spray to tame flyaways. Stunning curly hairstyles can elevate your overall look and impress everyone at the wedding. Practice, adjust heat, and trust your hands to craft bridal texture you’ll love.
Low Chignon Tutorial: A Classic Updo for Beginnings
A low chignon is a timeless choice for a bridal updo, and it pairs beautifully with the textured techniques we’ve covered. Stylish Bridal Hair Buns are a great way to explore various looks for your special day. I’ll guide you simply, so you feel confident from start to finish.
- I secure the base softly, so it holds without stiffness.
- I twist and tuck for clean lines and quiet elegance.
- I polish with a light spray for lasting shape.
- I add a subtle accessory that personalizes your day.
Romantic Waterfall + Fishtail: A Braided Half-Up Look
Romantic Waterfall + Fishtail: A Braided Half-Up Look is all about weaving movement and romance into a single, effortless style. I guide you to start with clean, textured hair, create a soft waterfall braid, then integrate a delicate fishtail along the crown. Secure with discreet pins, leave ends loose, and finish with a light spray for lasting, natural hold. Adding a touch of elegance with stunning bridal braided hairstyles can elevate your overall bridal look.
Boho Half-Up Twist: Voluminous Waves and Loose Ends
I’m excited to share how I create voluminous wave texture that looks effortless and romantic. We’ll focus on loose end styling to keep that airy, boho feel, with a half-up twist that stays secure yet soft. Incorporating boho bridal hair ideas can add unique charm to your overall wedding look. Let’s walk through the technique step by step so you can shape the look with confidence.
Voluminous Wave Texture
If you’re chasing effortless boho charm, voluminous waves with a half-up twist give you instant fashion-forward texture and movement.
I guide you simple steps that feel doable, keeping you confident and inspired.
- Curl lazily, not perfectly, for natural bounce.
- Tease at the crown to add lift without stiffness.
- Secure ends with a discreet pin for softness.
- Run a light spray for flexible hold.
Loose End Styling
Loose ends can feel deliberate, not messy, when you leave wisps to flutter softly around your face as part of a boho half-up twist.
I guide you to pin the top crown loosely, then weave a gentle twist, letting waves breathe.
Secure with light pins, so texture stays voluminous, while the ends curl naturally.
Embrace effortless elegance, confidently.
Half-Up Twist Technique
Open with a carefree twist: I’ll show you a half-up style that keeps volume at the crown and invites those loose ends to dance with the waves.
I guide you through a graceful boho twist, easy hold, and lasting texture.
- Focused sectioning for lift
- Gentle curl technique with control
- Secure yet soft pins for a natural look
- Finish with effortless movement and shine
Elegant Low Bun: Sleek, Secure, and Photogenic
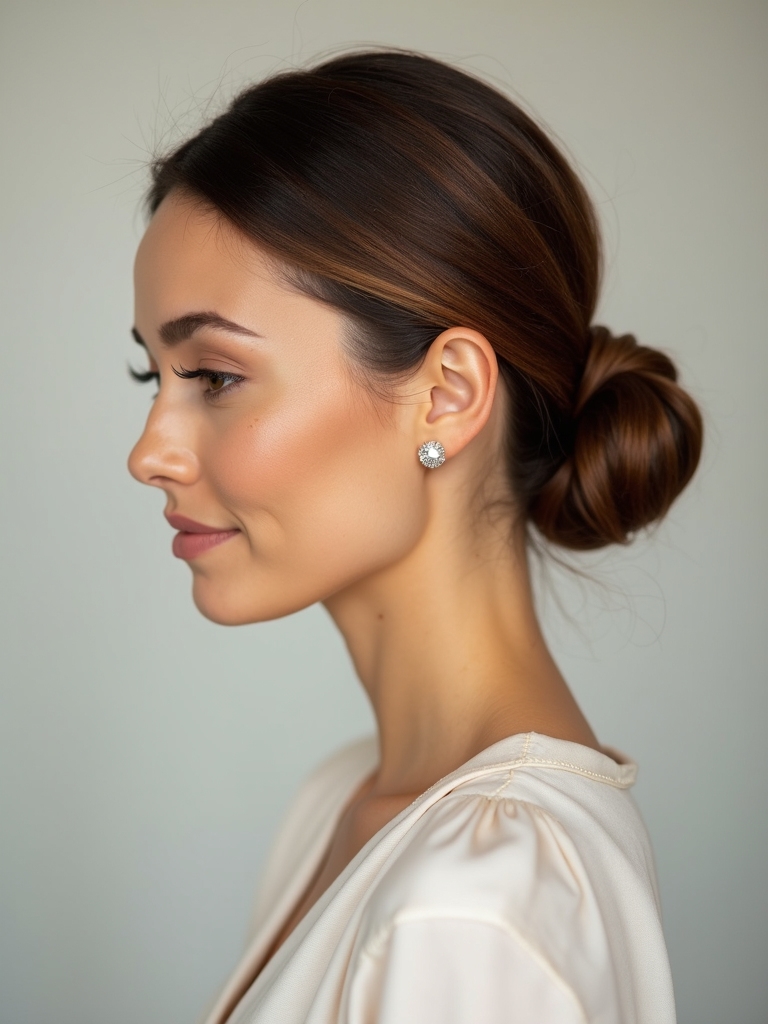
An elegant low bun is my go-to for a sleek, secure, and photogenic wedding look.
I start with clean, brushed hair, tease the crown just a touch, then smooth the sides back.
Secure with clear pins, vault the ends into a soft coil, and set with a light mist.
Confidence grows as you practice precision, not perfection, one simple step at a time.
Twisted Crown Braid: A Fairytale Headpiece
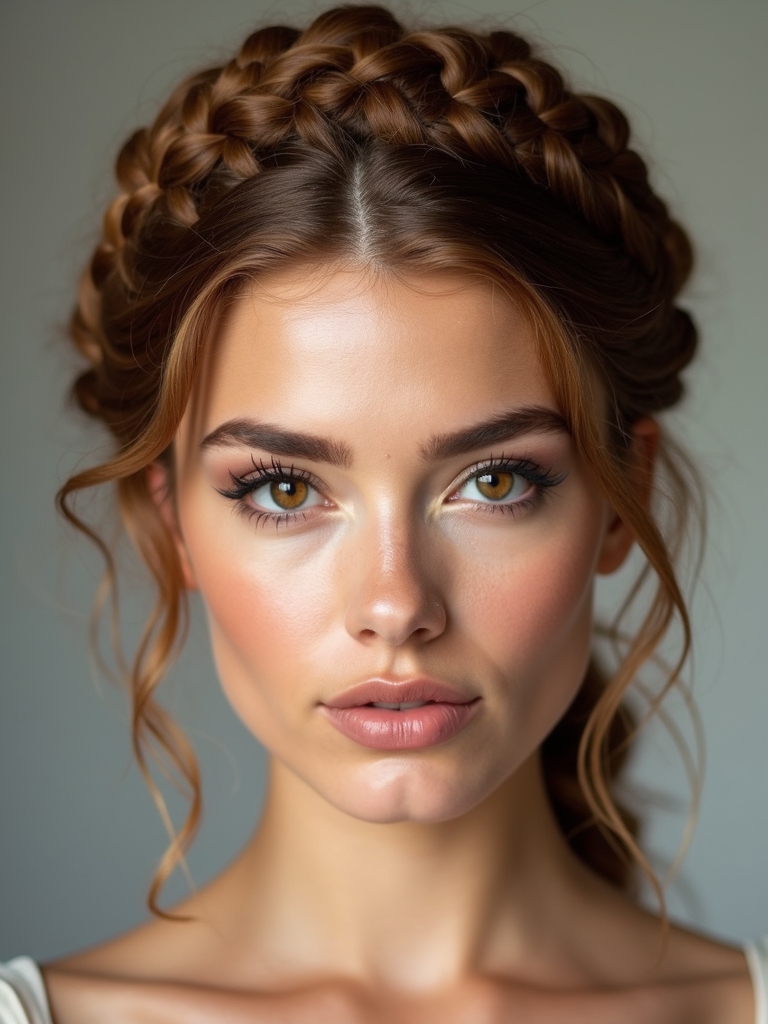
I’m excited to share how a twist-centered braid can become your fairy-torest crown detail, the perfect finishing touch for a magical look.
I’ll show you how this twisty weave frames your face and holds shape like a delicate headpiece, so you feel radiant all day.
Let’s explore quick tips to create this charm with confidence and precision, then tailor it to your hair type and wedding vibe.
Twist-Centered Braid Charm
Twist-Centered Braid Charm is a delicate twist on a classic crown, and I’ll show you how to shape it into a fairy-tale centerpiece for your wedding day.
- Feel the momentum as you weave, steady and confident.
- Pin with intention, securing softly for comfortable wear.
- Tuck stray strands, creating a polished glow.
- Smile—your dream halo is almost yours.
Fairy-Torest Crown Detail
From the Twist-Centered charm, we glide into a more ethereal approach with the Fairy-Torest Crown Detail: a twisted crown braid that feels like a delicate forest halo.
I guide you step by step, keeping tension even and sections small, so the braid sits softly atop your head.
Practice creates steadiness; confidence blooms as you weave, pin, and finish with subtle gloss.
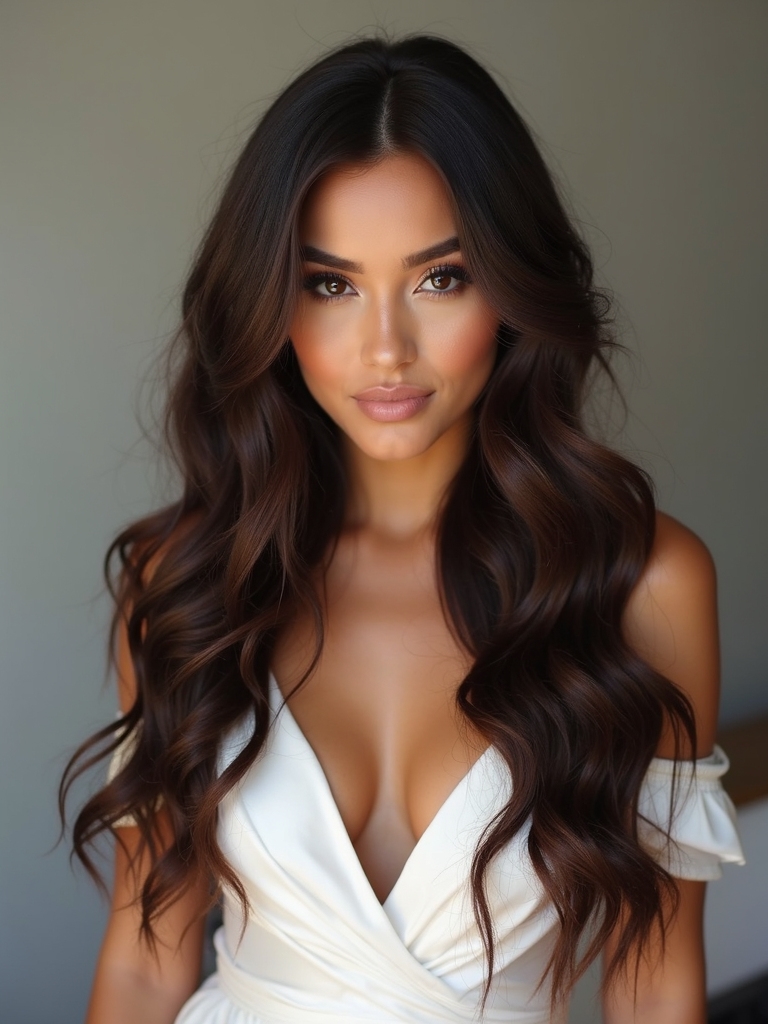
Modern Smooth Straight With Soft Wave Ends
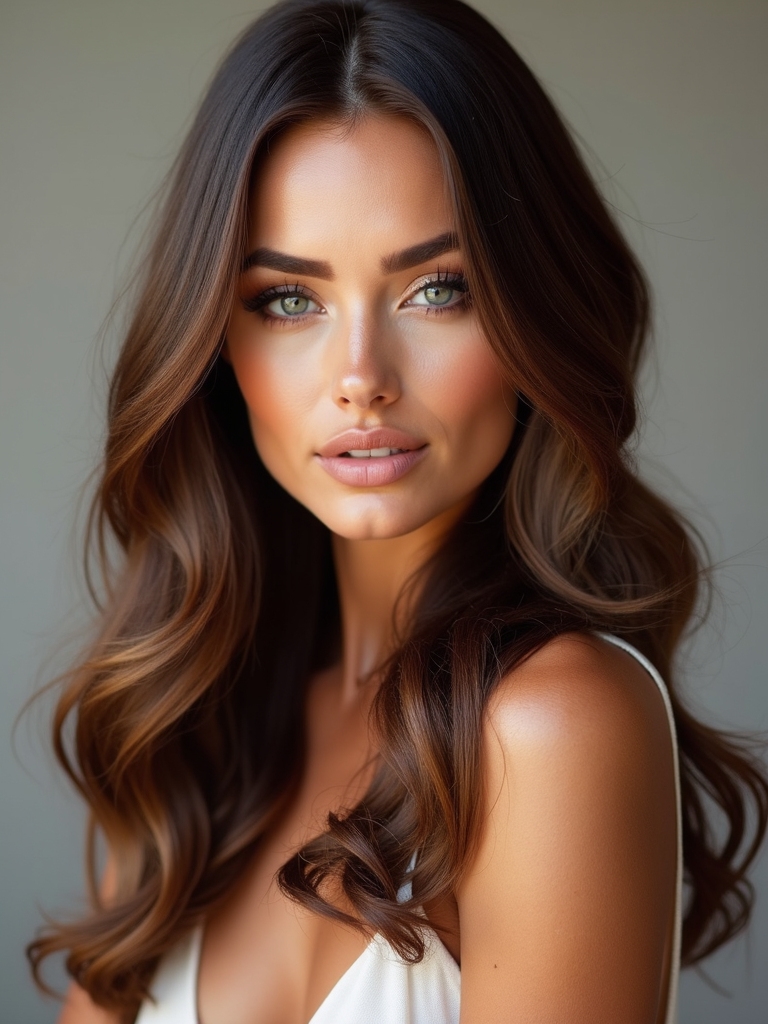
A sleek, modern look comes alive when your hair is smooth and straight with soft wave ends, so I’ll show you how to get it effortlessly.
- Detangle gently, then apply heat protectant to keep shine.
- Straighten in 1-inch sections for even, flawless length.
- Create subtle wave ends with a wand, not a crimp.
- Finish with light hold for natural movement and confidence.
Romantic Messy Bun With Halo of Braid
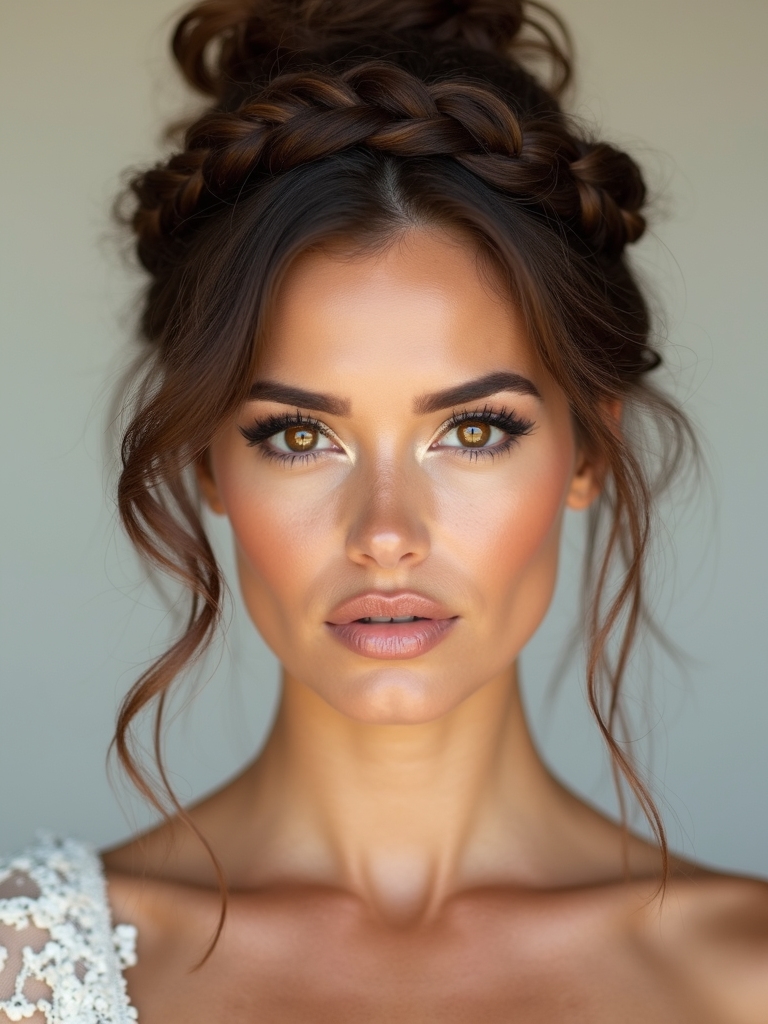
I love how a romantic messy bun can feel both effortless and ethereal, especially when a halo braid frames it to soften the look.
I guide you to prep brushed, textured hair, secure a loose bun with bobby pins, and weave a gentle halo of braid.
Keep volume soft, pins hidden, and finish with a light mist for lasting hold.
Vintage Roll-Back With Pinning Tips
The Vintage Roll-Back is all about clean, classic lines that echo old-Hollywood elegance, with a modern, effortless feel.
I guide you through secure pinning, so it stays flawless all day, no fuss.
- I shape smooth sections, then anchor with discreet pins for a seamless silhouette.
- I crisscross pins to lock volume without stiffness.
- I tuck ends neatly, preserving a polished arc.
- I finish with a light mist for lasting hold and shine.
Soft Side-Swept Curls With Delicate Clips
Soft side-swept curls feel romantic yet effortless, and adding delicate clips keeps the look secure without stealing the spotlight.
I guide you through simple curling, then pin a few wisps loosely to frame your face.
Use matte clips for subtle shine, and avoid overthinking—pin where it feels natural.
Practice once, and you’ll wear confidence, not complications.
Garden-Party Button Braids for Short Hair
Garden-party button braids are a playful, polished option for short hair that feels fresh and festive.
I’ll guide you through quick, doable steps so you feel confident.
- Gather tiny elastics and a fine comb for neat, secure braids.
- Start with a shallow part and create two mini French braids.
- Loop ends into button-like knots for charm.
- Set with light spray to keep the look effortless.
Texture-First: Enhance Your Natural Hair for a Flawless Bridal Finish
Texture-first is my mantra for a bridal finish that’s truly you: when you start with your natural texture, your hair already has life, movement, and depth, so the style stays effortless and says “you.”
I’ll guide you to prep, hydrate, and define first, then weave in a design that enhances what you’ve got rather than fighting it.
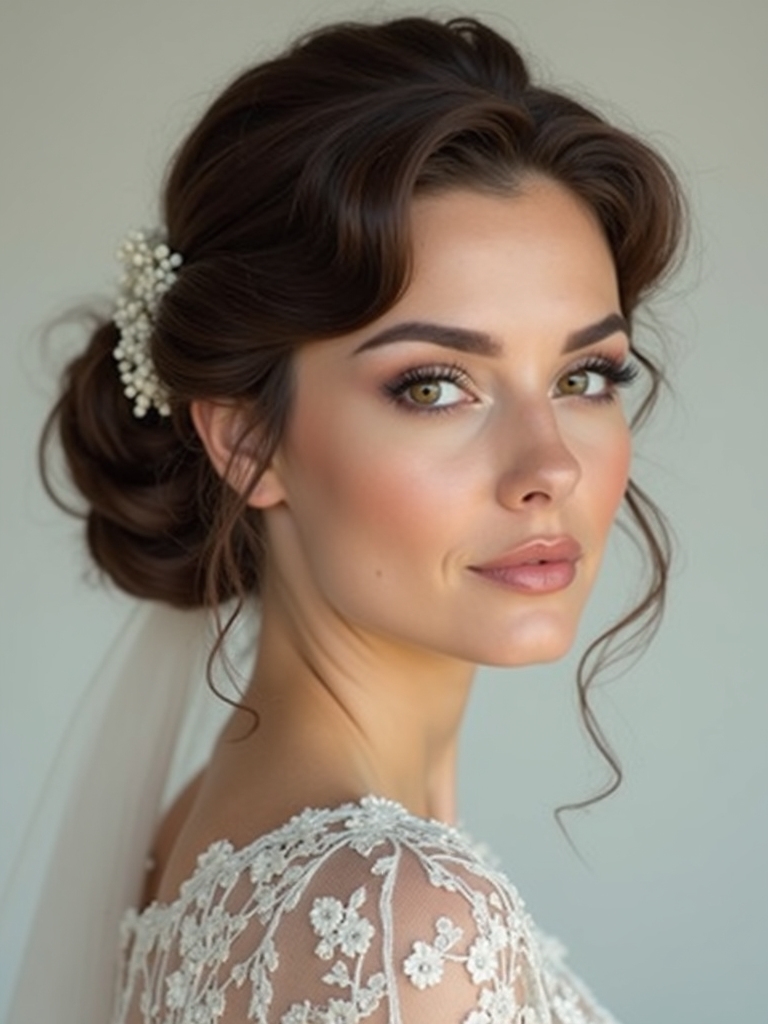
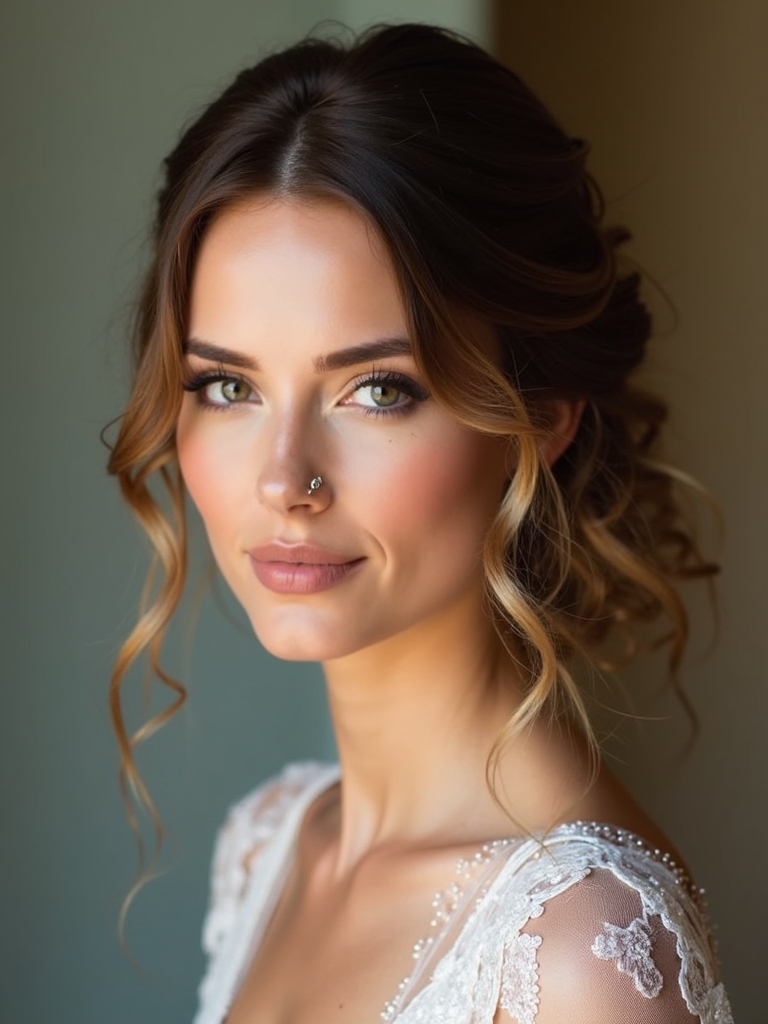
Accessorizing Like a Pro: Veils, Pins, and Comb Hold
I’ll share simple veil placement hacks, quick pin security tips, and easy comb tricks so your accessories stay put all day.
You’ll feel confident knowing exactly where to position each piece for balance, shine, and comfort.
Let’s make your veil, pins, and combs work together with ease.
Veil Placement Hacks
Veil placement can elevate your entire bridal look, and with the right hacks, you’ll feel confident pinning, balancing, and securing it all day.
I share simple tweaks you can trust to keep it flawless all night.
1) start with a soft hairspray base for grip
2) anchor veil at a single crown point
3) use two discreet pins for balance
4) align edge with your bun or updo for seamless flow
Pin Security Tips
Pin security is all about trust—trust that your veil, pins, and combs will stay put as you move from vows to dance floor moments.
I recommend a few practical holds: start with a solid foundation, use two pins in opposite directions, and anchor with a small clear elastic where appropriate.
Check grip after each major moment, and adjust calmly for confidence.
Comb Styling Tricks
Comb styling isn’t just about looks—it’s about confidence you can feel all day.
I’ll show you simple, reliable tricks that keep veils, pins, and combs secure while you move freely and feel radiant.
- Secure veil with a discreet comb and grip.
- Use bobby pins in a crisscross for steady hold.
- Choose grips that match your hair texture.
- Balance accessories to avoid tugging.
Practice Plan: Rehearse Each Look in 1 Week
Kicking off a focused practice plan helps you feel confident on the big day, so I’m breaking down each look into a manageable 7-day rehearsal.
Each day, I’ll guide you through steps, timing, and quick fixes, keeping sessions short but purposeful.
Stay steady, track progress, and adjust as needed.
Hold and Longevity: Finishing Touches That Last
Great hairstyles deserve staying power. I’ll share finishing touches that last, so your look stays flawless from vows to dancing.
You’ve got this—simple, sturdy holds, and subtle polish. Stay confident, and trust these practical steps.
- Set with a light-hold spray for natural movement
- Clip-in stabilizers at the crown to prevent slip
- Finish with a final mist for shine, not crunch
- Touch-up kit handy, for quick, calm fixes
Troubleshooting DIY Hair Hiccups
We’ve covered sturdy finishing touches, so when hiccups pop up, you’ll handle them calmly and confidently.
If a pin slips, I pause, regroup, and reseat with a firmer grip while rechecking balance.
For cracking elastics, I switch to gentle tension and secure with a discreet clear shot of hairspray.
Stay present, adapt quickly, and trust your practice—you’ve got this, beautifully.
Quick-Change Sequenced Looks for Same-Day Transitions
With a clear plan and a few nimble moves, you can swap between looks in minutes without losing momentum.
I’ll guide you through seamless changes that feel effortless yet polished, so you stay radiant all day.
1) Pre-set accessories ready
2) Quick grip changes for texture
3) Hidden pins for secure shifts
4) Final spray to finish strong
Conclusion
You’ll save on studio time and still feel radiant, yet the mirror may reveal a few imperfect strands. That juxtaposition is the charm: DIY isn’t flawless, it’s triumphant—each misstep a lesson, each fix a victory. I’ve walked you through the prep and patience; now you stand at the threshold of your own artistry. Embrace the process, trust your hands, and let confidence outshine any loose curl. You’ve got this, one practiced wave at a time.