I’ve got you covered with 20 sultry bridesmaid smokey eye variations that master every vibe, from soft taupe to charcoal and beyond. I walk you through prep, long-lasting formulas, and eye-catching twists like rose-gold romance, cool navy moderns, and edge-to-edge drama, all tailored for camera-ready results. I’ll show you how to tailor intensity to skin tone, nail quick fixes, and move from ceremony to dance floor seamlessly. Curious what’s next? There’s more you’ll love.
What a Smokey Eye Delivers for Bridesmaids
A smoky eye instantly elevates a bridesmaid style without hogging the spotlight from the bride.
I’m telling you what it delivers: instant polish, depth, and a camera-ready glow that pairs with any dress.
It sculpts eyes, boosts confidence, and reads flirtatious yet sophisticated on every skin tone. Plus, this look echoes the dramatic full glam styles that statement brides often embrace.
It’s a vote of confidence you’ll wear all day.
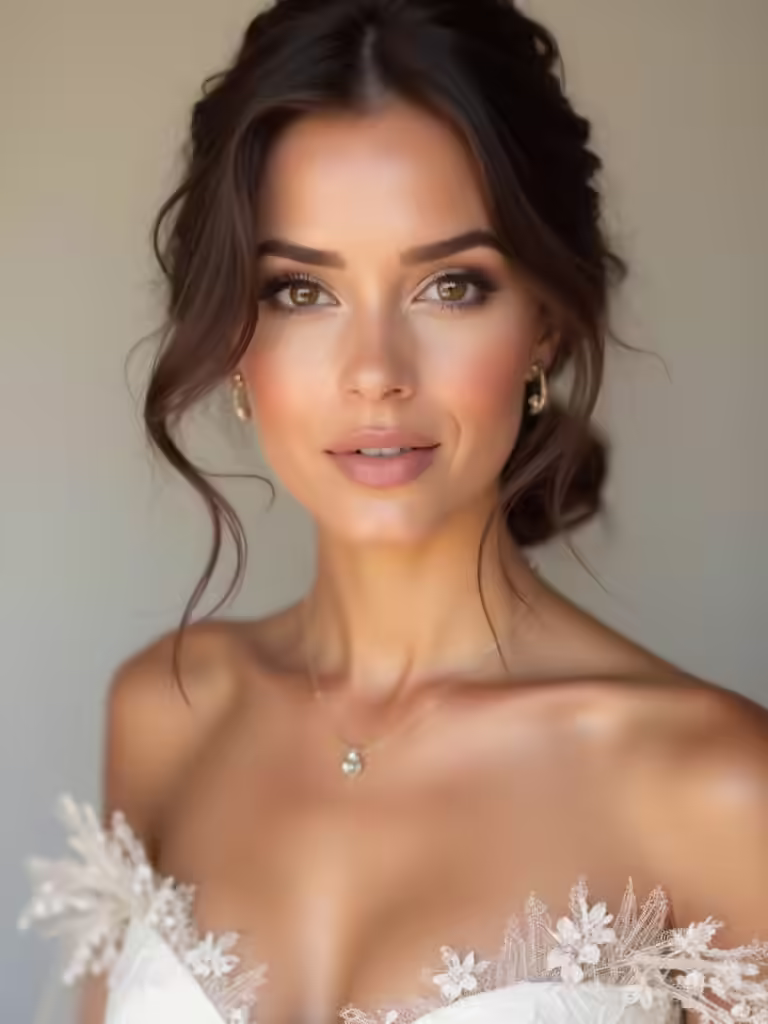
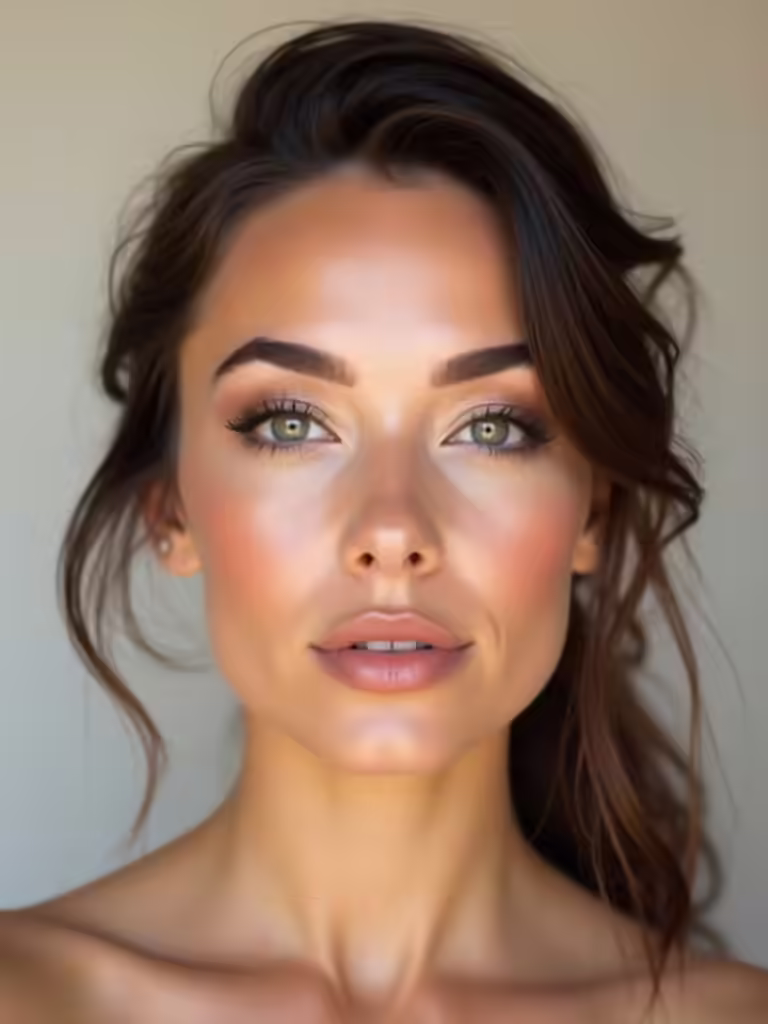
Soft Taupe Smokey: Everyday Glam That Flatters All Skintones
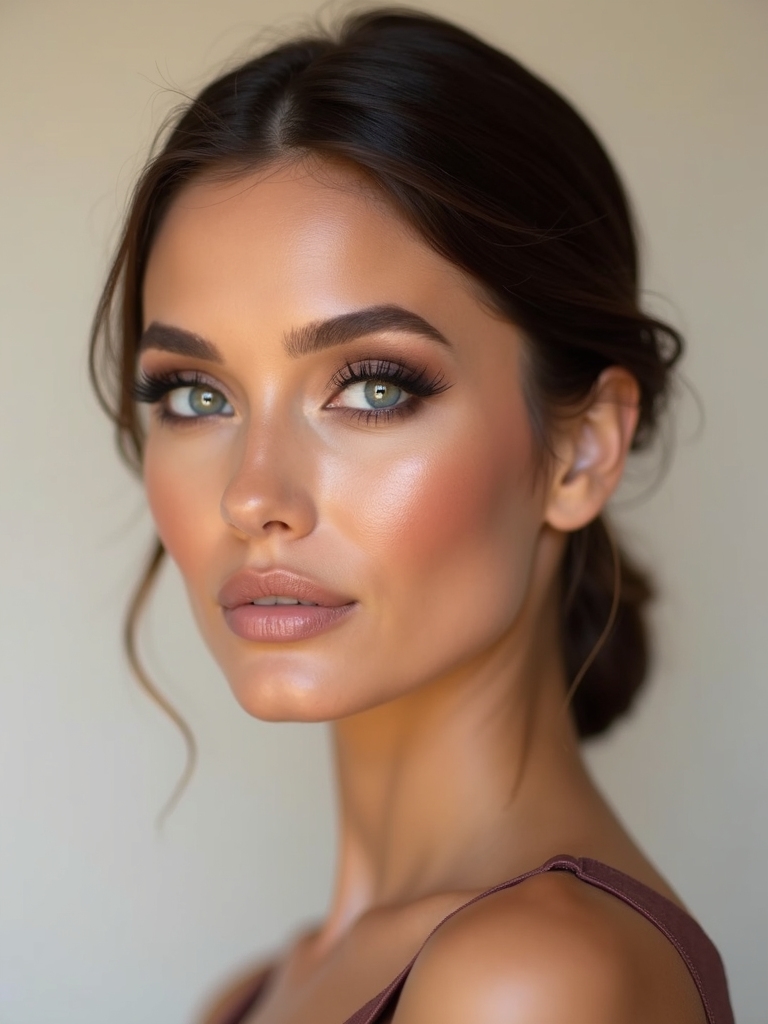
Soft taupe is my go-to for a glow-on-the-go that plays nicely with every skin tone. I build depth with a soft taupe lid and a touch of espresso at the lash line, then blend until seamless. It reads polished, not fussy—perfect for everyday glam. You’ll glow, and makeup stays put from brunch to after-dark. This look aligns beautifully with clean minimalist bridesmaid makeup styles that emphasize effortless elegance.
Rose-Gold Smokey for Romantic Bridesmaids
Rose-Gold Smokey for Romantic Bridesmaids
Rose-gold sparks a romantic note without veering into overdone. I’m showing you how to melt pinky shimmer into a soft smoky that reads intimate, not loud.
Here’s the quick plan:
- Prime with a satin base
- Sweep rose-gold lid shade
- Blend depth at lash line
- Groom brows, highlight inner corner
This look is perfect for enhancing natural glam while keeping the focus on the bride.
Rush less, glow more, gorgeous.
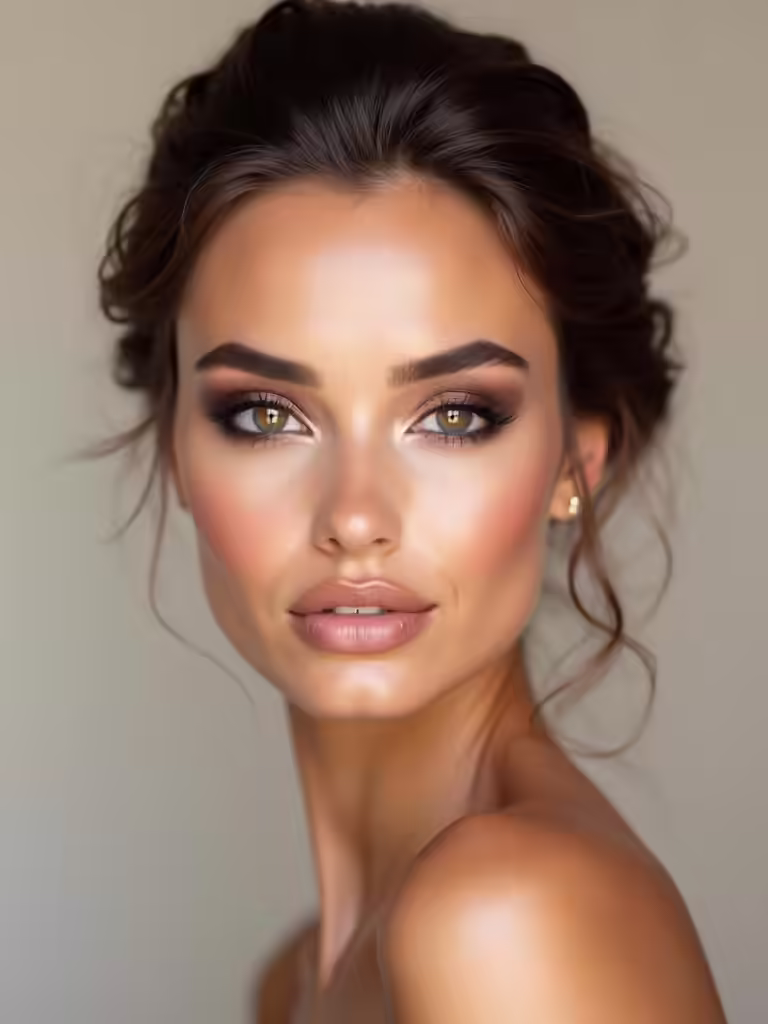
Classic Charcoal With Metallic Spice for Evening Drama
I start with a Charcoal Base Allure that glides on smoother than satin, giving my lids a sultry, smoke-kissed canvas.
I’ll spice things up with Metallic Spice pairing to lift the look just enough for evening drama without shouting.
Stick with these hints for a balanced finish: sharpen the edges, keep the liner tidy, and let the glow come from the crease. Incorporating romantic soft glam makeup can elevate your overall bridal look while ensuring your brown eyes shine beautifully.
Charcoal Base Allure
Charcoal Base Allure (Classic Charcoal With Metallic Spice for Evening Drama)
Charcoal Base Allure kicks off with a classic charcoal lid that locks in depth, then I pat in a metallic spice—think pewter shimmer—that catches the light just so for evening drama. Incorporating dramatic bridal makeup can elevate your overall look, creating a stunning contrast against the soft tones often seen in bridesmaid attire.
- Apply base shade
- Blend softly at edges
- Tap metallic highlight
- Diffuse with a clean brush
Glossy, playful, and precise for a timeless smokey finish.
Metallic Spice Pairing
metallic Spice brings warmth to the classic charcoal base, turning the lid into a soft, coppery glow that reads evening-ready without shouting. I’m showing you how this pairing elevates depth with a luminous twist, blending matte smoke with shimmer for dimension. You get effortless drama, a wearable warmth, and a polished finish that stays put from sunset to afterparty. This technique creates a timeless soft glam look that is perfect for bridesmaids in any season.
Evening Drama Tips
From the Metallic Spice payoff, we shift to how to amp up evening drama: keep the charcoal base bold, but layer in that coppery glow so the lid reads luxe in dim lights.
- Tap a matte charcoal on crease.
- Press metallic spice on lid.
- Blend copper into lower lash line.
- Finish with soft, smoky mascara.
To enhance your look further, consider flattering bridesmaid makeup techniques specifically designed for hooded eyes, as they can elevate the overall effect.
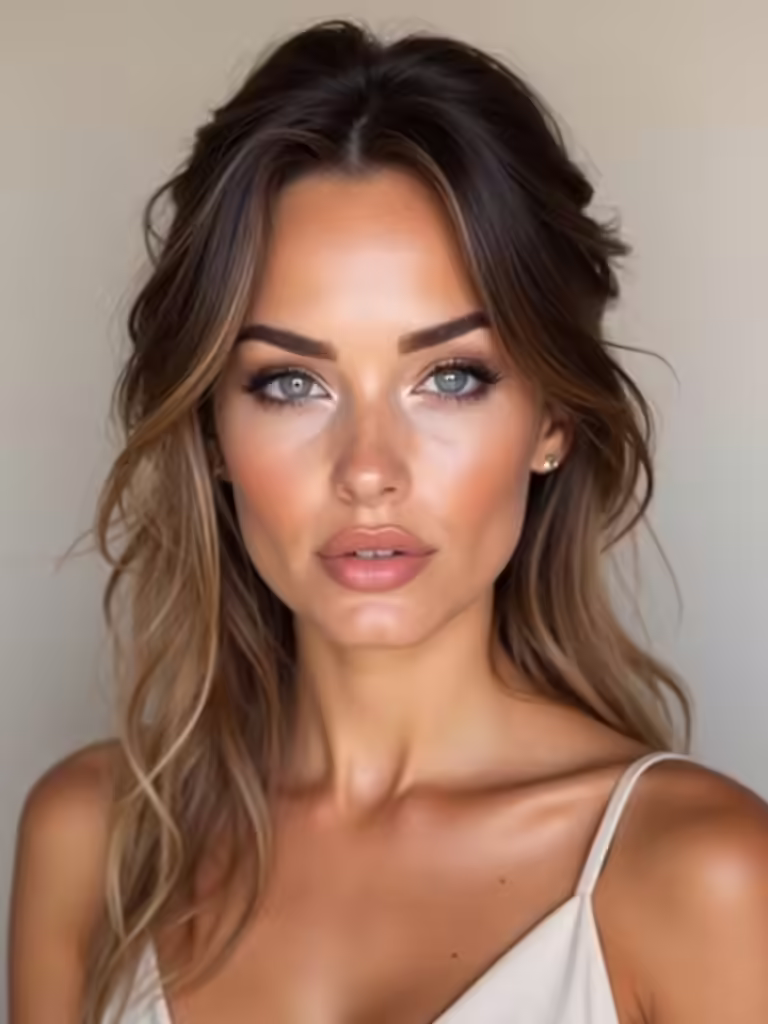
Cool Navy Smokey for a Modern Twist
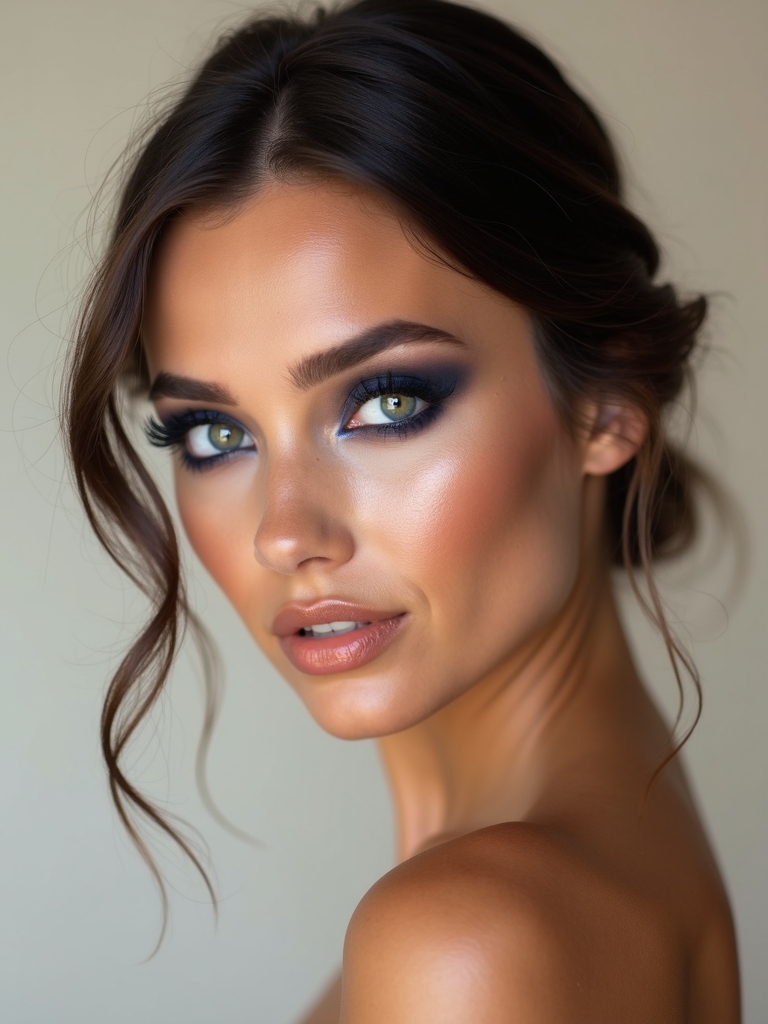
Navy isn’t just for basics anymore—this cool, blue-toned smokey eye is my favorite modern twist for bridesmaids who want something bold without shouting.
I blend midnight and cobalt, keeping edges soft for a polished finish. A touch of champagne on the inner corner brightens without glare, while a satin liner seals the look. This look embodies luxurious wedding glam that adds effortless drama, camera-ready and chic.
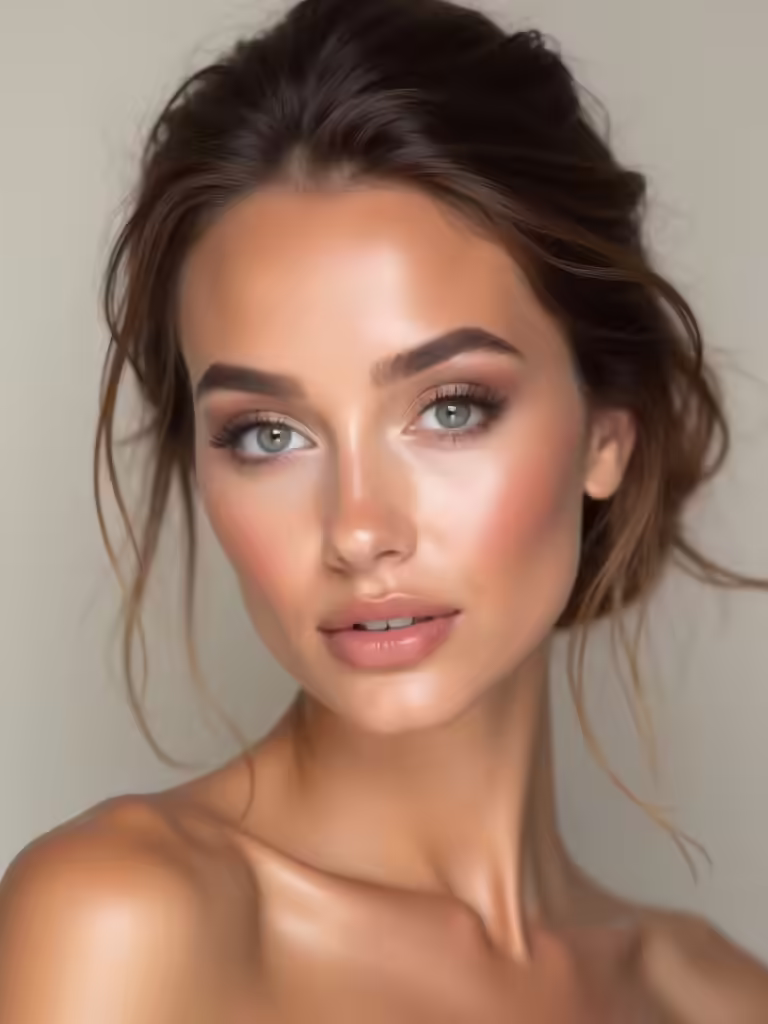
Bronze Goddess Smokey on Olive Skin
I’m obsessed with a Bronze Glow on olive skin that brightens without shouting, and I’ll show you how this Bronze Goddess Smokey can start a glam conversation.
When I layer Intense Smokey Depths with a Sunset Bronze Shimmer, the payoff is a rich, editorial glow that still reads as bridal-ready.
Let’s chat about how these tones—Bronze Glow On Olive, Intense Smokey Depths, and Sunset Bronze Shimmer—play together to sculpt dimension and warmth. Incorporating warm natural makeup can further enhance the overall effect, ensuring a stunning look for any bridal occasion.
Bronze Glow On Olive
Bronze Glow on Olive (Bronze Goddess Smokey on Olive Skin)
Bronze Glow on olive skin is all about that sun-kissed radiance without going overboard.
I keep it simple, shimmering, and wearable—so you shine without tai-chi gripping your features.
- Tap bronzer where sun would kiss.
- Sweep champagne shimmer on lids.
- Smudge bronze liner for soft definition.
- Seal with peachy blush and gloss.
Incorporating natural glam wedding makeup techniques can enhance your look while maintaining the essence of a radiant bride.
Intense Smokey Depths
Intense Smokey Depths amps up the Bronze Goddess look for olive skin, dialing up the contrast with richer browns and a wink of bronze to keep it wearable yet daring.
I guide you through a sultry blend: deep espresso at the lash line, warm bronze on lids, a soft caramel shift, and a satin finish that stays flawless from ceremony to after-party.
Trust this glow.
Sunset Bronze Shimmer
Sunset Bronze Shimmer lights up olive skin with a warm, sun-kissed glow, pairing soft bronze with a radiant shimmer for a bridesmaid-ready smokey that’s sultry without stealing the spotlight.
- Prime with a bronzing base
- Sweep bronze across lids
- Tap shimmer on center
- Blend softly for velvet depth
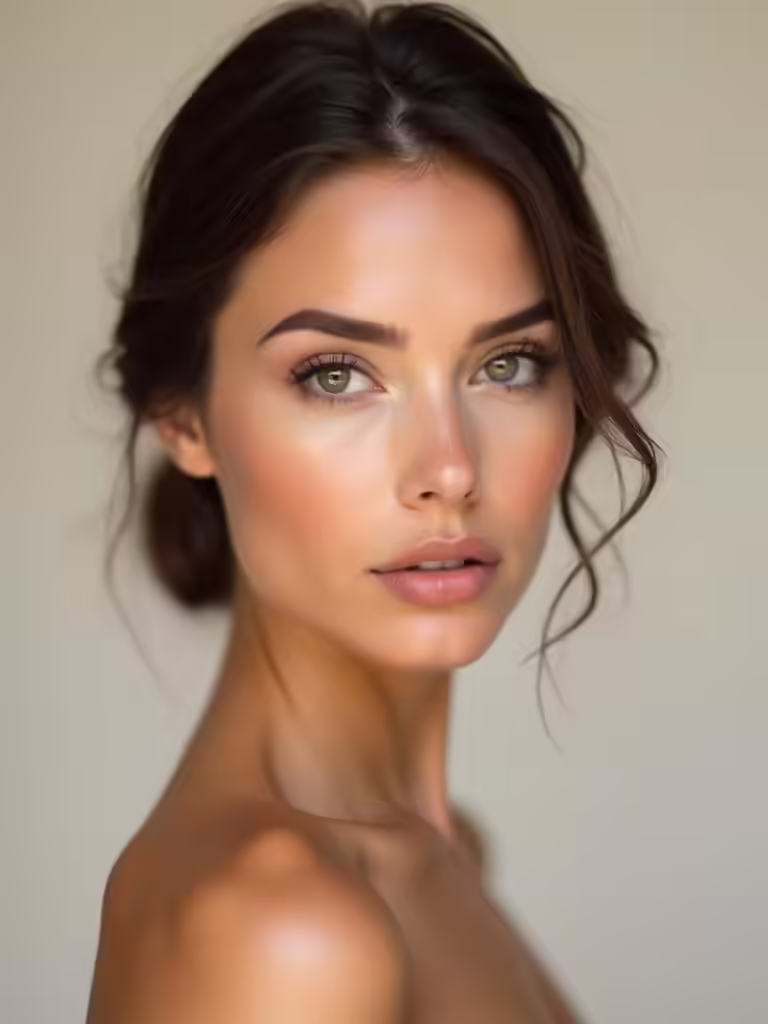
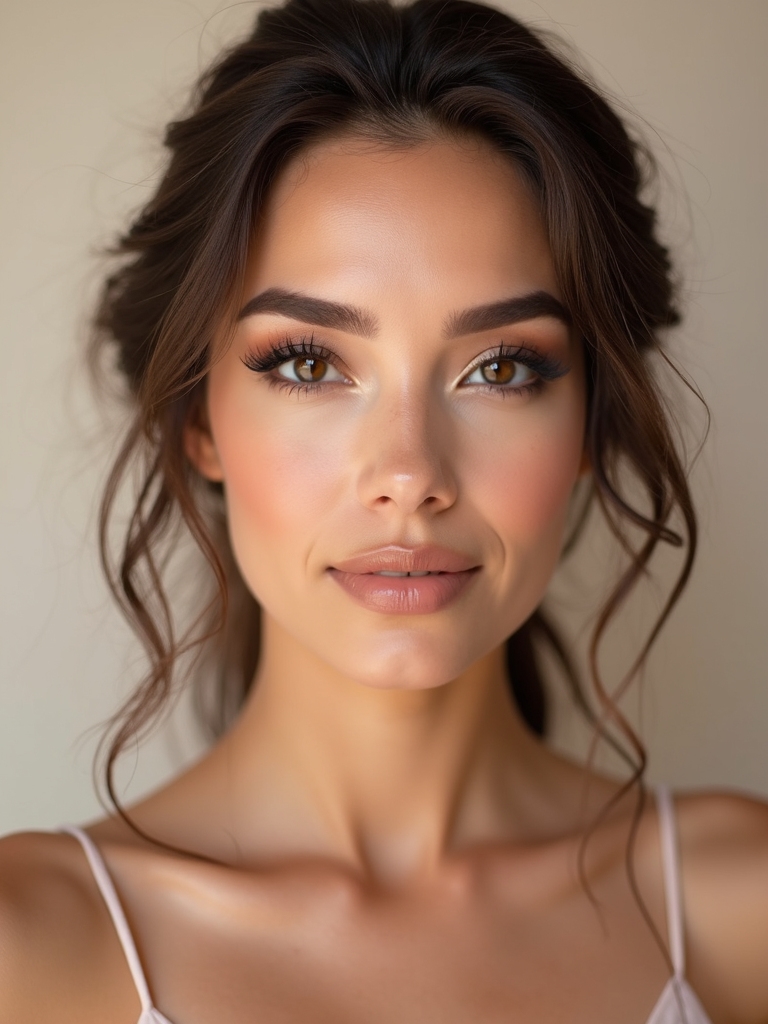
Chocolate Brown Gradient for Subtle Definition
If you want a eyeshadow look that reads glossy and refined without shouting, a chocolate brown gradient is your go-to: it adds subtle definition that enhances any skin tone.
I blend soft browns from lash line to crease, keeping edges seamless and wearable.
The finish stays polished, not heavy, so your smoky moment reads luxe, approachable, and effortlessly radiant.
Purple-Plum Smokey: Playful Yet Photogenic
Purple-plum smokey: playful yet photogenic. I show you how I rock this look for bridesmaids, blending purple-plum shadows with a soft liner for pop without heaviness.
You’ll glow on camera, lid-to-lash harmony intact.
1) Prime lightly for smooth pigment
2) Build sheer color in layered washes
3) Tightline upper lid for definition
4) Finish with a satin lip for balance
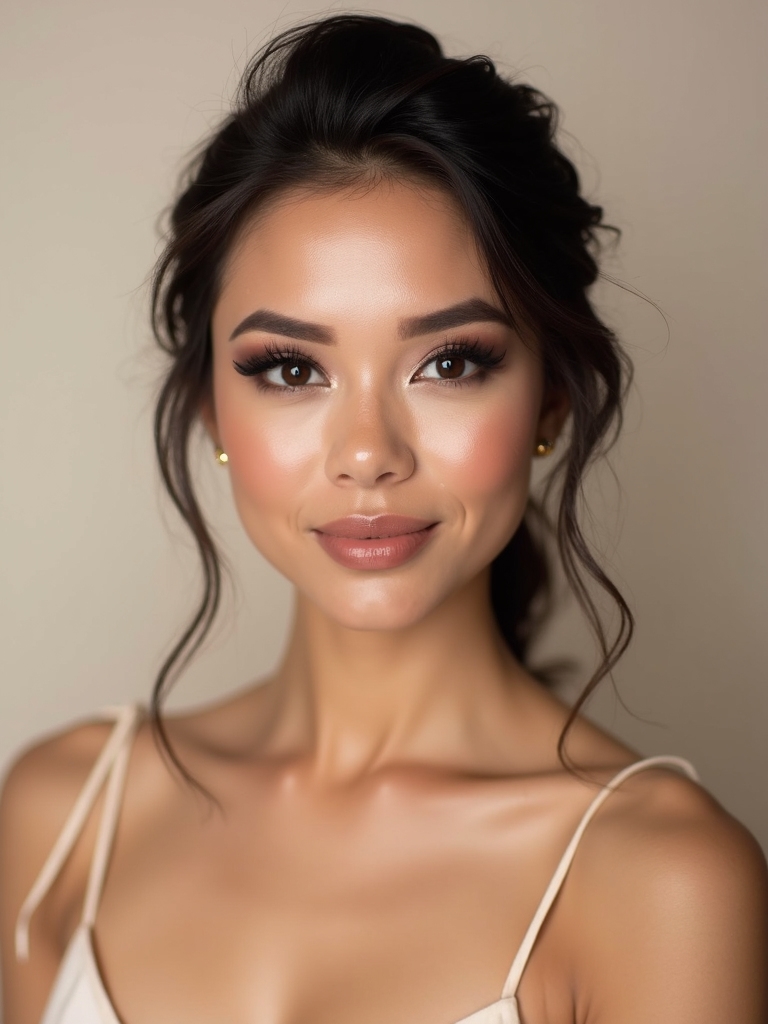
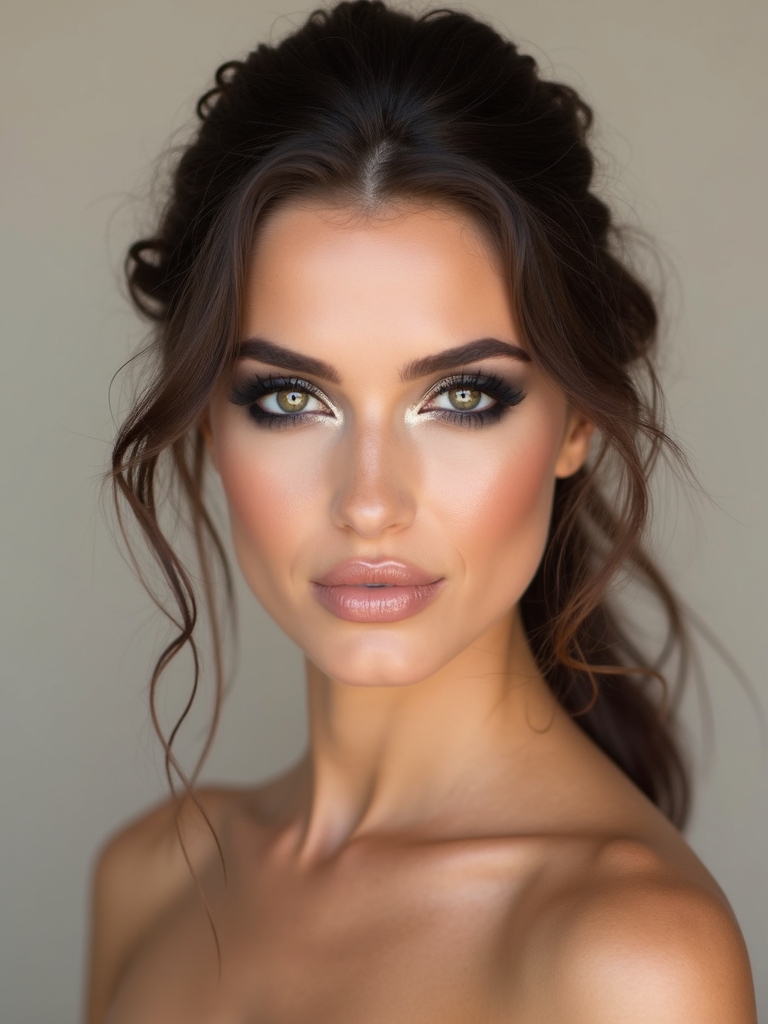
Satin-Black Smokey With Soft Glitter Overlay
I’m obsessed with a satin-black smokey that glides on smoothly, then gets a soft glitter overlay for a touch of night-sky shimmer.
The satin-black sparkle overlay creates dimension without heaviness, while a light glitter layer catches the light just enough for photos.
Here’s how I layer it: build the black base first, then softly press a fine glitter over the lid for a polished, photo-ready finish.
Satin-Black Sparkle Overlay
A satin-black sparkle overlay brings a sultry, eye-brightening twist to a classic smoky eye, pairing a velvety black base with just-right flecks of glitter for subtle catch-light.
I share:
1) buildable shimmer
2) soft-glow impact
3) versatile pairing
4) long-lasting finish.
Try a sheer sweep for day, bolder for night, and watch the gaze pop with glossy satin sparkle.
Soft Glitter Layering Tips
Soft glitter layering stays playful and polished when you weave it into a satin-black smoky base.
I mix fine particles over a creamy, pigmented lid, dab on a touch at the center, then blend outward for a soft halo.
Keep it balanced, not chunky—glitter should whisper, not shout, while you stay sultry and elegant throughout the night.
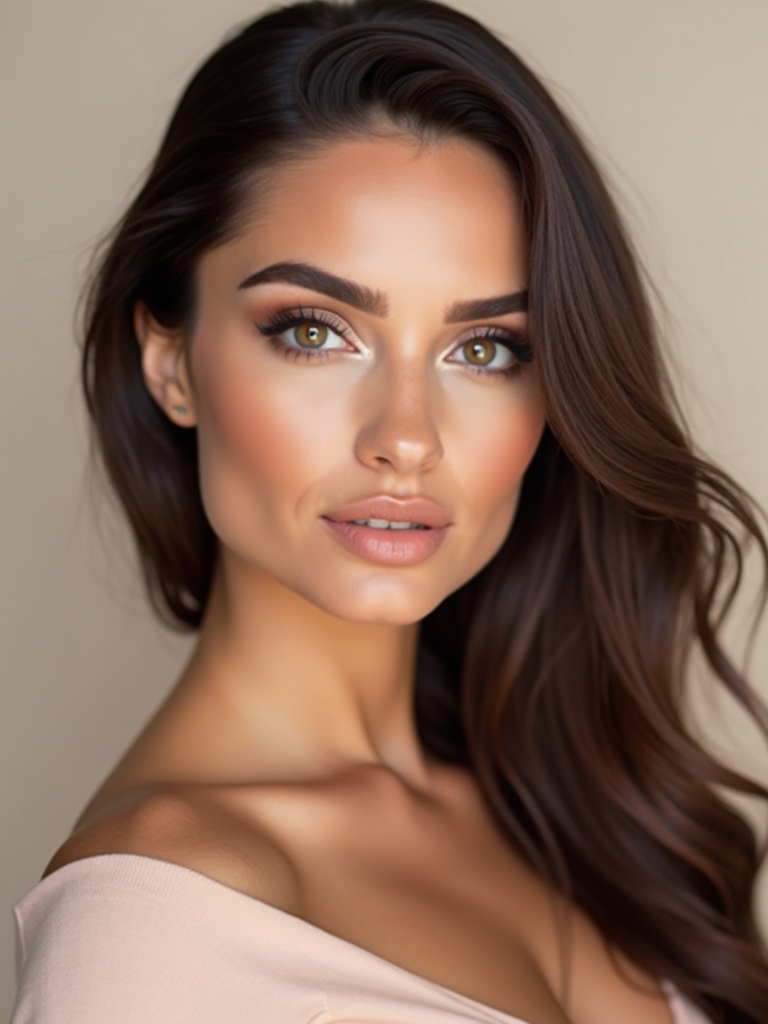
Coppery Ember Smokey for Gold-Dress Codes
Coppery ember tones glow against gold-dress codes, turning a smoky eye into a glam statement that feels both luxurious and effortless.
I share my go-to tips, quick and crisp:
1) Prime lid for lasting shimmer
2) Layer copper base with bronze before dusk
3) Smoke along lash line for depth
4) Finish with champagne highlight on inner corner
Inner-Corner Highlighted Smokey to Brighten Eyes
I love brightening the inner corner to wake up a smoky eye, and I’ll show you quick inner-corner brightening techniques that lift the look.
We’ll chat about where the shadow sits for dramatic smoked placement and how a final glow can keep eyes looking wide and fresh.
Ready to pair a soft highlight with your deepest hues for a brighter, more awake bridesmaid glow?
Inner-Corner Brightening Techniques
When I brighten the inner corners, I instantly lift the eye shape and keep the rest of the smoky vibe intact.
Here’s how you nail it:
- Tap a champagne or pale pearl shade along the tear duct for glow.
- Pack it softly with a small brush, avoiding spotlighting the lid.
- Blend upward and outward to maintain balance.
- Set with a sheer translucent powder for longevity.
Dramatic Smoked Shadow Placement
Dramatic smoked shadow placement starts by anchoring a bold, concentrated vibe right in the crease and outer lid, then brightening the inner corner to keep the eyes open and awake.
I blend a deep charcoal with a whisper of plum, sweeping inward in a controlled gradient.
Result: dramatic depth, luminous brighten, and a playful, glam finish you can own.
Finishing Glow For Bright Eyes
And to finish with a glow that reads bright, I light up the inner corners with a soft, champagne or pearl shimmer, instantly widening the gaze.
Here’s my quick, glossy setup:
- Tap a tiny amount for a subtle lift
- Blend softly into the inner lid
- Pair with a matte taupe crease
- Set with a translucent powder for lasting brightness
Cream-Shadow Longevity Trick for All-Day Wear
Cream shadows can smudge or fade by midday, but I’ve got a simple longevity trick that keeps that smokey glow locked in from AM to PM.
I start with a creamy base, then set it with a thin, translucent powder for a velvet hold.
A dab of setting spray seals the deal, leaving you wrinkle-free, radiant, and ready.
Matte-Blend Masterclass: Seamless Edges, No Harsh Lines
Matte edges can make or break a smokey eye, so I’ll show you how to blend until there are no harsh lines—just a soft, seamless gradient that looks like it’s melting into your skin.
1) Choose a matte base
2) Layer in gradual shadows
3) Buff with a fluffy brush
4) Set for diffusion and longevity
Texture Play: Glossy Lid vs Velvet Matte Smokey
Texture can totally switch the mood of a smokey eye, so let’s play with finish: a glossy lid for a reflective, eye-catching tier or a velvet matte for velvety depth.
I adore toggling between them—gloss adds luminosity, catches light ahead of photos, while velvet preserves sultry intensity without glare.
Try one, then the other to discover your signature mood.
Step-by-Step Cream Shadow Technique for Longevity
With a glossy lid or velvet matte ready, I’m nudging us into a foolproof step-by-step for long-lasting cream shadow.
- Prep with a creamy base.
- Sculpt edges with a fingertip, not a brush.
- Set lightly with translucent powder.
- Finish with a super-skinny liner and seal.
Camera-Ready Prep: Powder, Dunk, and Set for Shoots
I’m sharing my camera-ready routine so you know exactly what to do: a powder-proof base, a gentle dunk for longevity, and a precise set-and-sharpen finish.
I’ll show you how a light powder helps seal shine without hiding color, how a quick dunk boosts staying power, and how a final set keeps the smokey eye crisp shot after shot.
Ready to glow on camera with steps that feel easy, not fussy.
Powder-Proof Base Tips
Let’s lock in a flawless base with 3 quick tricks: blotting, a light hand with powder, and a daring dunk before I finish setting.
I share powder-proof tips you can trust on shoot day, with a playful wink and sleek results.
- Blot first, then powder in sheer layers
- Use translucent shade to avoid chalkiness
- Press, don’t sweep, for lasting coverage
- Set with a gentle mist post-dunk
Dunking for Longevity
Dunking isn’t just a playful flourish—it’s my secret to camera-ready longevity. I dip a hydrating puff into tinted powder, then press it gently over my T-zone and under eyes.
No rubbing, just a light, silent blot. The goal: set without dragging.
I finish with a mist and a brisk blink—done, fresh, ready for closeups.
Set-and-Sharpen Finish
Set-and-sharpen is my quick blueprint for camera-ready skin: powder, a light dunk, then a precise set that locks everything in without looking flat.
1) Powder lightly to diffuse shine
2) Dunk strategically for natural moisture balance
3) Tap, don’t swipe, to avoid creasing
4) Lock with a satin-setting veil for longwear, glow-proof finish
Edge-to-Edge vs Winged Smokey: Dress-Driven Differences
When it comes to bridesmaid makeup, the edge-to-edge smokey eye and the winged smokey eye each bring a different mood to the dress.
I’ll guide you: edge-to-edge elongates drama across the lids for a united, sultry vibe that flatters bold gowns, while winged shapes lift the eye, pairing with structured silhouettes for a polished, editorial finish.
Pick your dress, choose your edge.
Skin-Tone Guide: Tailoring Smokey Intensity From Tan to Deep
Shifting from the drama of edge-to-edge and winged smokey eyes, we tailor intensity to skin tone so every bridesmaid glow reads flawlessly on camera and in person.
1) Tan to light olive: sheer depth, soft bronze veil.
2) Medium: smoky taupe with chocolate hints.
3) Deep tan: graphite lashes, warm espresso base.
4) Deep: rich plum-brown, bold yet balanced.
Quick Fixes: Crease, Shine, and Fallout On the Big Day
Crease, shine, and fallout can crash a bridal moment in a heartbeat, but I’ve got fast fixes you’ll actually use.
I pat crease lines away with a clean fingertip, blend sheen softly with a damp brush, and sweep fallout off before it steals the photo.
Quick re-touches keep your smokey eye polished, not frantic, and ready for portraits.
You’ve got this.
From Ceremony to Dance Floor: Sequencing Your Look
Before you even say, “I’m ready to walk down the aisle,” lock in a plan for how your makeup will hold up from ceremony to dance floor.
I’ll share simple sequencing you can trust:
- Prime and set
- Matte lid base first
- Crease as anchor
- Touch-up kit ready on standby
Conclusion
So you’re ready to steal the show without stealing the spotlight from the bride. This smoky, soft-to-bold spectrum lets you tailor your look from ceremony to dance floor, with finish that never overwhelms. Ready to pick your perfect shade and slay the big day? Which smokey will you wear to beam confidence and keep it timeless, chic, and totally you? Let’s glam, brush by brush, and make your bridesmaid moment unforgettable.