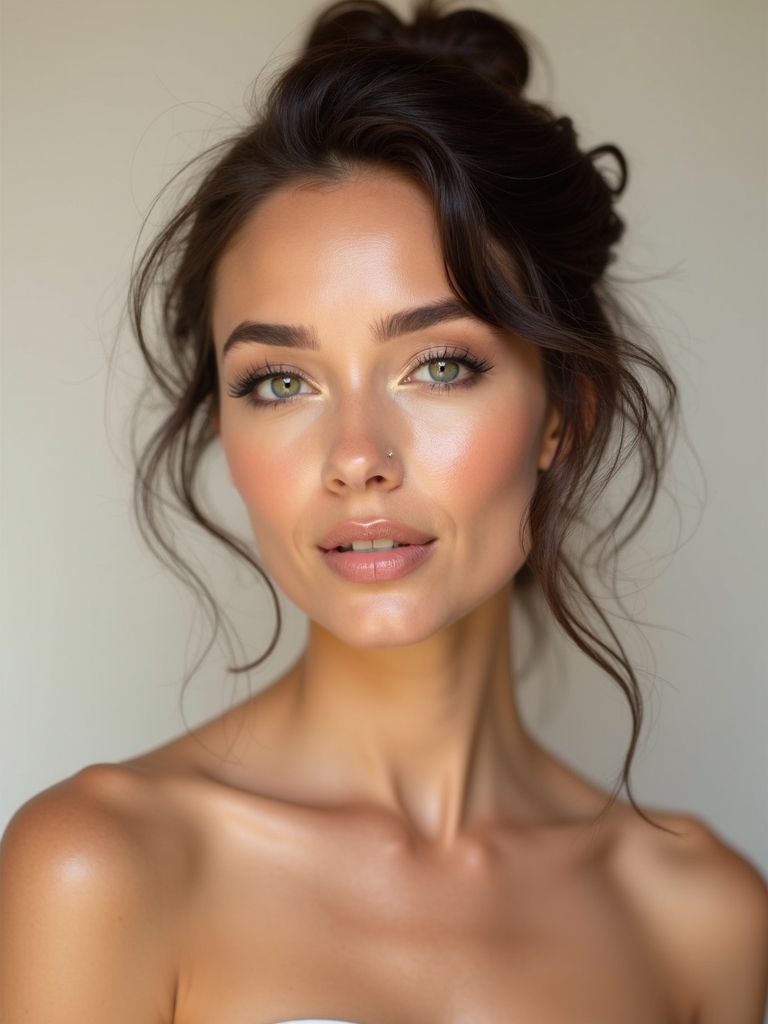
Here’s how I boost hooded eyes for a bridal glow that lasts from ceremony to send-off: start with a long-wear primer, then build a soft matte base and crease definition to create space. conceal in a light triangle and set with powder, while curling lashes and applying a light coat to separate them. keep liners tight to the lash line and use waterproof products for longevity. Want more step-by-step tips you can use on the big day? I’ve got you.
Hooded-Eye Essentials for Bridal Glow
Hooded eyes don’t have to steal the spotlight on your big day—they can glow just as brilliantly with the right prep.
I’ll share essentials I trust: a long-wear primer, a matte base to prevent creasing, defined crease work to lift lids, and waterproof liners. Additionally, using defined crease work can significantly enhance the appearance of your eyes, making them look more open and alert.
Quick tip: set with light, shimmering inner corners for balance and brightness that lasts.
Prime and Prep for Longevity
Sure! Here’s your revised content:
—
Prime and prep for longevity starts with a solid canvas: I always reach for a long-wear primer specific to eyelids or skin, then blend in a lightweight base to smooth any texture.
I set with translucent powder, time my makeup to the ceremony, and keep oils at bay with blotting sheets. Trust me—steady prep means flawless, photo-ready results all day. Additionally, using flattering wedding makeup techniques can help enhance your natural beauty and make your eyes pop.
—
Let me know if you need any further adjustments!
Conceal to Create More Lid Space
Concealing right away is my secret to optical lid space that lasts from vows to dance floor.
I pick a lightweight concealer shade that matches my skin, then apply in a thin triangle beneath the lash line and along the lid crease.
Blend upward, set with powder, and avoid heavy layering.
This simple step smooths, brightens, and widens the lid for everything else.
Build a Soft Matte Base for Hooded Folds
After shaping lid space with concealer, I reach for a soft matte base that stays put on hooded folds all day. I dot lightly, blend with a fluffy brush, and set with translucent powder only where shine shows. Skip heavy creams; choose long-wear formulas. Build gradually—less is more for a seamless, photo-ready bridal crease that survives dances. Incorporating soft matte bases can enhance the overall durability and appearance of your wedding makeup.
Define Lashes Without Overwhelm
Keep the lashes looking defined without weighing down the eye area.
I keep lash definition simple: curl first, then add a light coat to separate, not clump. Choose a length-appropriate formula, avoiding heavy top coats.
Focus on tight-lining at the lash line and a clear mascara seal. For weddings, skip drama; opt for clean, awake, elongating results. Incorporating masterful makeup tips can enhance your overall look, ensuring your eyes appear bright and defined.
Perfect the Wing for Hooded Eyes
I’ll share wing placement tricks that actually work on hooded lids, so your eyeliner reads clean from every angle.
Lift with liner along the lash line and a subtle outer flush to create the illusion of a longer eye, not a heavier one.
We’ll keep the flick hood-friendly with precise, short strokes that won’t smudge on the wedding day.
For optimal results, consider using bridal makeup techniques that enhance your eye color while ensuring longevity throughout the celebration.
Wing Placement Tricks
When you’re dealing with hooded lids, the key is to lift the wing visually and keep it tight at the outer corner, so it won’t disappear when your eyes open. I place the wing slightly above the lash line and extend it past the outer corner. Use a fine brush, steady hand, and set with waterproof product for lasting bridal drama. Incorporating soft glam techniques can enhance the overall effect, allowing your eyes to truly shine on your special day.
Lift With Liner
Lift with liner starts by shaping a precise, tight wing that stays put when your eyes open. I guide you to press the liner along the lash line, then sweep up in one controlled arc. Keep the line thin near the inner corner, thickening slightly outward. Set with a smudge-free topcoat, and test during rehearsal to guarantee flawless ceremony-ready payoff. For added depth, consider using soft glam bridal makeup techniques that enhance your eye color and overall look.
Hooded-Friendly Flicks
Hooded-friendly flicks start with a wing that looks lifted even when the eyes are half-open, so I shape a precise line that hugs the lash line and then flicks upward toward the brow bone.
- Keep the line thin at the inner corner for a lifted look
- Extend slightly past the outer lash line
- Use a waterproof pencil, not gel
- Set with powder for longevity.
A well-defined wing can enhance your overall appearance, making it essential for achieving a flawless wedding day look.
Floating Color That Won’t Crease
Floating color that won’t crease starts with a solid base.
I apply a creamy, long-wear primer to my lid, then pat on a sheer wash of color that grips without smudging.
Blend edges softly, and set with a translucent powder.
Choose waterproof formulas for tearful vows, and keep the lid hydrated with a lightweight balm.
Trust me, crease-free glow lasts.
Open the Gaze With Transition Shades
We’ll pull the eye wider by using light, matte blending shades right above the lid crease. Intermediate shades create a soft lift, guiding the hooded lid outward for a brighter gaze on vows and photos. I keep it simple and wedding-ready.
- Tap a sheer taupe above crease
- Sweep a dusty rose into socket
- Blend upward with a clean brush
- Diffuse edges for natural lift
Incorporating effortless bridal makeup can enhance the overall effect and ensure you feel beautiful on your special day.
Highlight the Inner Corner and Brow Bone
When working with hooded lids, brightening the inner corner and brow bone instantly opens up the eye and makes photos pop. I dab a light, champagne shade right at the inner corner to lift tired look, then sweep a subtle shimmer along the brow bone. Keep it precise, blend well, and choose wedding-safe formulas for a clean, camera-ready glow. Incorporating radiant makeup looks can further enhance your overall bridal aesthetic.
Tightline and Waterline for Bright Eyes
So you want bright eyes that pop in photos without looking harsh? Tightlining and the waterline give definition without weight. I keep it clean, safe, and wedding-ready.
1) Use a waterproof, deep brown or black pencil for tightlining.
2) Lightly dust a nude or beige liner on the waterline to brighten.
3) Keep tightline thin near the lash line.
4) Smudge minimally to avoid creep into the lid.
Lower Lash-Line Refinement Without Drag
Lower lash-line refinements keep the eye open and clean without dragging the look down the lid.
I keep lashes separate, using a tiny, angled brush to softly smudge along the lash line with a brown-matte pencil. No heavy kohl.
I skip mascara on the under-lashes near the inner corner, preventing raccoon effect. Clean liner and precise separation finish the bridal gaze.
Cream vs Powder: What Works on Hooded Lids
Cream formulas tend to grip hooded lids better, while powders set faster and feel lighter. I’ll share what works on wedding-day lids, so you feel confident all day.
- Try cream for base color, then set lightly with powder to prevent creasing.
- Use a powder on the outer corner to extend lid space visually.
- Tap, don’t swipe, to avoid transferring.
- Pick long-wear formulas to survive ceremony hugs.
Lash Curling and Separation for Maximum Lift
Lashes set the tone of the eye, so after choosing the right base, I focus on curl and separation for maximum lift.
I warm the curler, press at the root, and hold a beat for bend, then sweep through with a light mascara coat.
Separate lashes with a spoolie after drying for a clean, wide-open bridal look.
Photo-Ready Finishes That Kill Shine
Photo-ready finishes that kill shine aren’t about drying out the skin—they’re about control.
I’ll kept it tight: you want lasting, natural-matte in photos and on the dance floor.
- Set with a light-minish powder to absorb glare without flatness
- Use a matte primer under lids to prevent shimmer creep
- Opt a satin finish foundation for balance
- Blotting sheets between moments to maintain freshness
Color Palette Guidelines for Your Bridal Theme
I’m keeping colors simple and cohesive, starting with color harmony guidelines that make your theme feel intentional.
I’ll pair complementary palettes so your gown, bridesmaids, and décor read as one story, not a jumble.
Let’s choose theme-driven shades that flatter hooded eyes while staying true to your wedding vibe.
Color Harmony Guidelines
Choosing a color palette for your bridal look isn’t just about pretty swatches—it’s about setting the mood for your day.
I share practical harmony rules that keep eyes open and cohesive.
- Start with your gown and venue tones.
- Balance warm and cool hues for depth.
- Use a dominant shade with two supporting ones.
- Test swatches in daylight before finalizing.
Complementary Palette Pairings
Complementary palette pairings are all about balance, especially for hooded eyes.
I recommend pairing cool-toned neutrals with warm accents to create contrast without overpowering. Choose a light lid shade near your skin tone, a mid-tone crease, and a pop of complementary color on the outer corner or lash line.
Keep metallics intentional—sparingly apply where you want dimension.
Theme-Driven Shade Selection
When you’re tying your bridal look to your theme, start by pulling colors from the decor, invitations, and venue lighting.
I suggest a cohesive palette that complements fabrics and florals, not competes with them.
1) Pick a main shade that matches your gown.
2) Add a soft contrast for depth.
3) Use metallic accents sparingly.
4) Test under wedding lighting.
Day-to-Night Touch-Ups That Last
If you’re switching from day to night, you want your makeup to stay put without a touch-up circus, so I’m leaning on smart, hooded-eye–friendly moves that travel well.
Pick a long-wearing primer, set with translucent powder, and choose a waterproof liner.
Pack a mini cream-to-powder shadow, plus a mini mascara, for quick refreshes—no dragging, no smudging, just seamless shift.
Common Hooded-Eye Mistakes and Fixes
Let’s tackle common hooded-eye pitfalls and fixes so your wedding day makeup stays put.
I’ll walk you through lid-mony tweaks, like avoiding heavy shadow that slides, and quick tricks to prevent lid crease loss.
We’ll cover mistake preventers you can remember in the morning rush and still look flawless at the venue.
Hooded-Eye Pitfalls
Hooded eyes pose a few common pitfalls, but they’re totally fixable with the right tricks.
I’ve seen bumps that glare at flash, smudges, and lid hiding—here’s the practical fix, wedding-day ready.
- Avoid heavy lid padding; keep color above crease for open space.
- Tighten liner to lash line, not waterline.
- Matte lids prevent glare during photos.
- Blend, blend, blend—no harsh edges.
Fixes For Lids
When you’re dealing with lids on hooded eyes, the fixes are all about visibility and line control, not time-consuming steps.
I keep lashes lifted with a thin black liner along the upper lash line, tight-lined at the roots, and a soft wash of matte shadow above the crease to reveal lid space.
Applique lids only where needed, then seal with setting spray.
Makeup Mistake Preventers
If you’ve been working with lid visibility and line control, you’ve already got a momentum for avoiding common hooded-eye slip-ups.
Here’s how I prevent mistakes on you, not at you:
- Prime lids to trap pigment before it creases
- Use a lightweight, long-wearing liner along lash line
- Build color in thin layers, not a bold sweep
- Set with a glow-friendly powder for longevity
Quick On-The-Go Rituals for After-Show Moments
After the ceremony, you’ll want to freshen up fast without losing your glam—and I’ve got you covered.
I keep a tiny kit: blotting papers, a mini foundation, a lip tint, and a compact mirror.
Quick tip: re-blend hooded-lid edges with a light sweep, re-define lashes, and touch up balm.
Smile, sip water, stay radiant, and enjoy the afterglow.
Troubleshooting: Quick Fixes for Wedding Day Glows
We’ve all been there: a smear, a crease, or a shimmer that fades just as the photos start rolling.
Here’s quick, practical fixes to save the glow, fast.
- Touch up liner with a waterproof pencil
- Press translucent powder to set shine
- Pat concealer to brighten under eyes
- Refresh highlighter on cheekbones, not lids
Conclusion
Hey lovely, I’ve laid out the light-touch tricks I’d use for a luminous bridal look. Soak up the secret sparkle: subtle shading, softer lines, and lashes that lift—without loudness. Sleepy hooded eyes? I’ll prime, conceal, and build with a gentle matte base, then flutter-finish with fluttery lashes. Keep touch-ups tiny, timeless, and timely. Stick to my simple steps, stay steady, and smile brighter—bold, beautiful, and blissfully camera-ready, my dear, from vows to after-party.